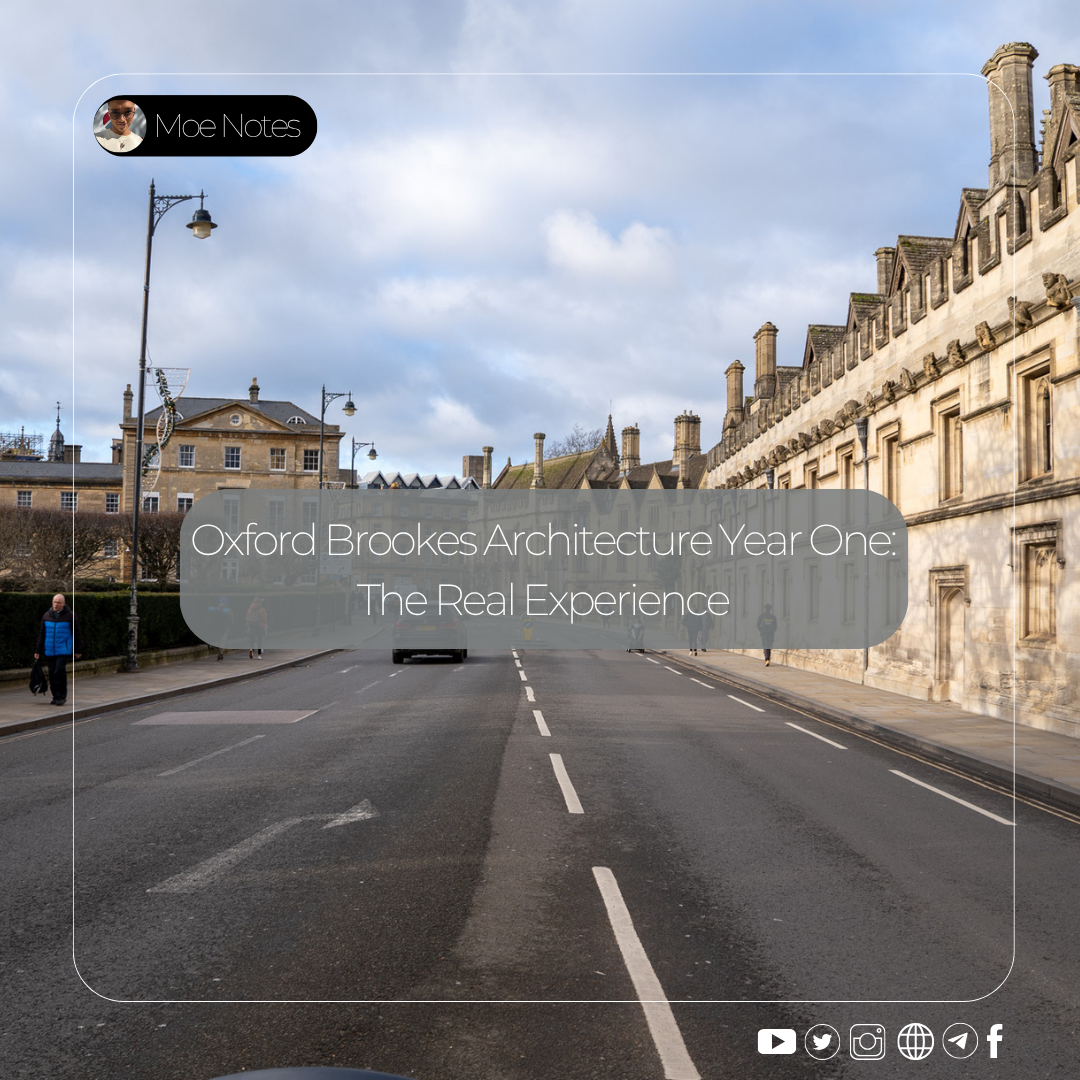
Oxford Brookes Architecture Year One: The Real Experience
(Read Time: 15 Minutes)
This article is also available in [Burmese]
In another week, I’ll be submitting my final project for the first year of my architecture degree. As I write this, I can see the end of a year-long journey. Was it easy? No, it wasn’t. But I want to share what this journey has taught me and what the first year of architecture at a university like Oxford Brookes is really like. This is for the younger students who will walk this path in the future and for anyone curious about the world of architecture.
This is the behind-the-scenes truth you won’t find in the university prospectus.
Part 1: The Structure of the Academic Year
An academic year in architecture is more than just two simple semesters; it’s a meticulously structured journey.
- Semester One (September - December): This is the period for laying the foundation. It’s a time to familiarize yourself with the terminology and fundamental concepts of architecture.
- Semester Two (February - May): In this semester, you begin to apply the fundamentals you’ve learned to create your original work.
Throughout the first year, we had to complete six modules (from ARCH4001 to ARCH4006). But the real flow of the academic year felt like it was divided into four distinct phases.
- The Deconstruction Phase: Our first task was to deconstruct a small-scale model of a wall. We had to study its components, the materials used, and the reasons behind its construction. This was the first step in connecting textbook theory with real-world practice.
- The Group Presentation Phase: The next stage was a group project. Using materials found in scrap heaps and discarded items, we had to construct our wall. The focus here wasn’t on technical skill but on collaboration: how to discuss ideas, present a concept, and work together as a team.
- The Individual Work Phase: This is when our designs truly began to take shape. Our own concepts, decisions, and time management became the central focus. It was here that our strengths and weaknesses started to become apparent.
- The Development Phase: Finally, through constant consultation with tutors, we gradually refined our designs, eventually developing them into a complete architectural concept.
Part 2: The Teaching Style (Lectures & Tutorials)
The main strength of UK universities lies in their teaching methodology.
Lectures: These sessions are held in a large hall that accommodates approximately 150 students and features multiple projectors. But unlike in Myanmar, you’re not just frantically copying down notes. The lecturers use photos and videos of historical buildings to facilitate a discussion: “Why was this building constructed? What political climate of that era influenced its design?” When you’re stuck for a concept for your design, these lectures often provide the answers.
Tutorials: This isn’t an exam. It’s a weekly one-on-one or small group discussion with your Tutor about your ongoing project. “Tutor, this is my current design for the building. I’m wondering if it would be better if I made it a bit smaller.”
- Tutor: “Okay, why did you choose this particular form? What other materials could you use? Does this design truly express the concept you’re aiming for? If I were you, I might consider expanding this area a bit further. But ultimately, this is your design. You have to find the answers yourself. I’m just here to guide you.”
They don’t give you direct answers. They ask you the right questions to help you find your solutions. This is the most valuable part of the experience, as it’s where you truly learn to think critically.
Part 3: The Annual Budget (A Realistic Breakdown for an Architecture Student)
The tuition fee is just the tip of the iceberg. The real costs that can sink your budget are the digital and physical tools you’ll need daily. Here is a rough breakdown of what a student might spend over a full 52-week year.
1. Accommodation & General Living:
- Accommodation (Standard En-suite): £200/week x 52 weeks = £10,400
- Living Expenses (Food, Transport, Phone Bill): ~£4,570
2. Architecture-Specific Expenses: These are the costs that set you apart from an average student.
- Printing & Model Making: Have you ever tried to print five A1 posters the night before a final crit? At around £15 per poster, you’ll be shocked at how quickly your budget disappears. Including foam boards, glue, and laser cutting costs, you should set aside at least £400 for the year.
- Software Subscriptions (Student Licenses):
- Adobe Creative Cloud (All Apps): At £16.24/month: ~£195
- Rhino 3D (Perpetual Student License): A one-time payment, but essential: £165
- Rendering Engines (V-Ray/Enscape Student): A yearly subscription: ~£100
- (Note: AutoCAD and Revit are free for students.)
- Stationery, Books, and Other Supplies: You’ll need more sketchbooks, tracing paper, and technical pens than the average student. Combined with second-hand books, you can easily spend £200.
- Total Additional Academic Costs: ~£1,060
3. The Initial Investment - Your Digital Studio (One-off IT & Setup Costs): These are the significant, one-time expenses you’ll face before you arrive or shortly after. Trying to save money here can jeopardize your entire academic year.
- High-Performance Laptop: This is your most important investment. A good gaming laptop capable of handling renders, large 3D models, and Adobe programs is non-negotiable, with a recommended budget of £1,800 - £2,800 (we’ll use an average of £2,300).
- External Monitor: The second most important tool for your health and productivity. A 27-inch QHD monitor: ~£300
- Ergonomic Mouse & Keyboard: ~£150
- Backup Storage (1TB External SSD): ~£80
- Other Setup Costs (Bicycle, Kitchenware, Bedding): ~£400
- Total Initial Setup Cost: ~£3,230
4. Leisure & Social Life:
- £40/week x 52 weeks = £2,080
Total Estimated Annual Cost (Excluding Tuition Fees): £10,400 (Accommodation) + £4,570 (Living) + £1,060 (Academic) + £3,230 (Setup) + £2,080 (Leisure) = £21,340
Important Note: As you can see, an architecture student’s expenses can be £3,000 to £4,000 higher than those of an average student, mainly due to IT costs. This is a real-world fact that you should be prepared for.
Part 4: Other Useful Information You Should Know
(This section contains general advice on bank accounts, student discounts, part-time jobs, and healthcare, which remains relevant and is translated directly from the Burmese version.)
Part 5: Frequently Asked Questions (FAQs)
Is the course challenging? The first year is the hardest. Everything is new, and you feel like you don’t know anything. I failed my feedback sessions constantly at the beginning. However, as you continue to try, you gain momentum, and things become much more manageable.
Is it okay if I’m not fluent in English? If you’ve passed your IELTS, you have the foundation. The main issue isn’t a lack of language skills but the fear of having your design criticized. You will have to communicate with your tutors, and over time, your fluency will improve naturally.
Are there exams? No, it’s assignment-oriented. But don’t think that makes it easier. An exam requires you to study for a specific period for one subject. An assignment requires you to meet numerous criteria throughout the year to pass. The only thing you’re saved from is memorization.
Is it expensive? Yes. You’ll need to spend money on creating models, printing presentations, and purchasing supplies. I think I’ve bought about 100 liters worth of materials. But every single item I purchased was helpful in one project or another.
Is there time for a part-time job or leisure? If you make time, you can. Most students work part-time. It’s tiring, but the income makes it worth it. But what’s most important is making time for leisure. My Tutor advised me not to let architecture consume my life. It’s essential for relieving stress and improving your focus. Even if it’s not for fun, there absolutely should be time for reflection and self-improvement.
Part 6: Preparation & Lessons Learned
This section is my honest reflection on what I should have prepared and the mistakes I made in my first year. These are the lessons that will make your journey smoother.
Essential First-Year Preparations
- The Tangible Toolkit:
- Art Supplies: Don’t just get any sketchbook; buy a quality A3 hardback sketchbook. A set of fineliner pens (0.1mm, 0.3mm, 0.5mm) and a good metal ruler are also essential.
- The Right Clothing: The UK’s cold is damp. You need a genuinely waterproof jacket with a hood that is both practical and fashionable. A pair of waterproof shoes will also save your day from being ruined.
- A Touch of Home: Bring a small item from home that gives you comfort (e.g., a photo, a small decoration). It can make a sterile dorm room feel like your own personal space.
- The Digital Foundation:
- Software: While you’re still in Myanmar with a good internet connection, use your university offer letter to register for your free Autodesk account. Also, research the Adobe Creative Cloud student discount in advance. Don’t wait until you’re in the UK struggling with dorm Wi-Fi.
- Cloud Storage: Set up your Google Drive or OneDrive and install the desktop app. Cultivate the habit of backing up your important documents before you even start your projects.
- Bank Account: Once you have your UK address, begin the application process for an online bank, such as Monzo or Starling. A bank account is essential for almost everything here.
- The Mental Armor:
- Prepare for Criticism: Your first critique will be harsh. Your ideas will be challenged. This isn’t a personal attack; it’s a part of the learning process. Prepare your mind to accept feedback as a tool for growth, not as a judgment of your worth.
- Prepare for Independence: No one is going to chase you for your assignments. Your time management is now 100% your responsibility. Learn to use a calendar app and plan your weeks.
- Prepare to Ask for Help: I thought being on my own meant I had to figure everything out on my own. That was my biggest mistake. Your tutors, the university’s support services, and your classmates are all there to help you. Asking for help isn’t a sign of weakness; it’s a sign of strength.
My Biggest First-Year Mistakes
- The Academic Mistake - Skipping Lectures: I could just read the slides later. I was wrong. The slides are just a summary. I missed the detailed explanations, the real-world experiences of the lecturers, and the unexpected insights they provided. As a result, my design concepts felt shallow because they lacked a strong theoretical foundation.
- The Social Mistake - The “Solo Worker” Trap: I preferred working alone in my quiet room over the noisy studio. However, by doing so, I missed out on “ambient learning”—overhearing a classmate’s solution to a problem or getting quick feedback on a sketch. It made me feel isolated and slowed my progress.
- The Personal Mistake - Neglecting Myself: The cycle of staying up all night on caffeine to meet a deadline was the worst. It didn’t make my work better; it just made me more stressed and less efficient. My physical and mental health suffered, and the passion I had for my subject started to feel like a burden.
Part 7: Conclusion
I am glad I chose this path. It may be more tiring than other paths, but it’s been worth it. I am satisfied with the path I have chosen for myself. These mistakes were the lessons I had to pay for. I hope that by reading this, you can avoid these same mistakes and have a more successful first-year experience.
