Project 1: Finding Value - The Innovation of a Surveying Tool
1. Introduction: A Study of Intimate Space
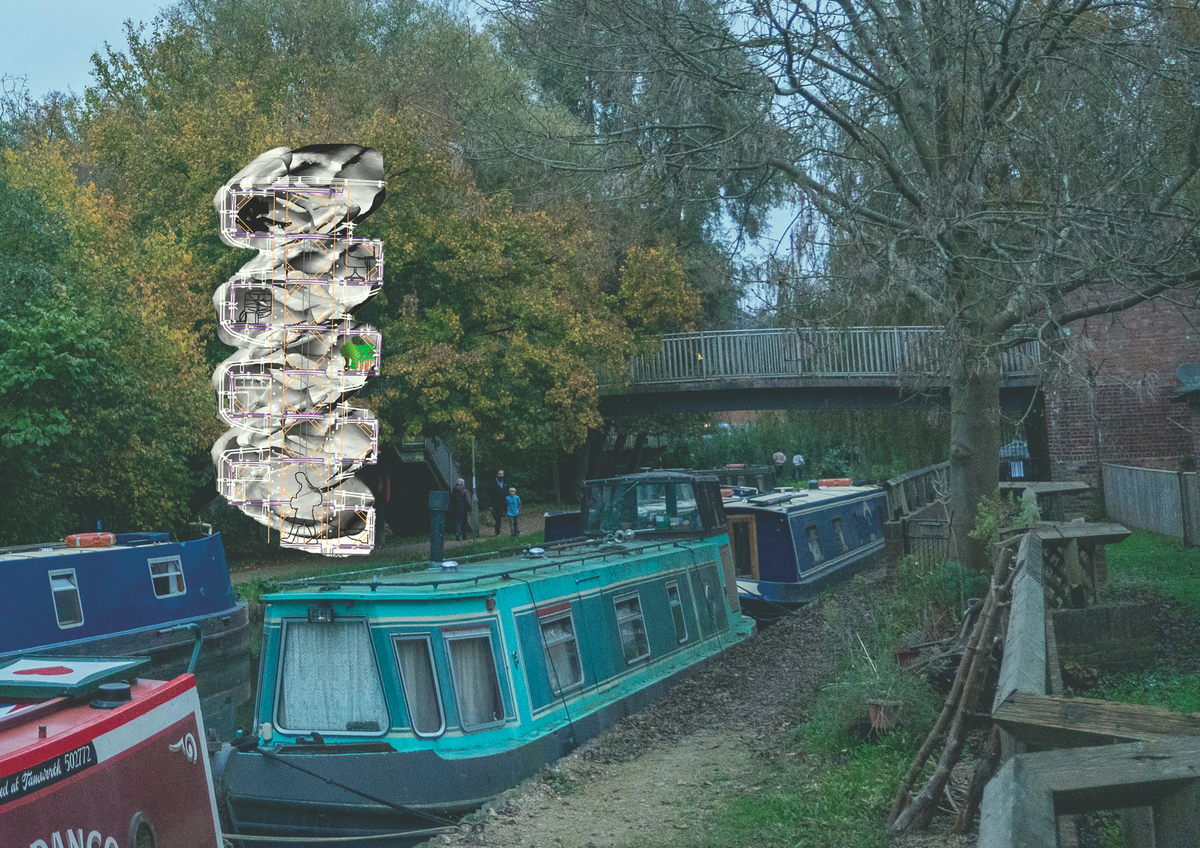
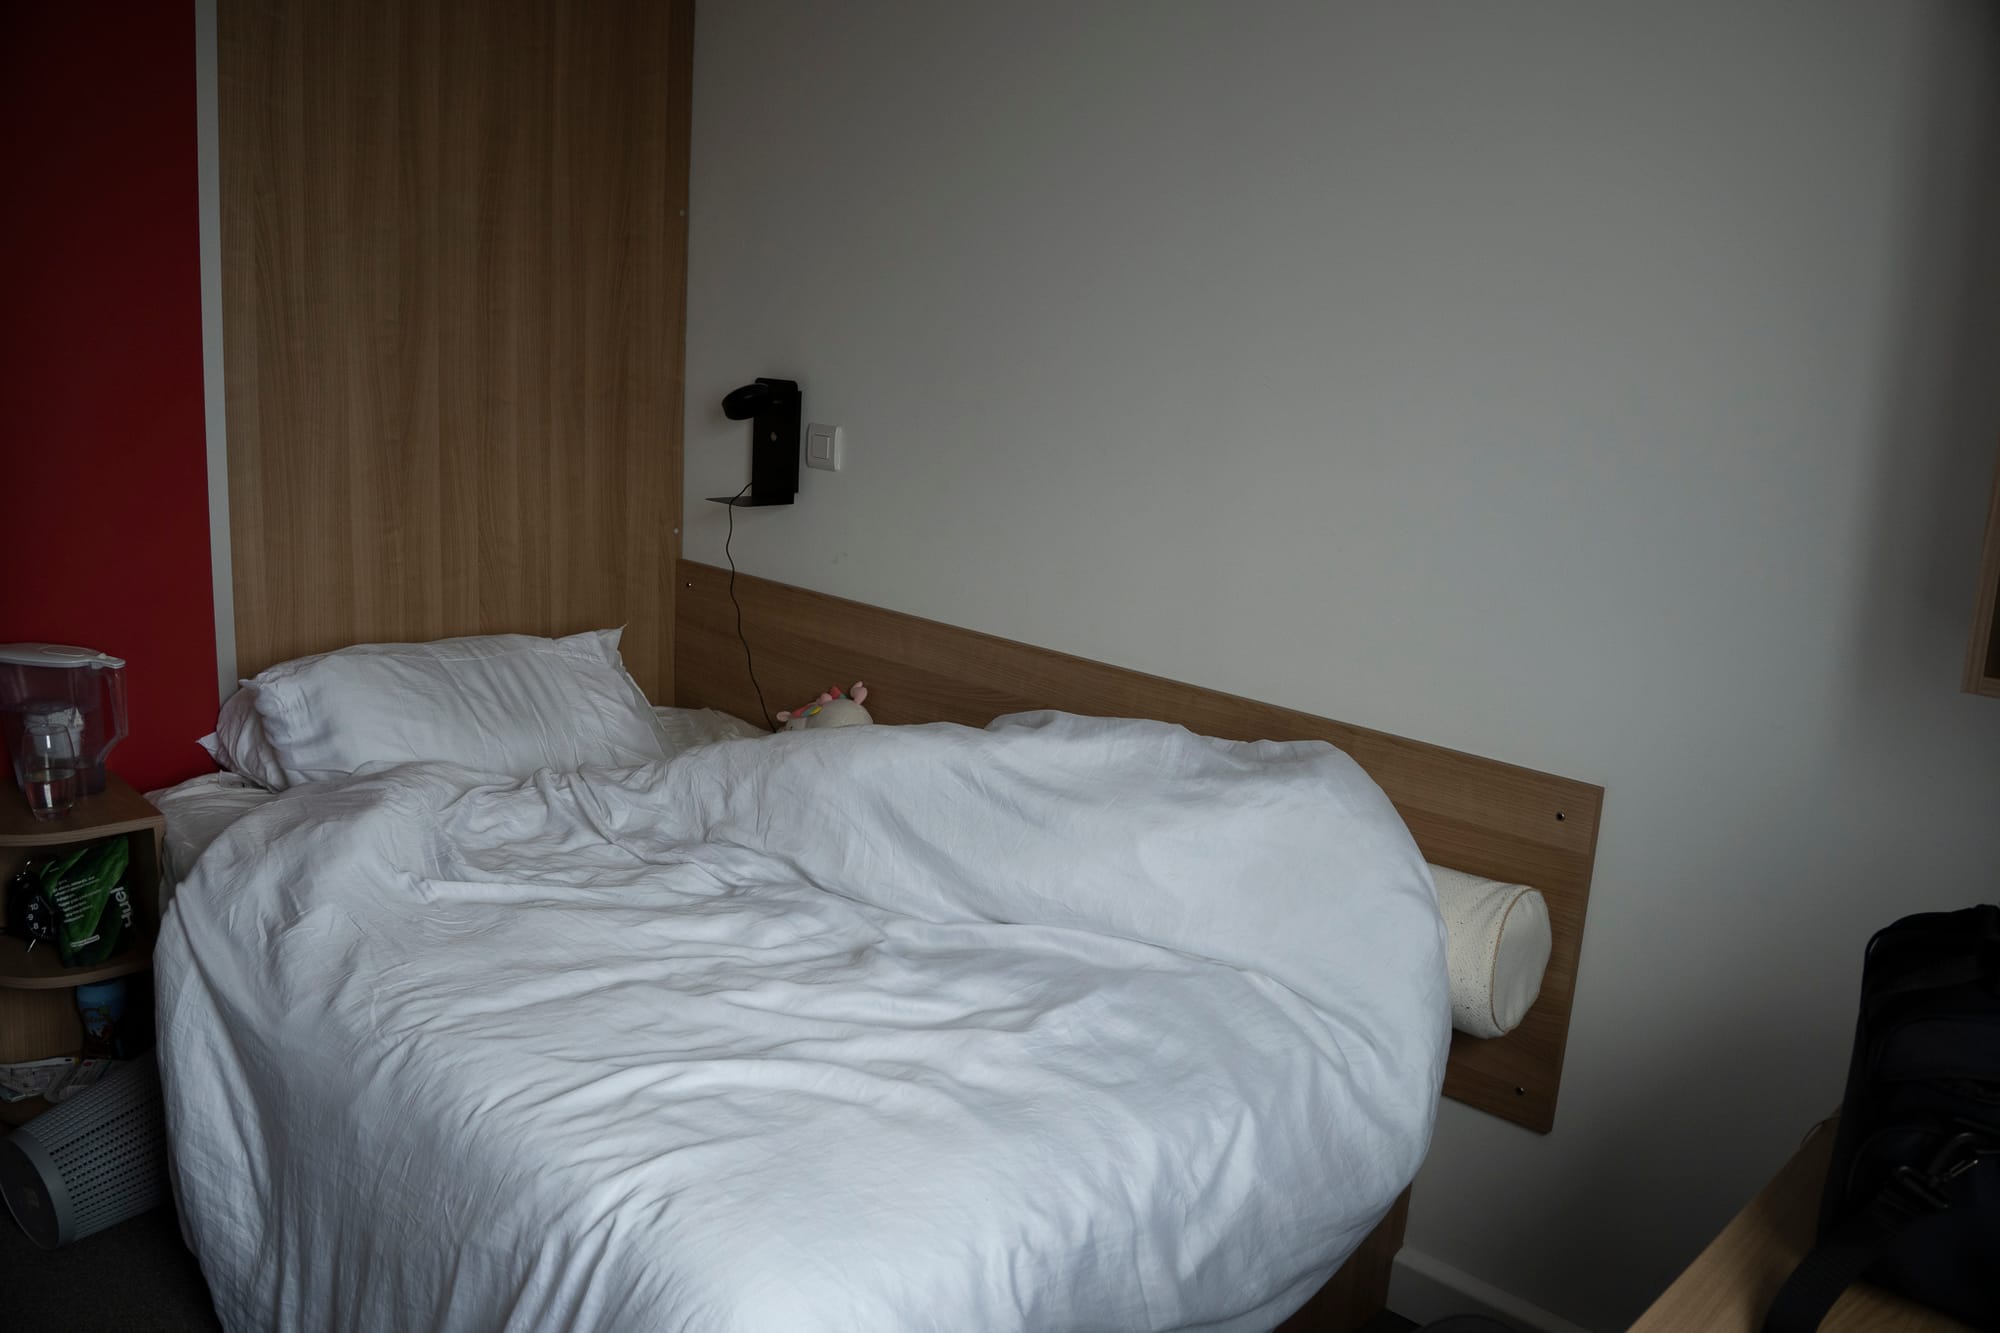
Before designing for a community, one must first understand space at its most personal scale. "The One + One Meter House" was an intensive Semester One investigation that began not with a building, but with an intimate space: my own bed. This project was a journey through different modes of seeing and measuring, questioning the limitations of standard survey techniques and culminating in the creation of a bespoke tool to analyze the most ephemeral of materials: light.
Step 1: The Bespoke Survey - Understanding Through the Senses
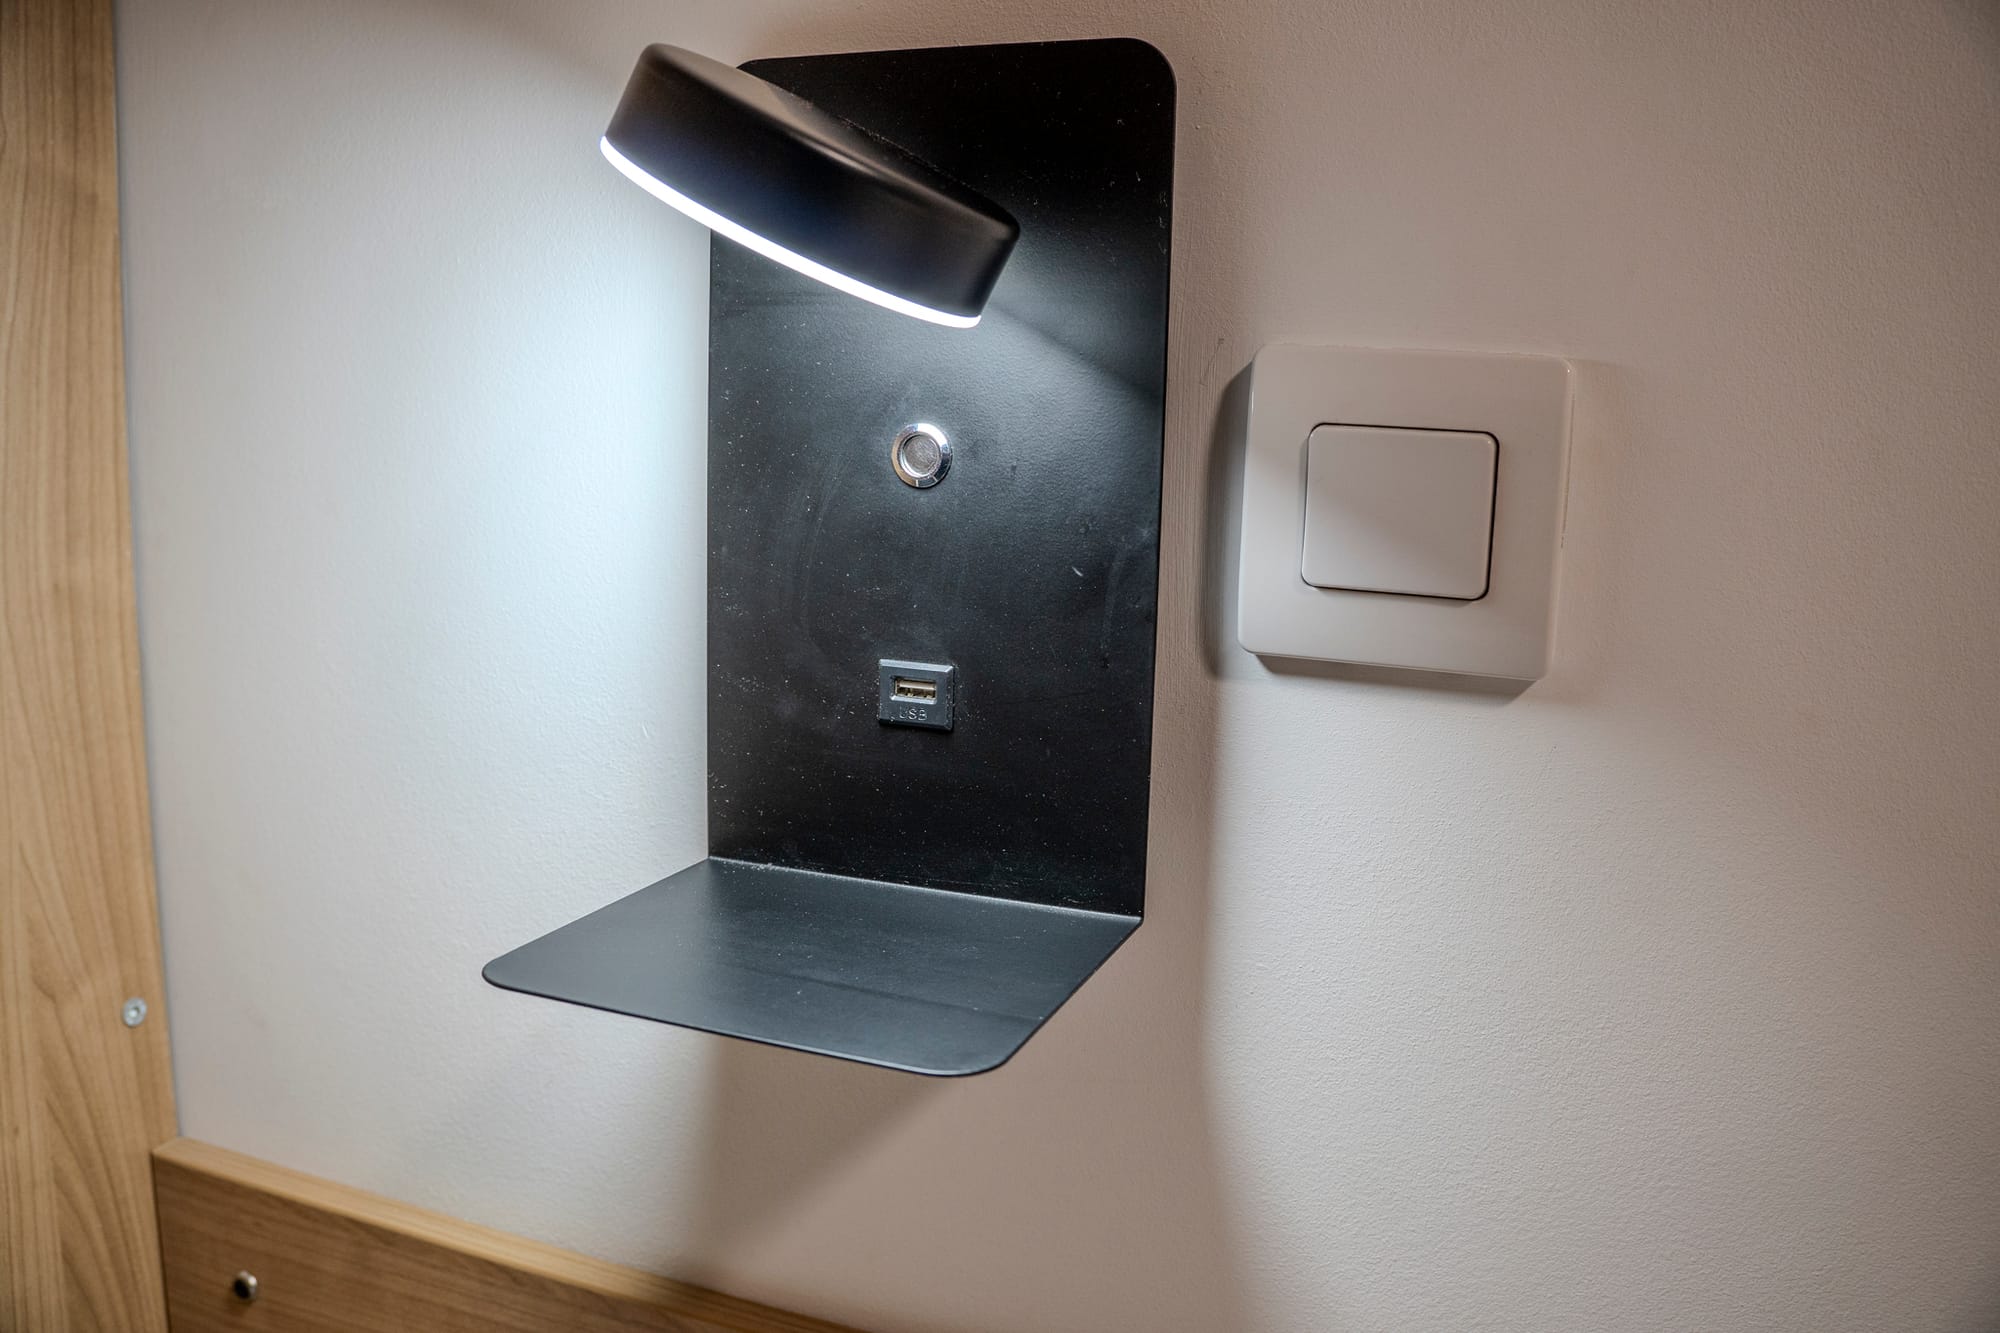
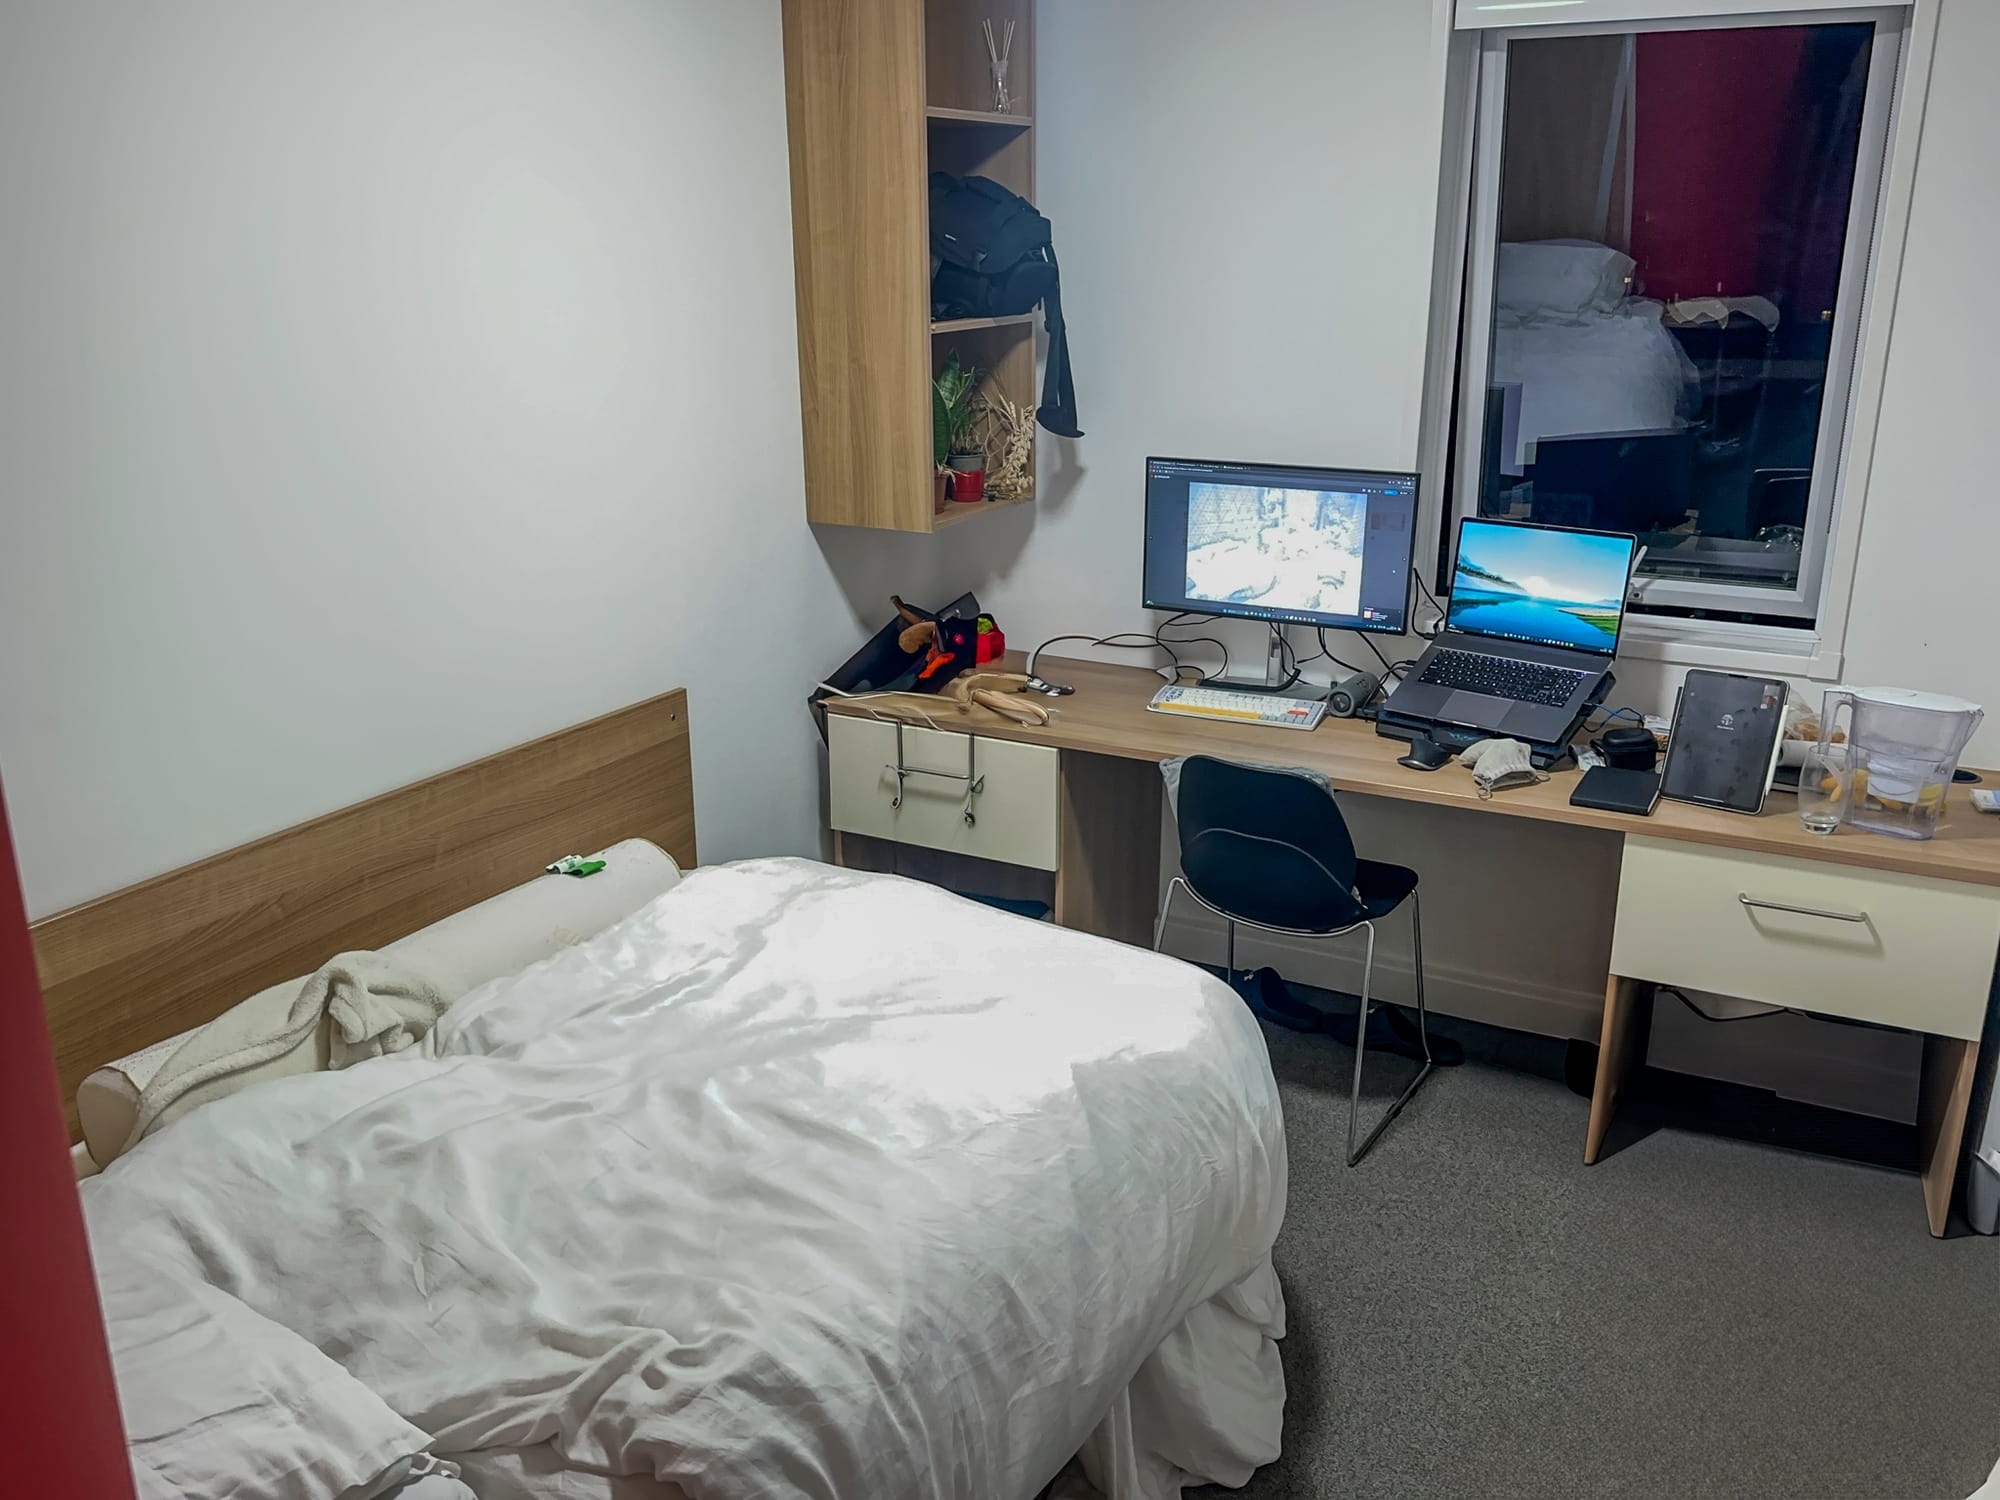
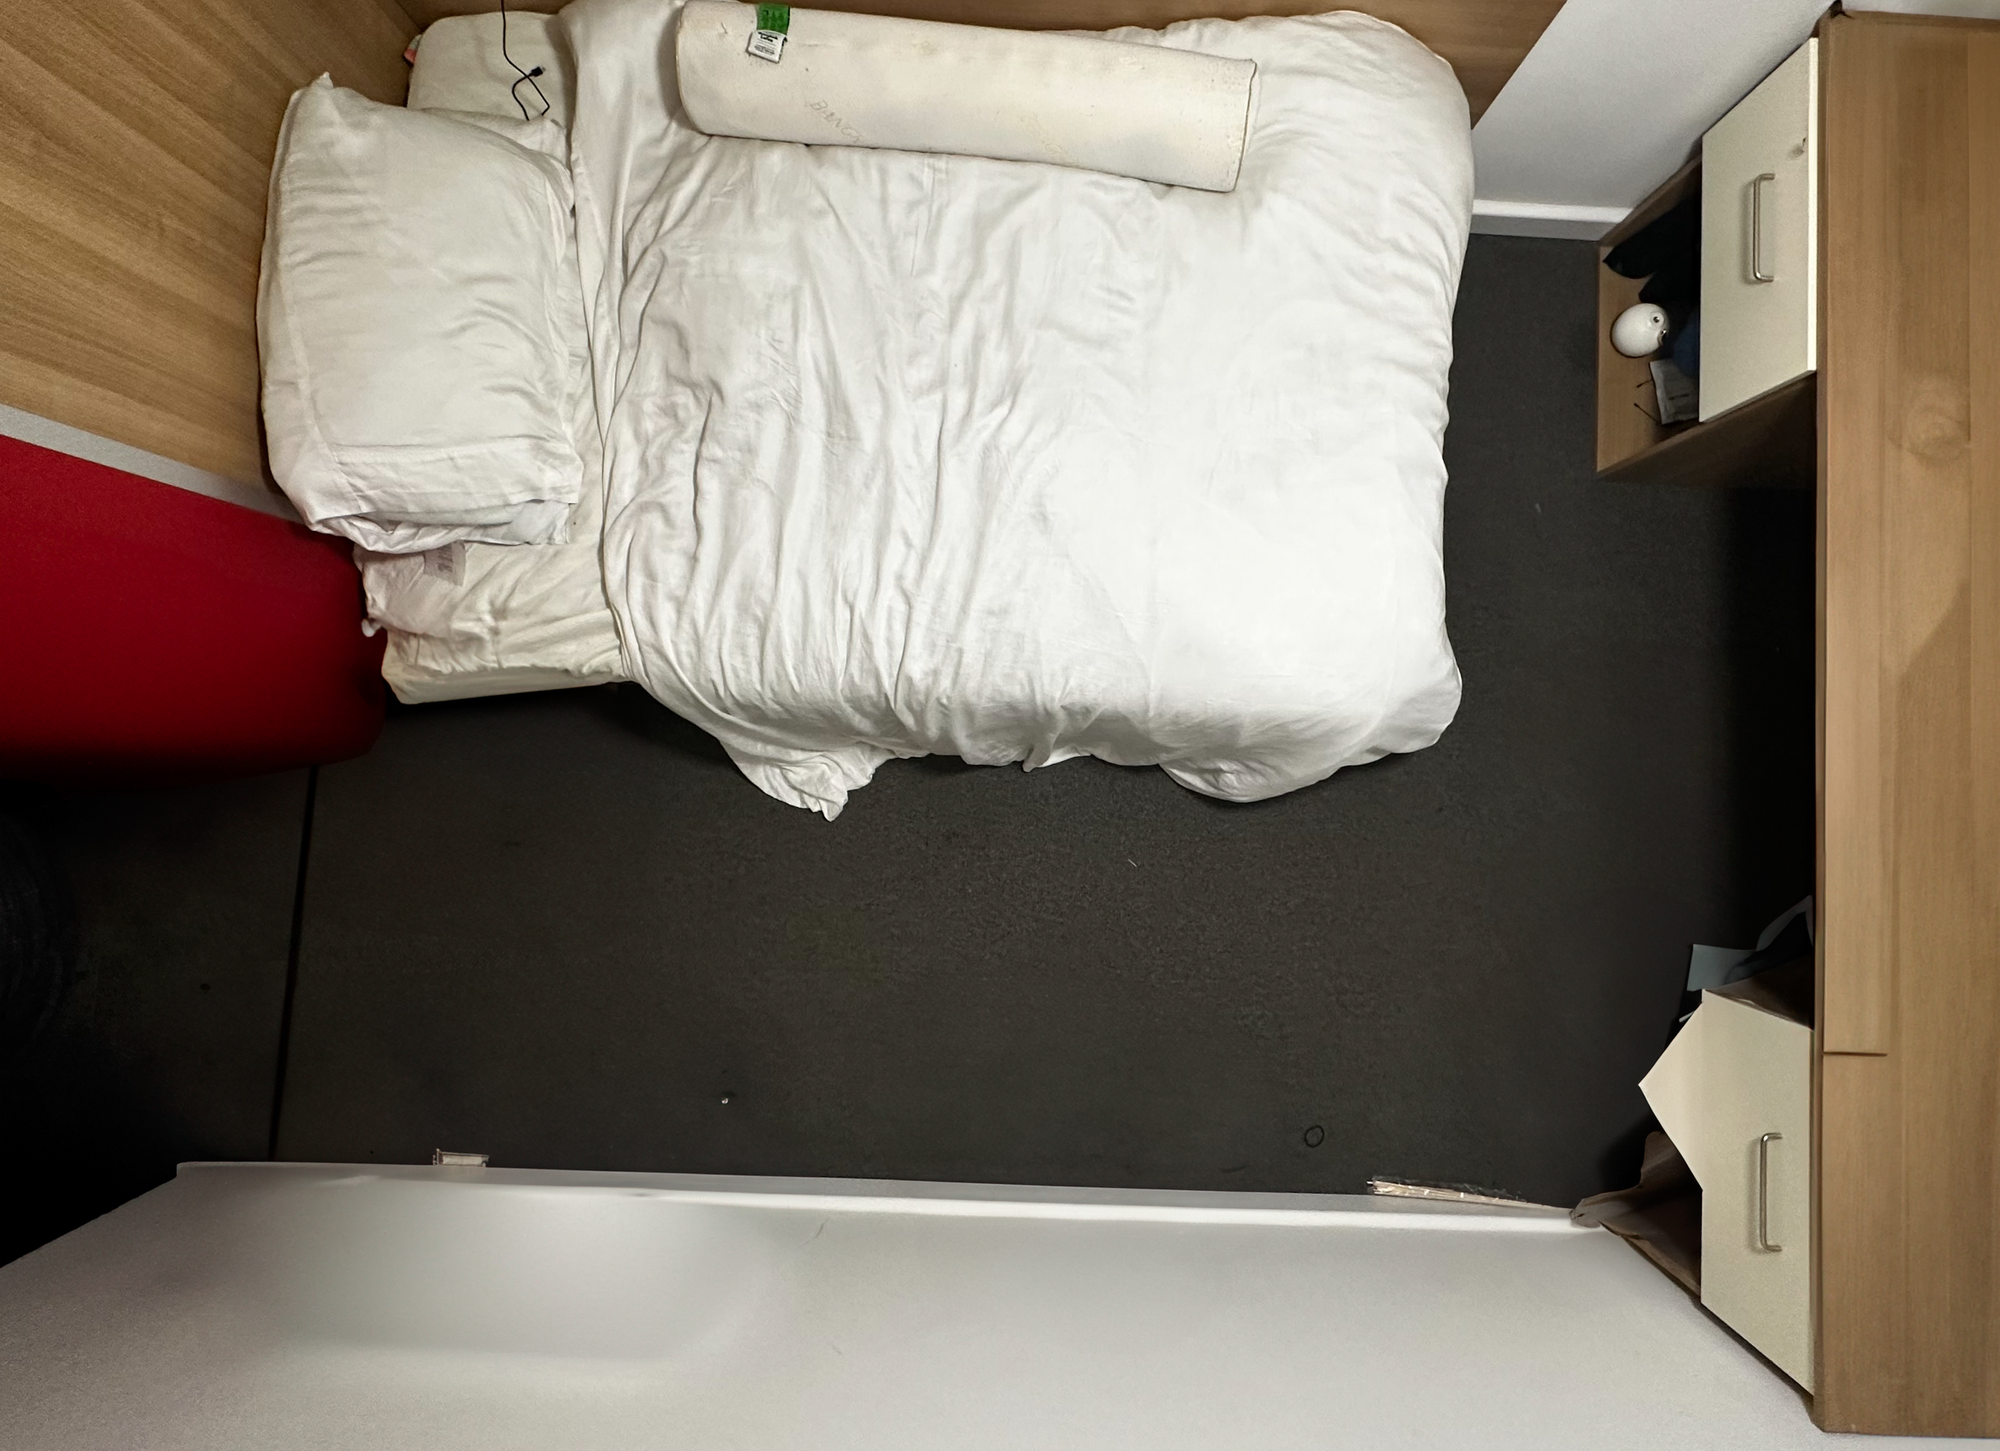
The project started with a personal and sensory analysis of my bed, focusing on the quiet beauty of the morning sun. Through sketches, photography, and time-lapse videos, I documented the daily transition from night to day. This initial study wasn't about dimensions, but about experience—the texture of bamboo woven sheets, the soft glow of a bedside lamp, and the specific way sunlight entered the room. It was an exercise in understanding how materials, light, and personal routine combine to create a sense of place.
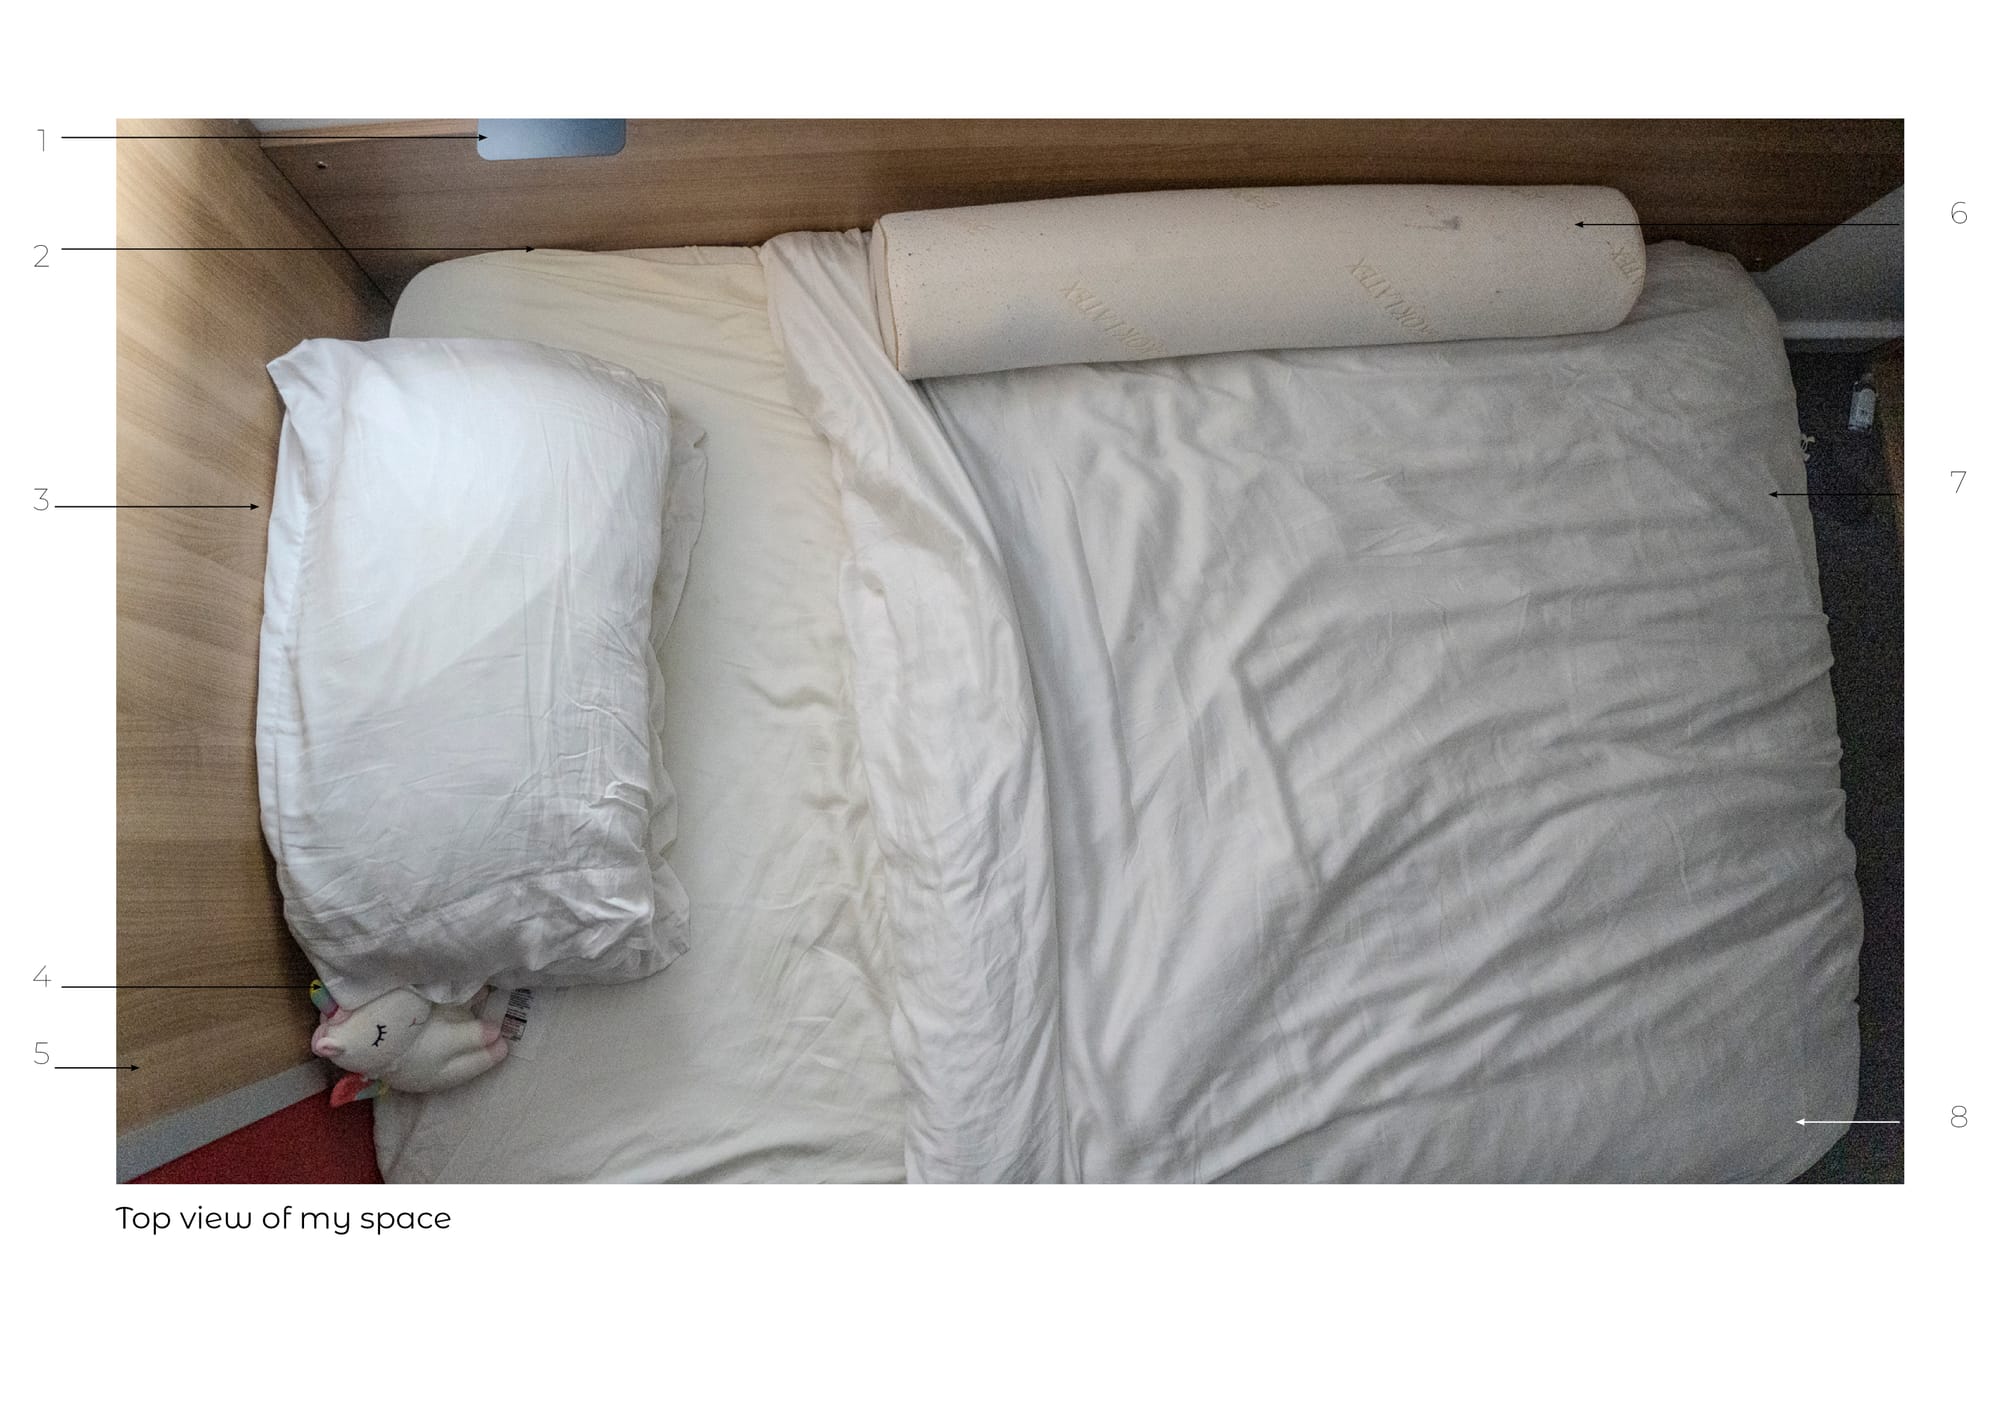
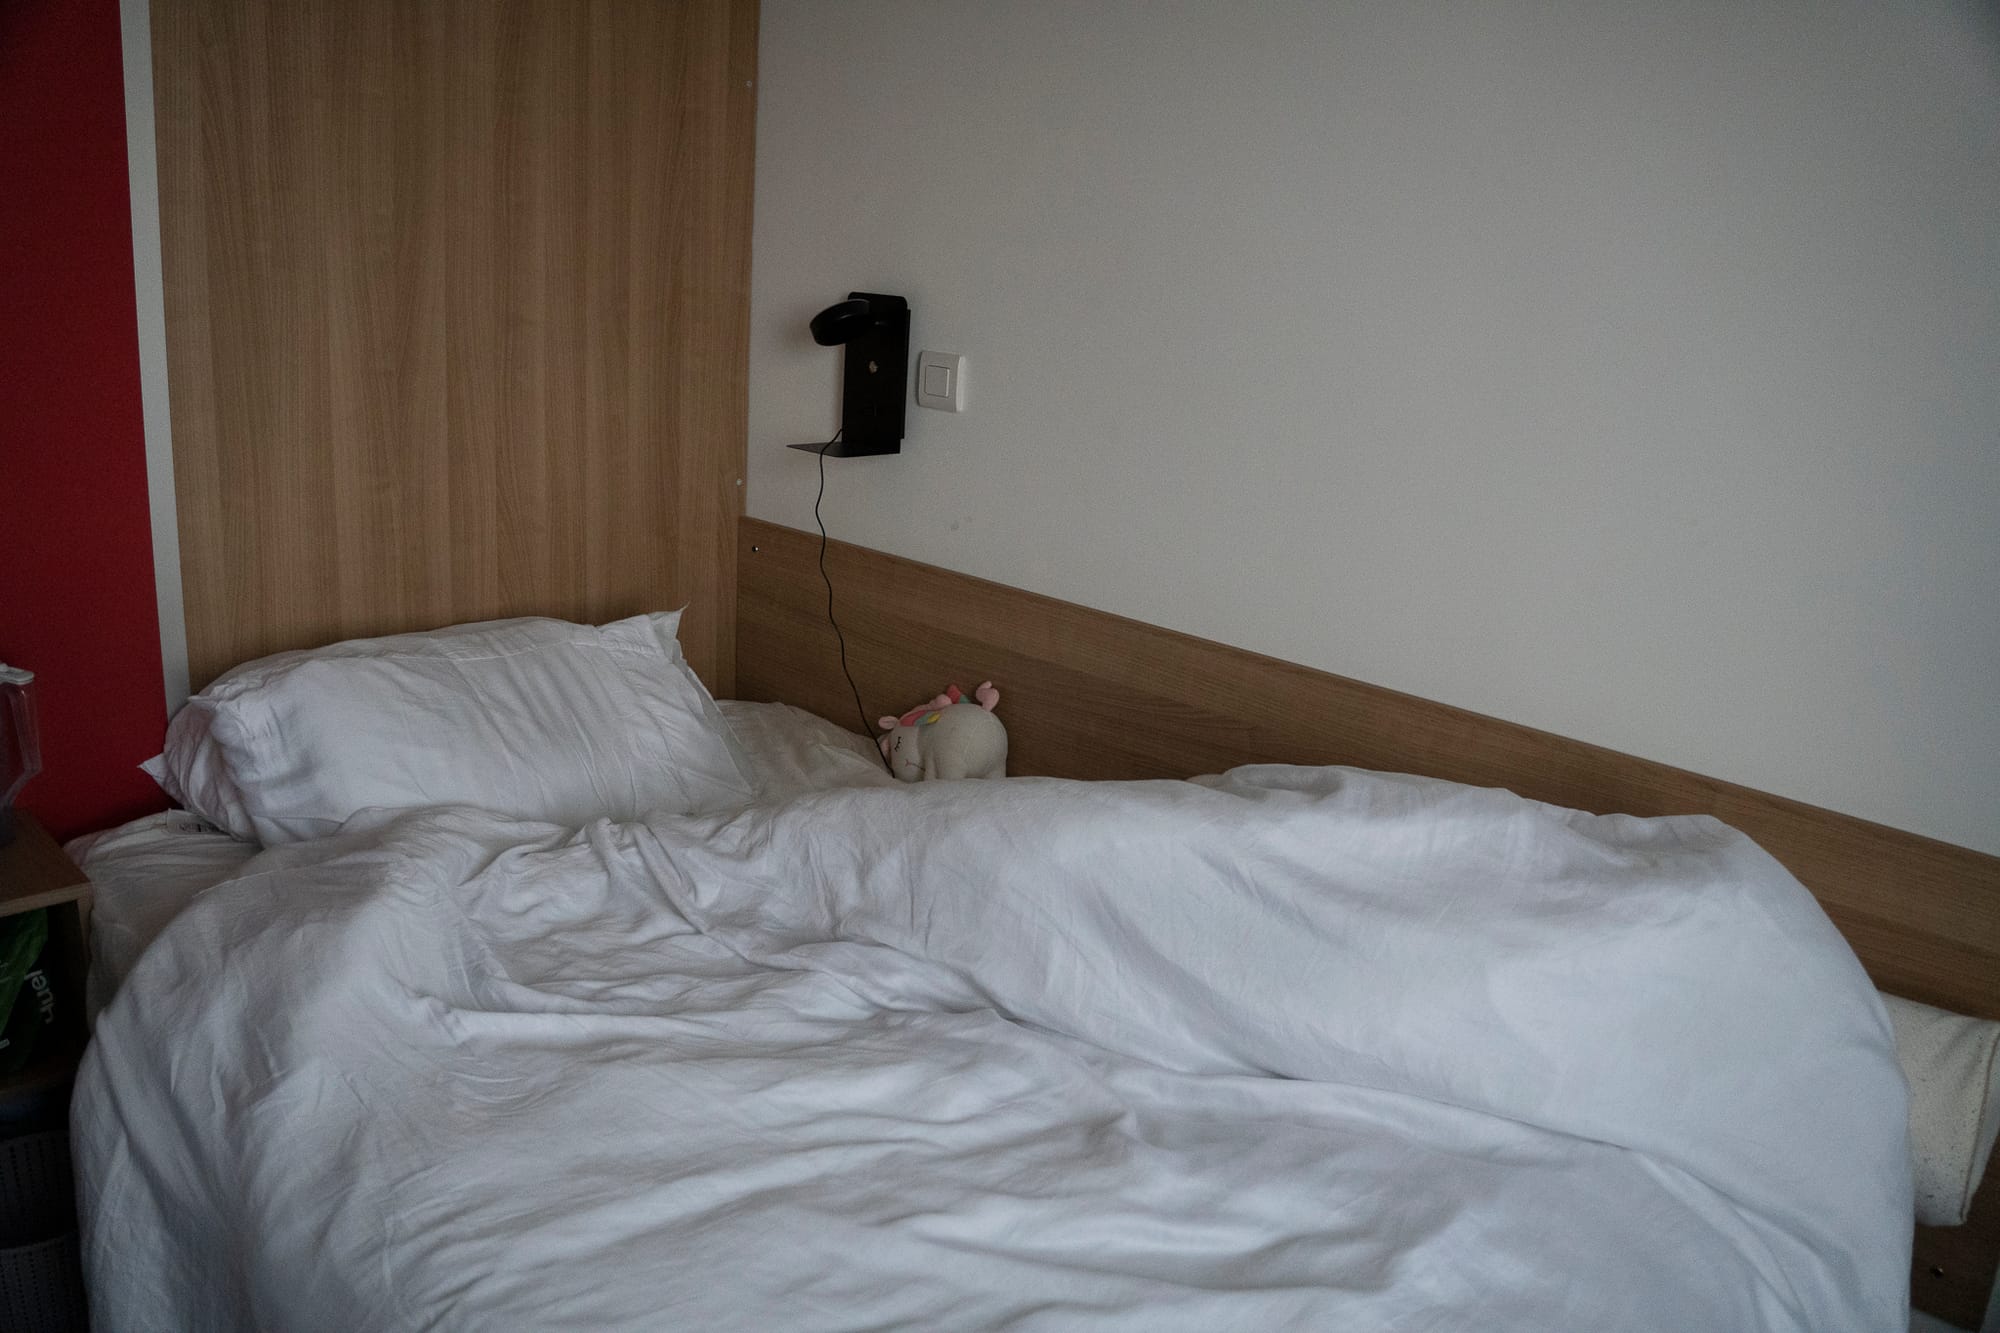
Main Elements
- Bedside Lamp
- 3/4 Mattress with Bamboo Cover
- Double Polyester Pillow with Bamboo Pillowcases
- Unicorn Toy
- Polished Wooden Headboard
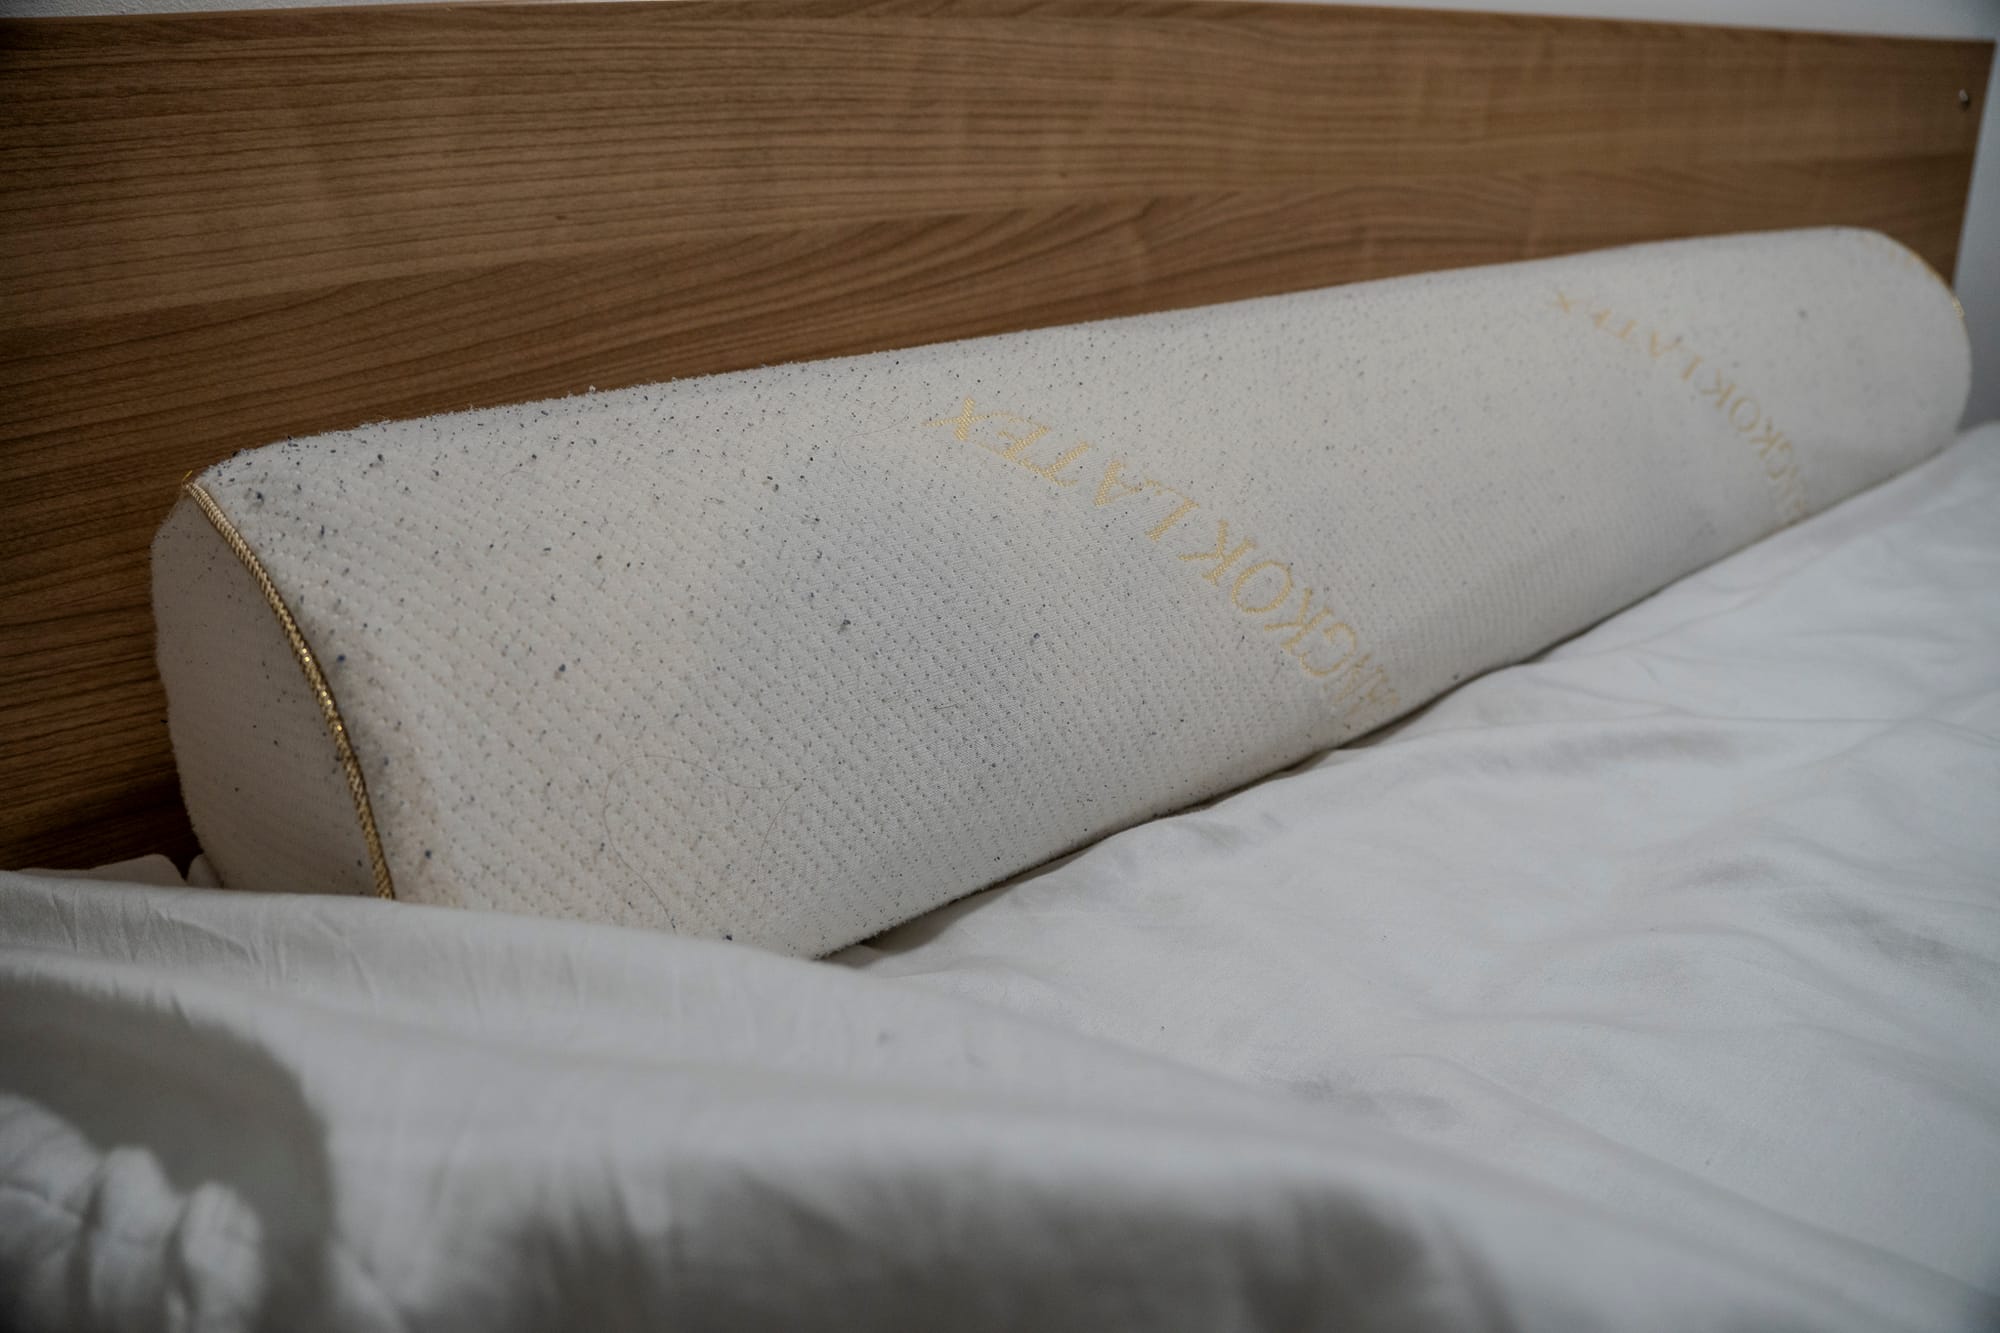
- Latex Bolester with Cotton Case.
- 10.5 Tog King Size Duvet with Bamboo Cover
- Rug
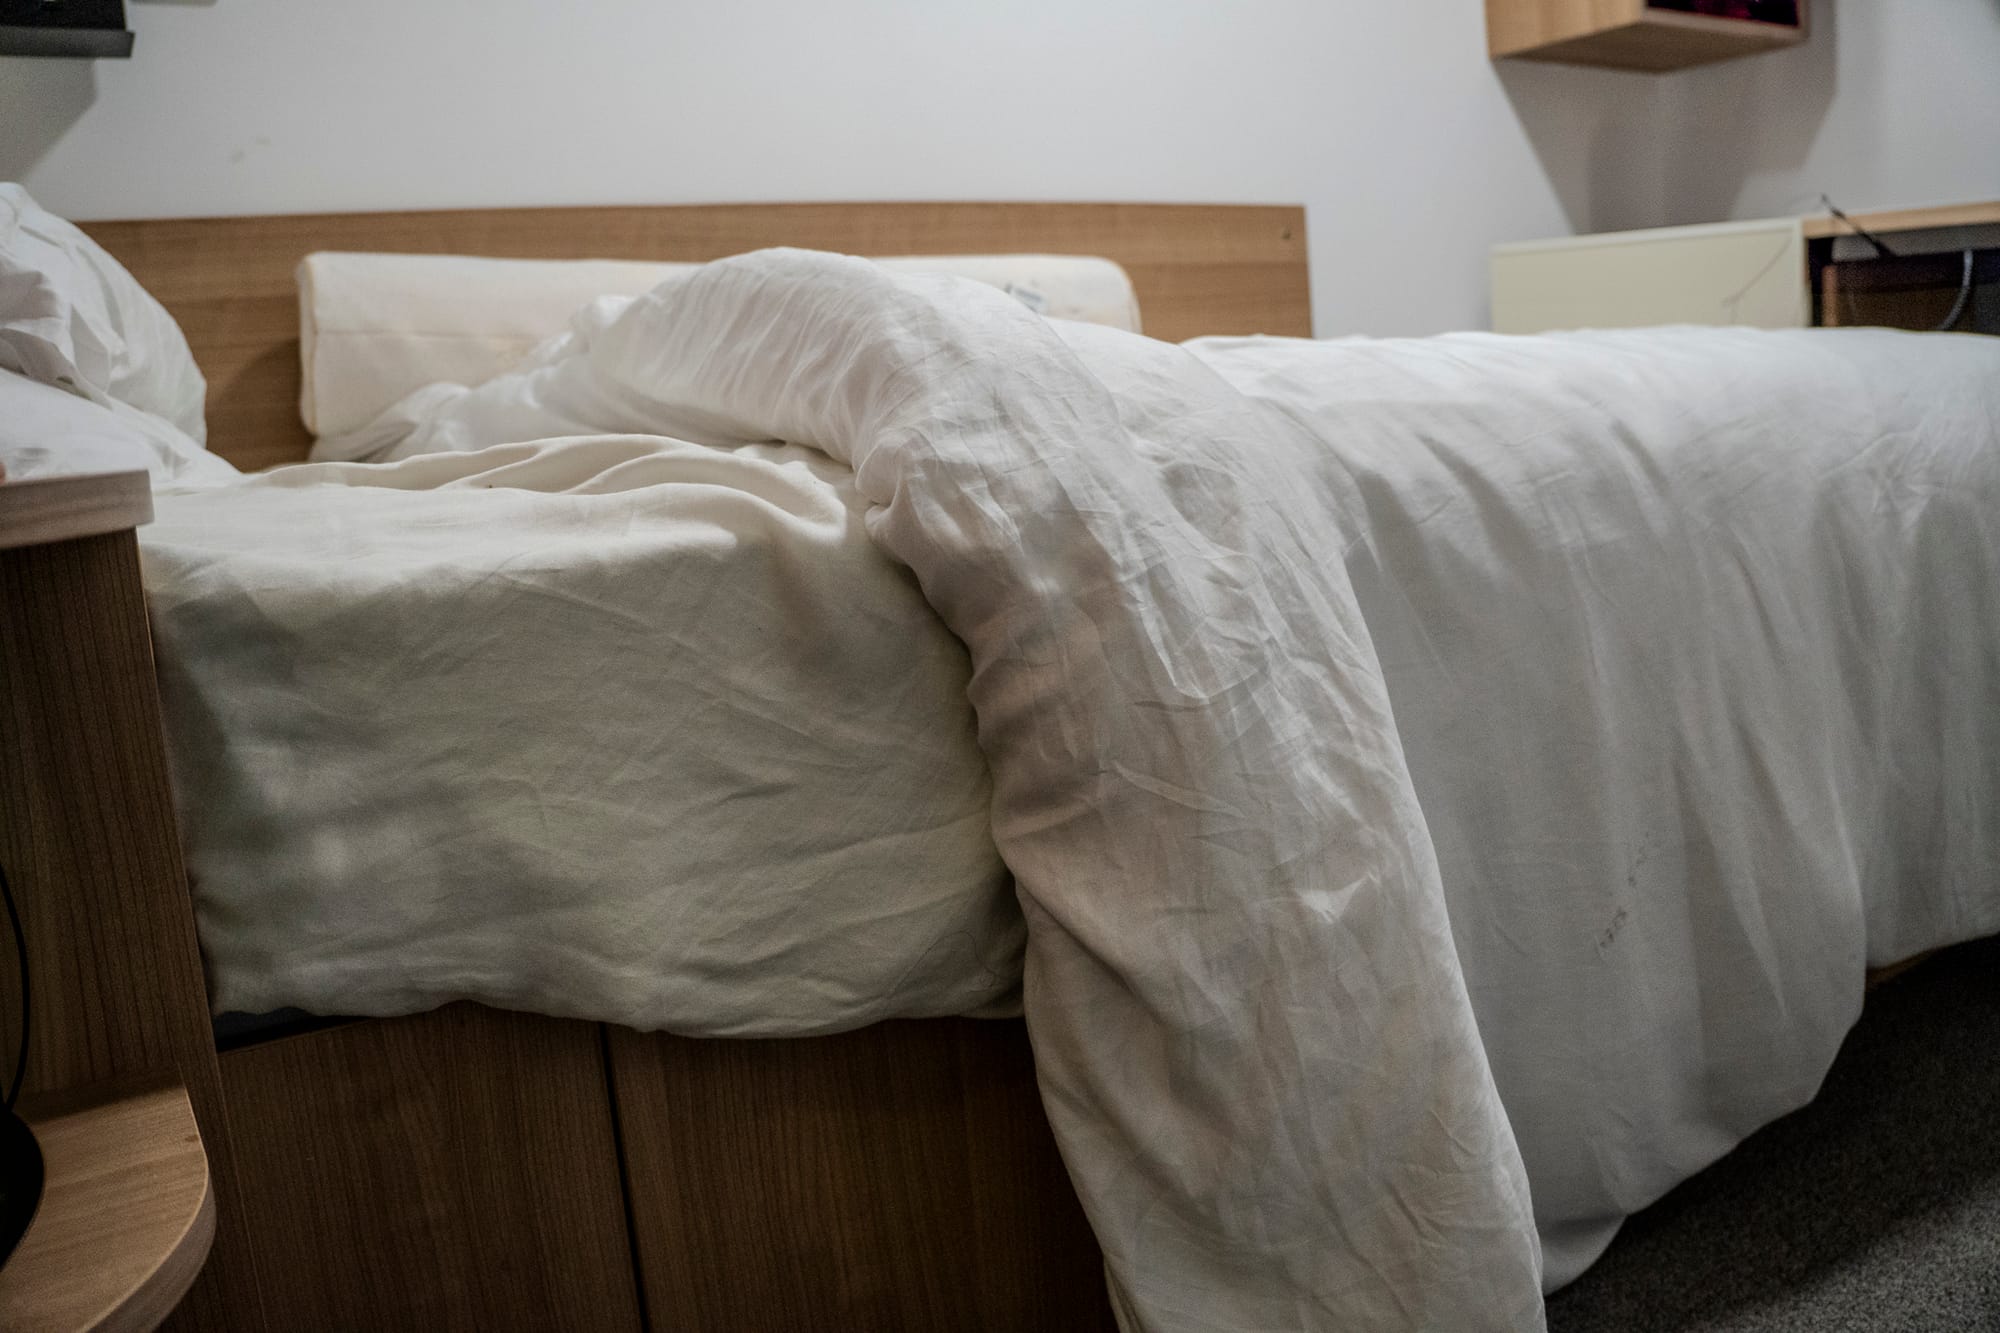
Main Elements of My Space(Bolester, Pillow, Bedside Lamp, Bed Sheets)
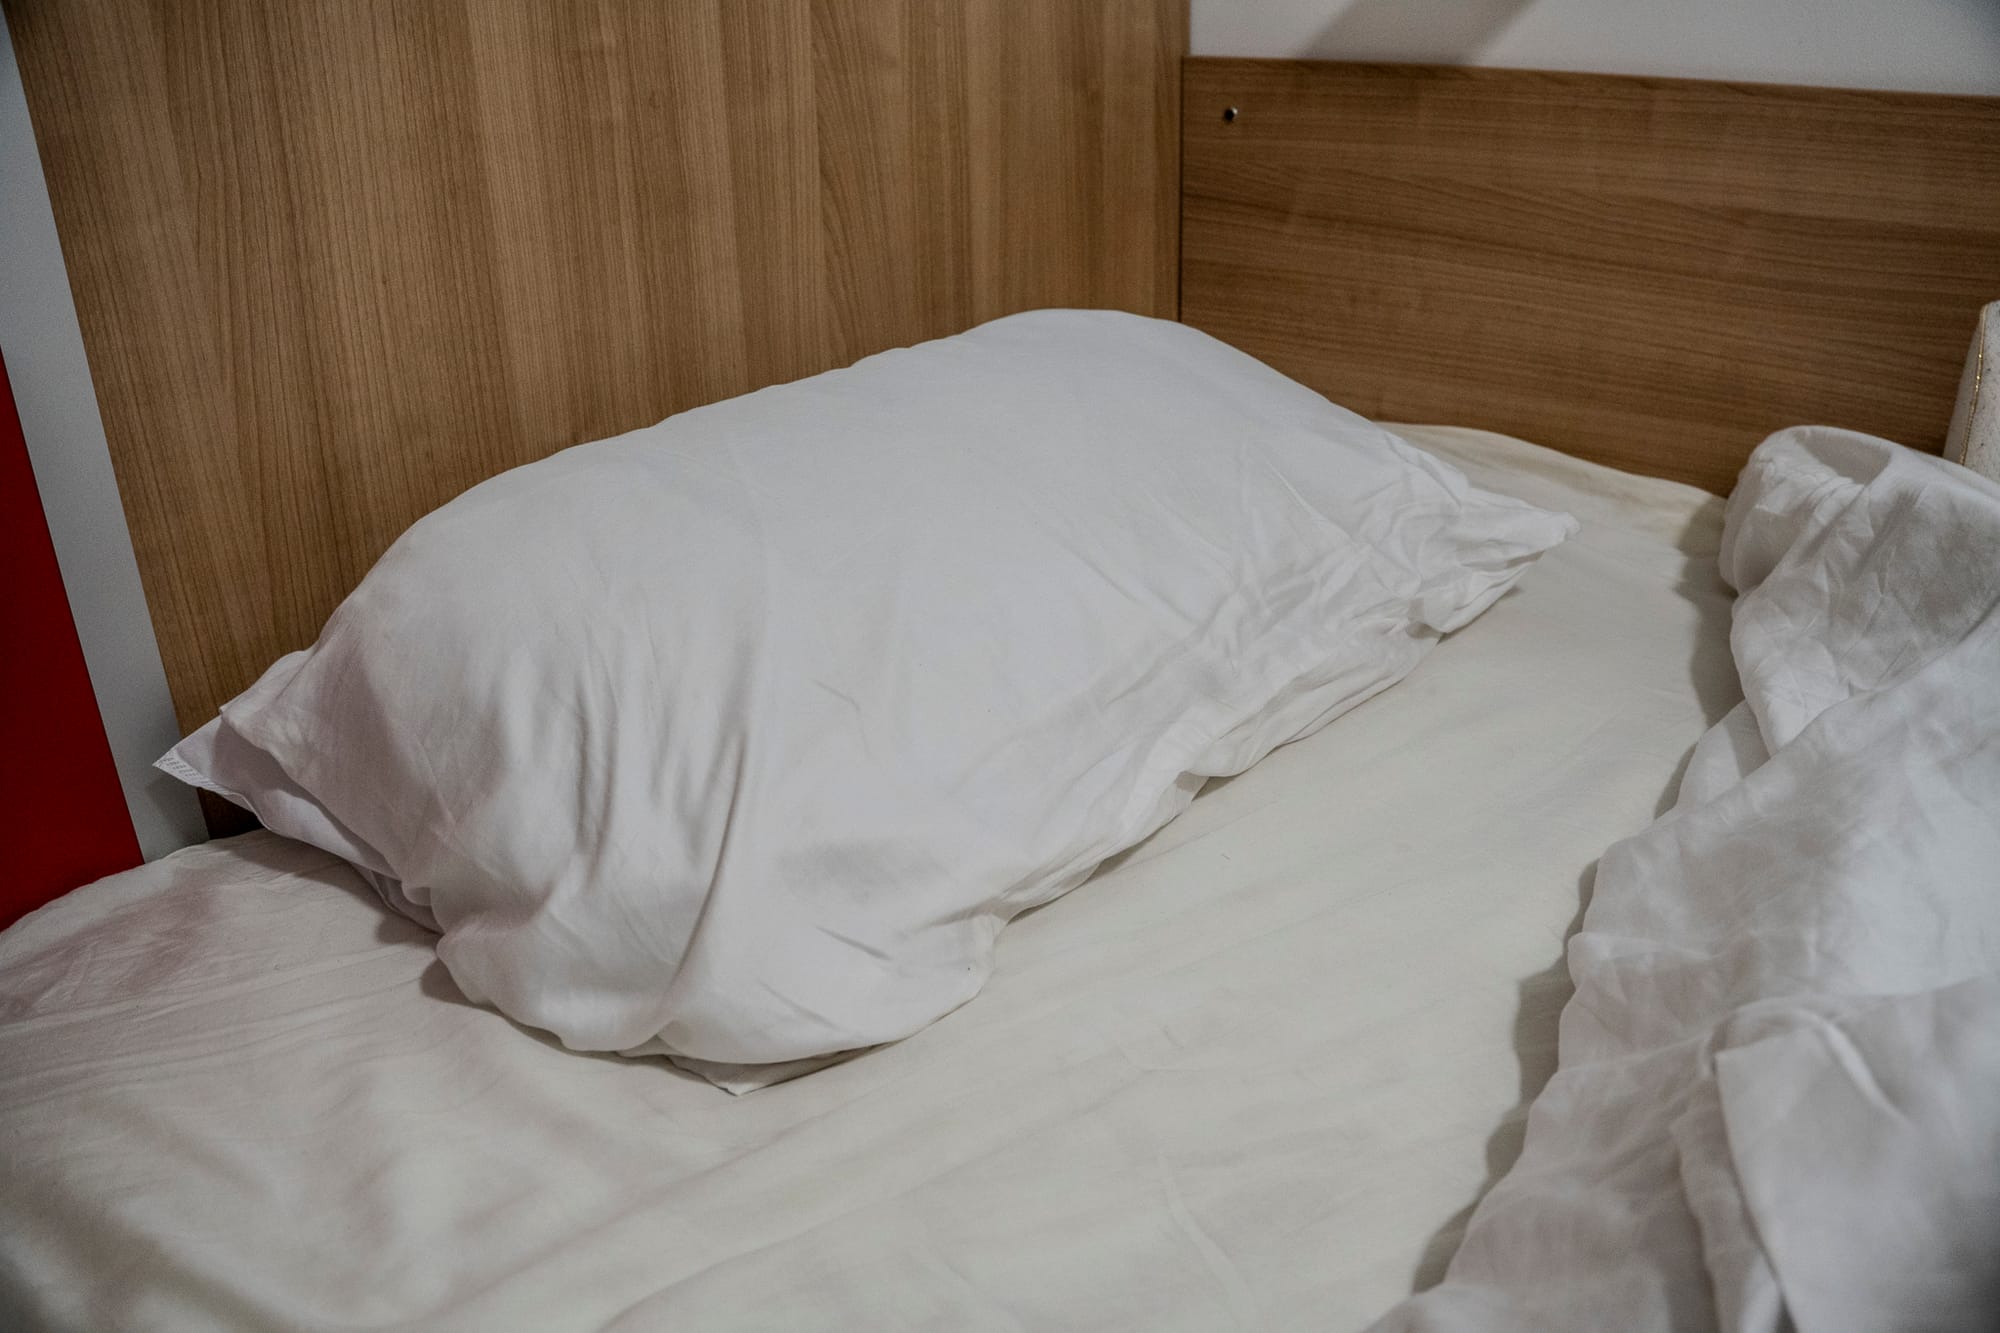
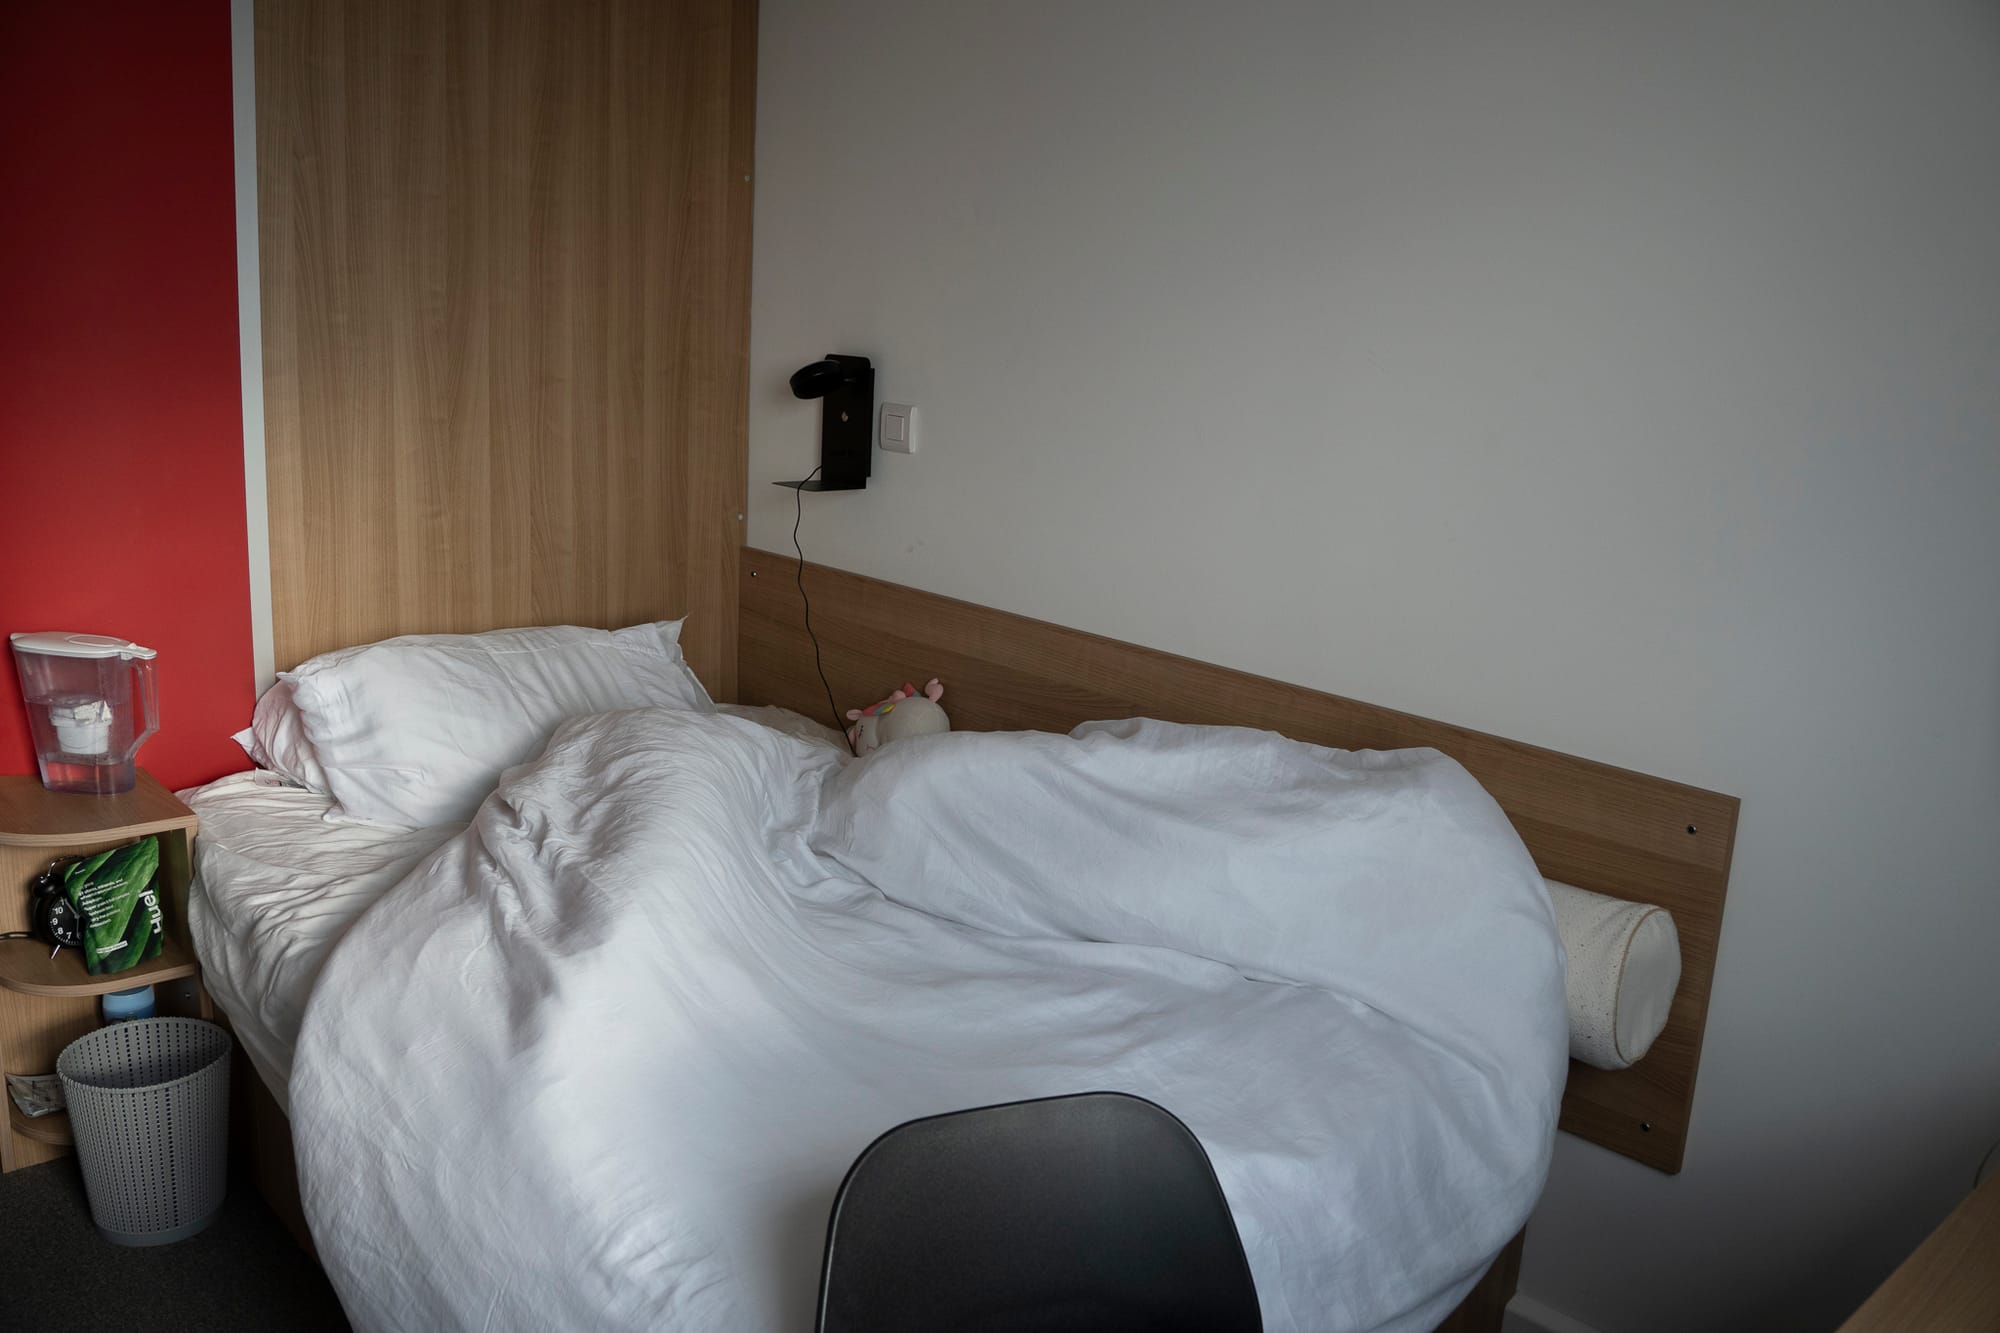
Fabric and Materiality
My personal space is shaped by several elements of perfectionism, with the bed being one of them. At first glance, the bed may seem ordinary, but upon closer inspection of the fabrics, it reveals a deeper attention to detail.r
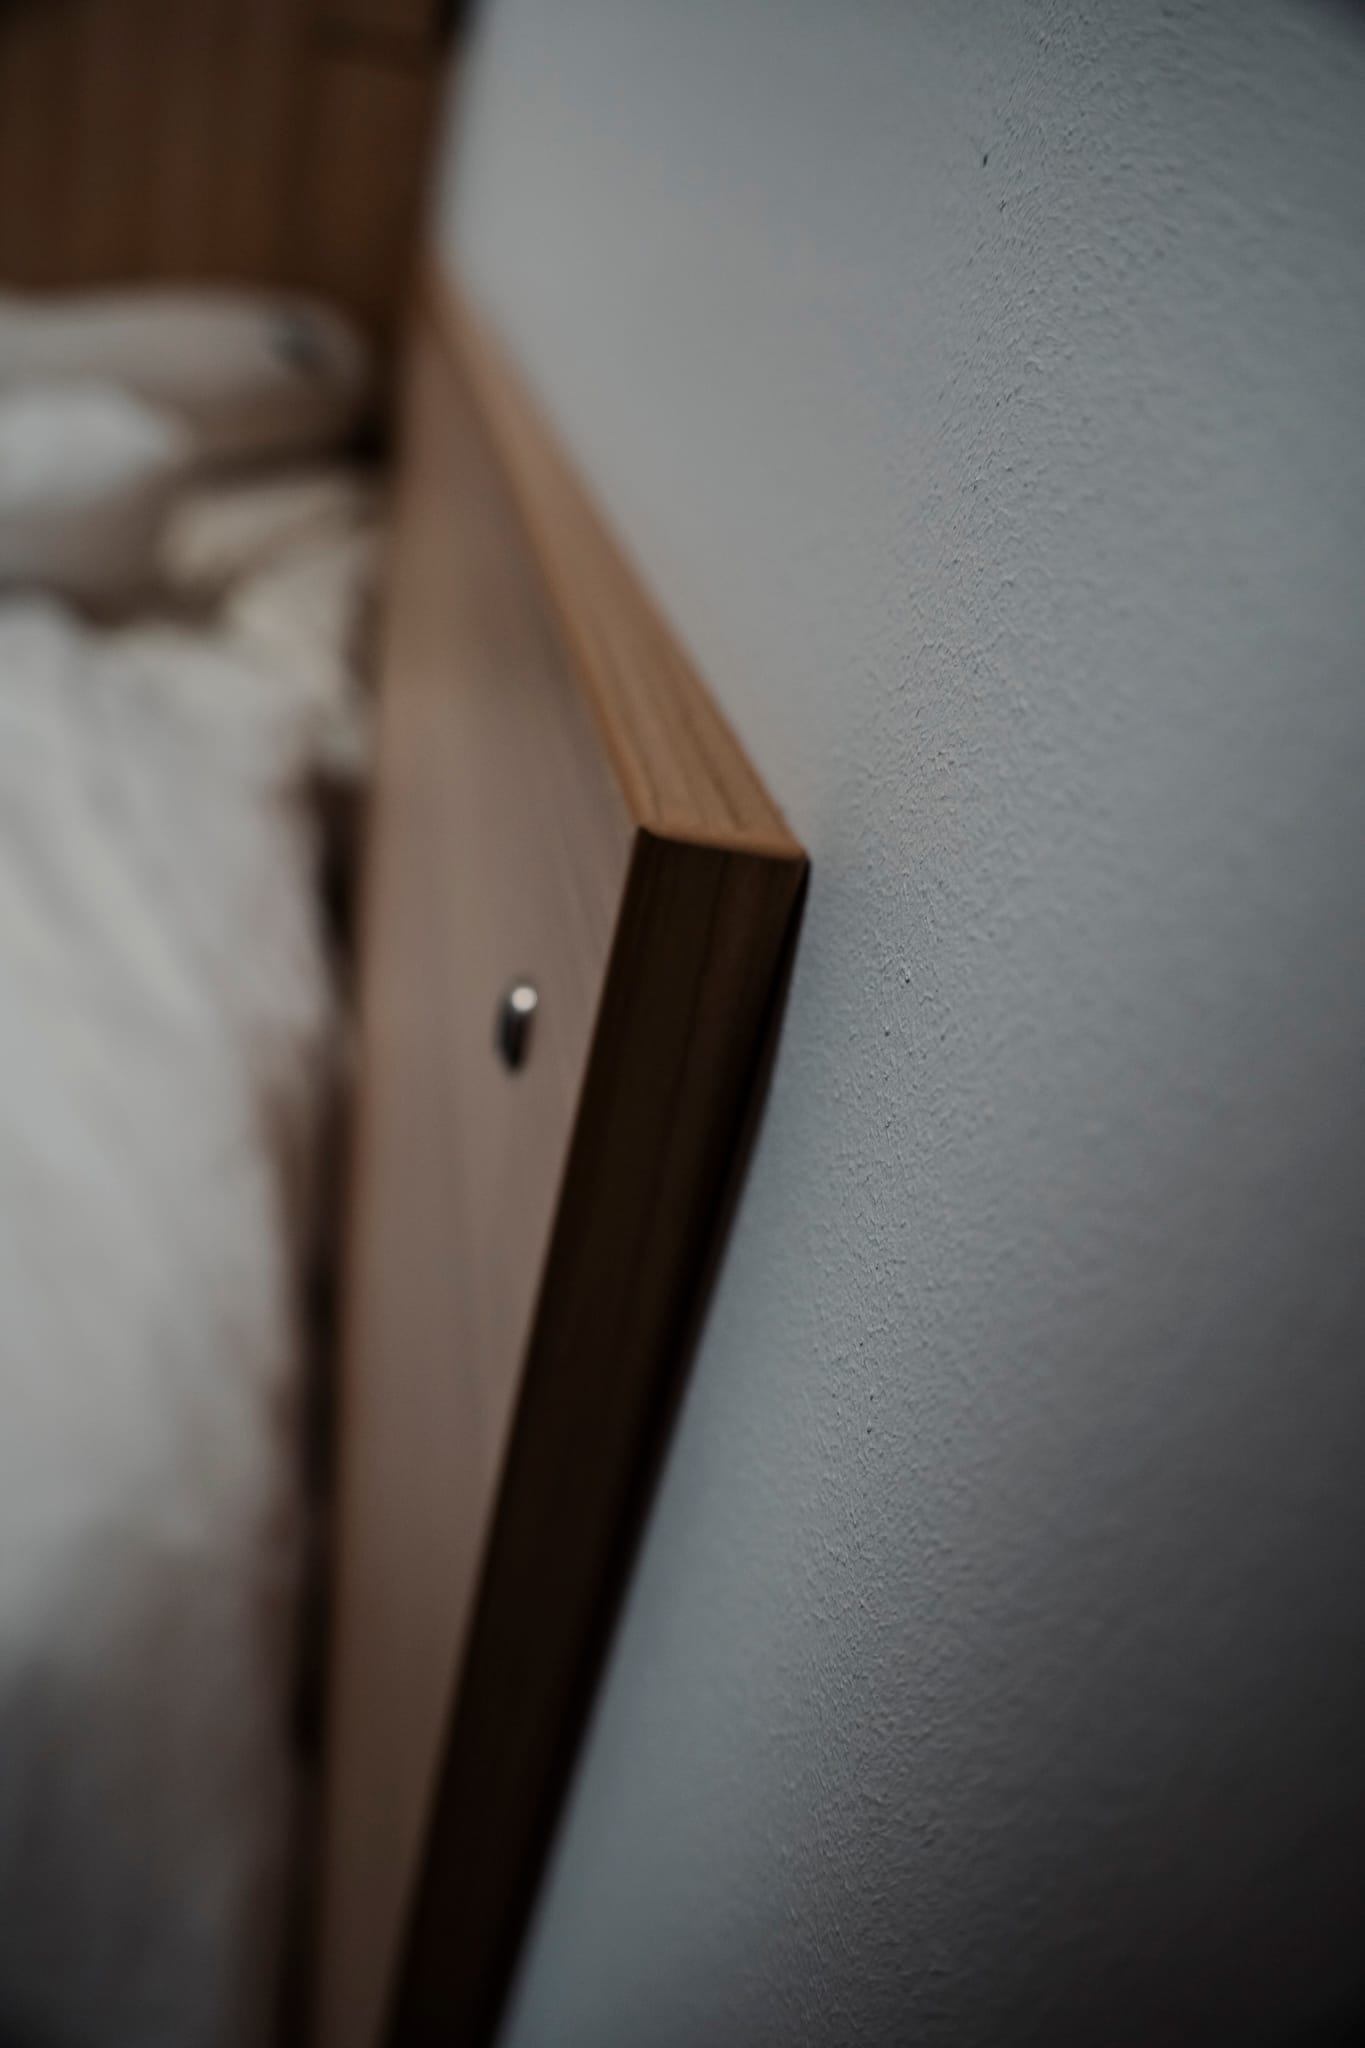
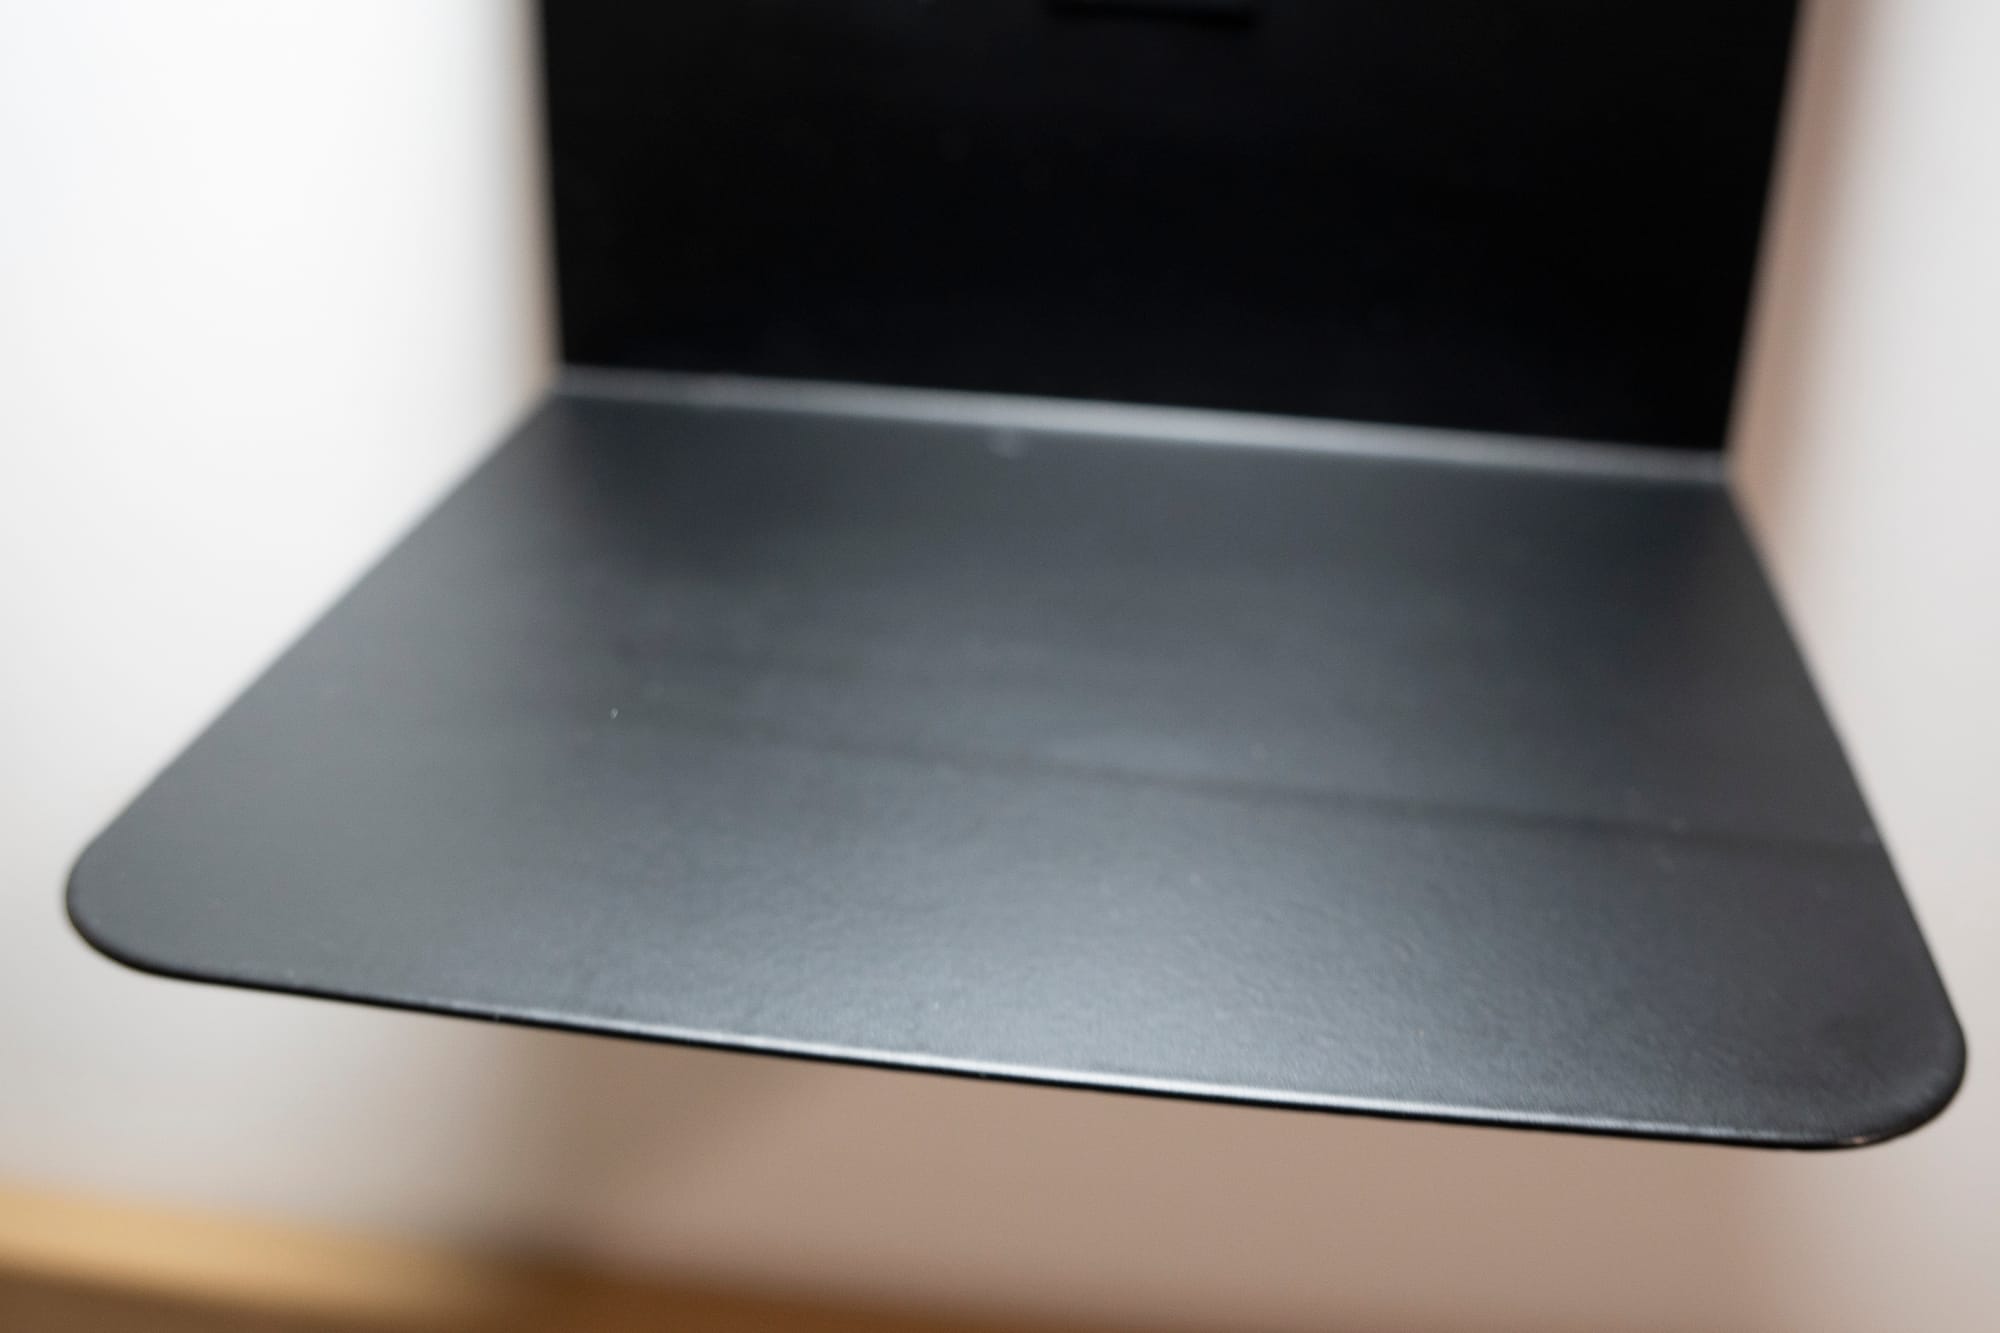
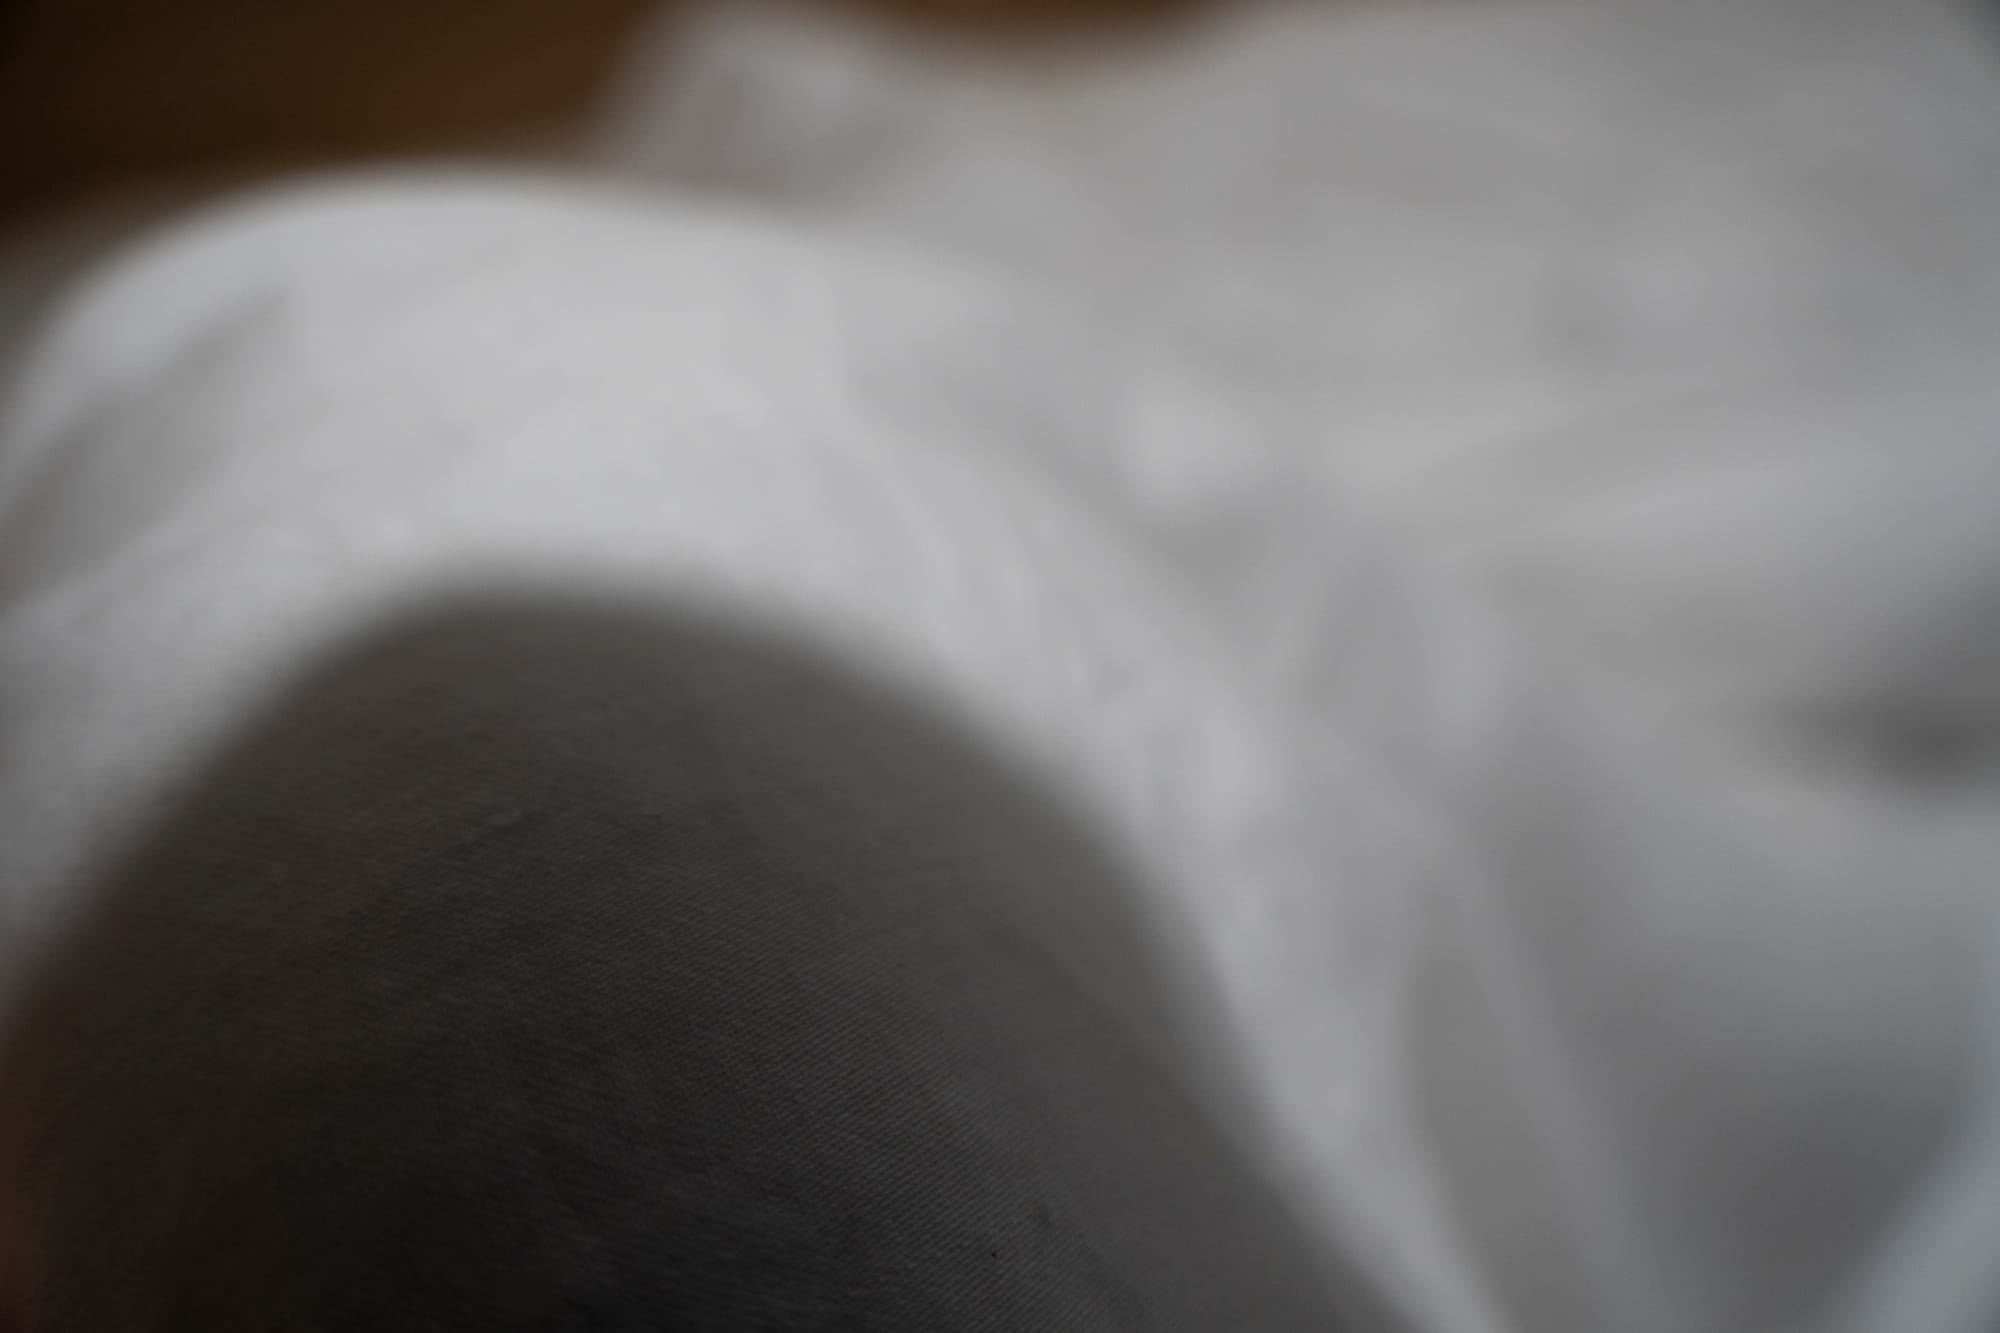
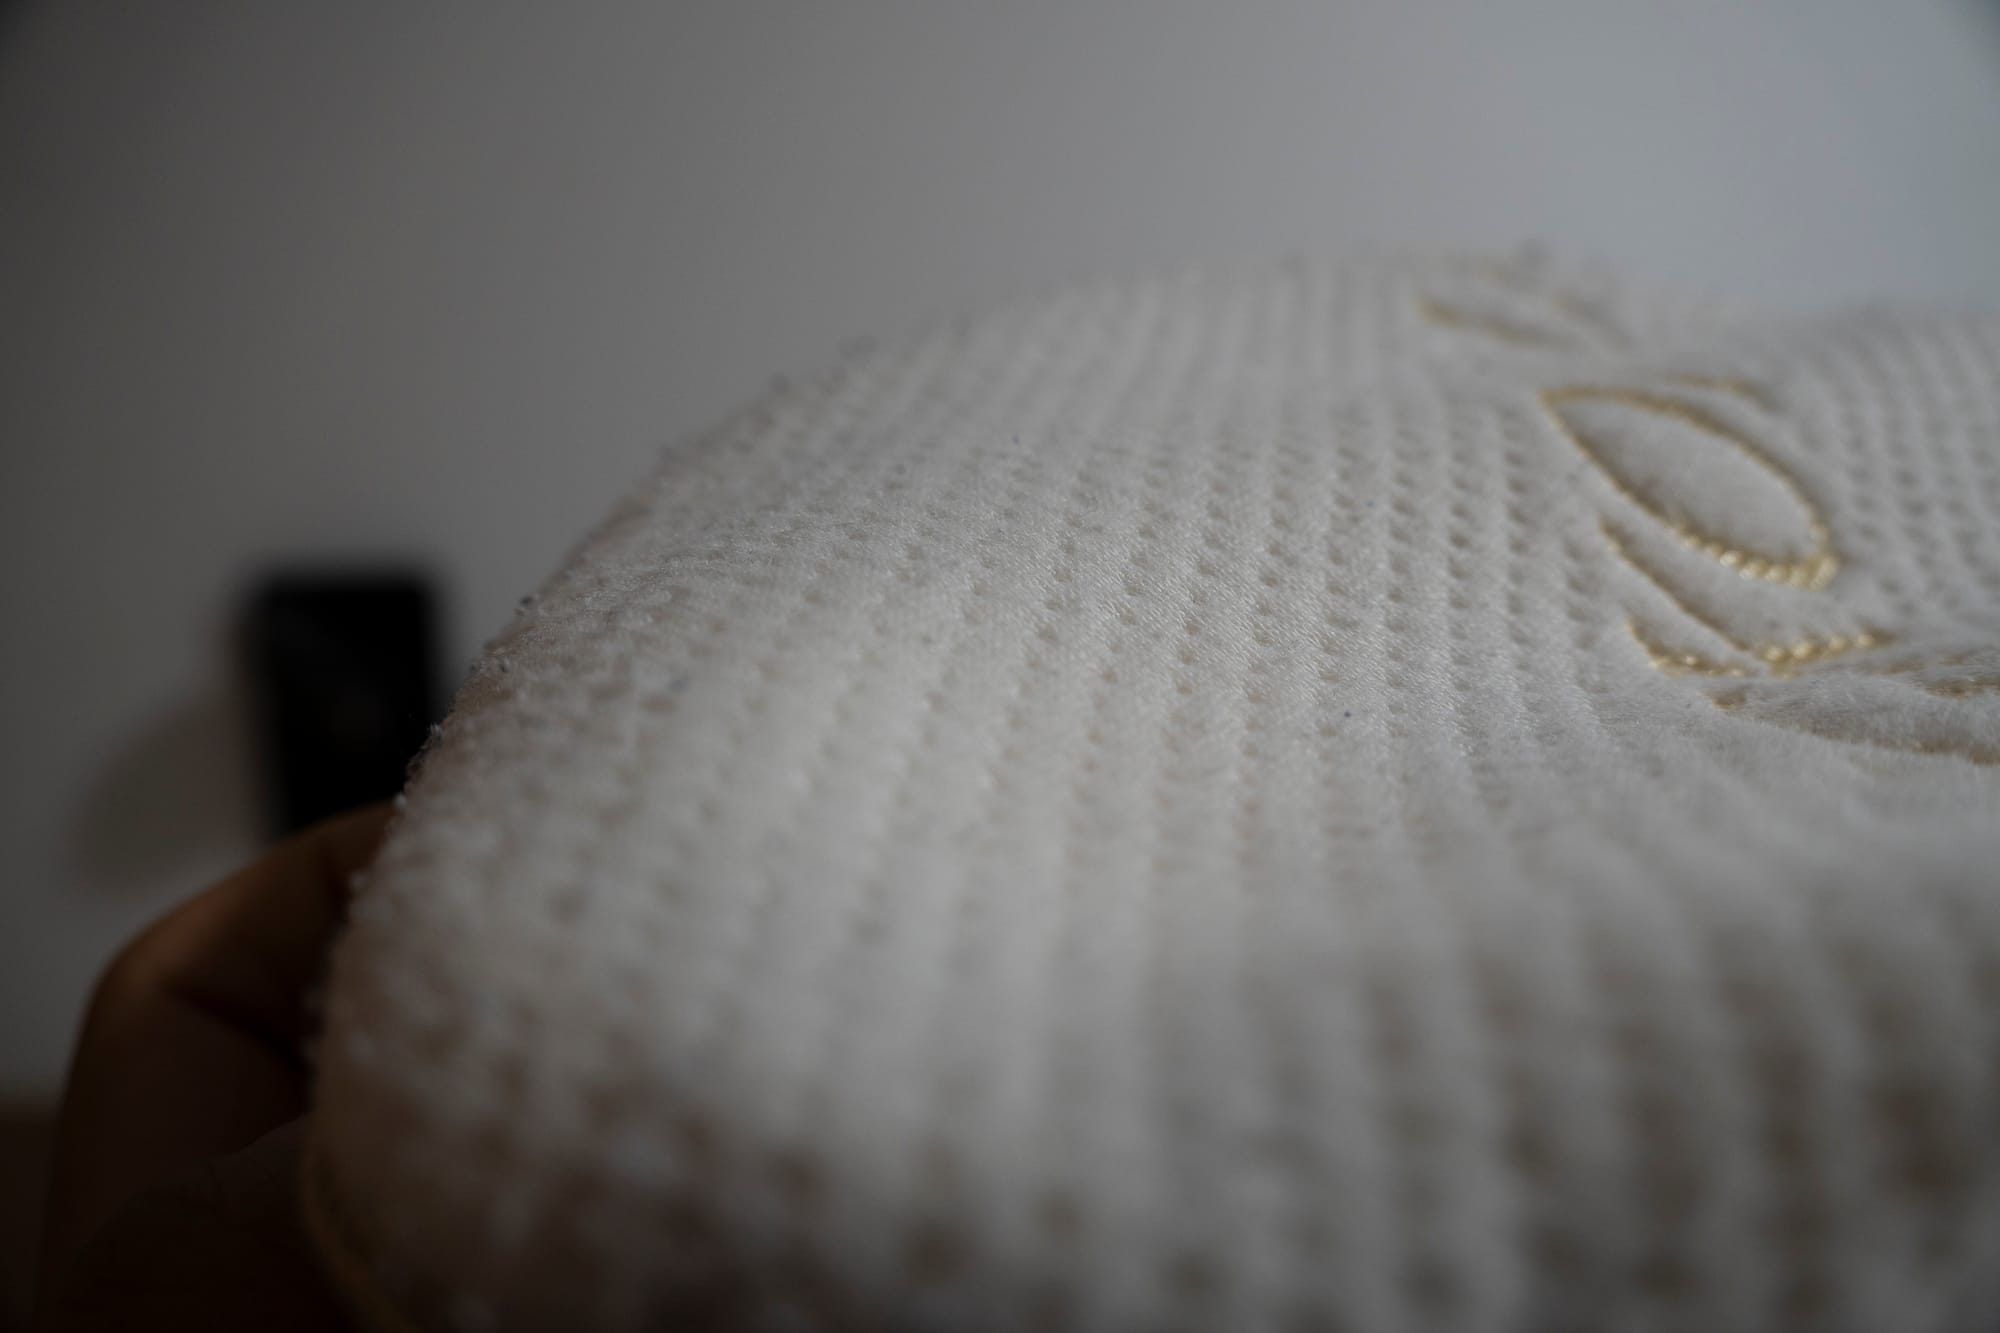
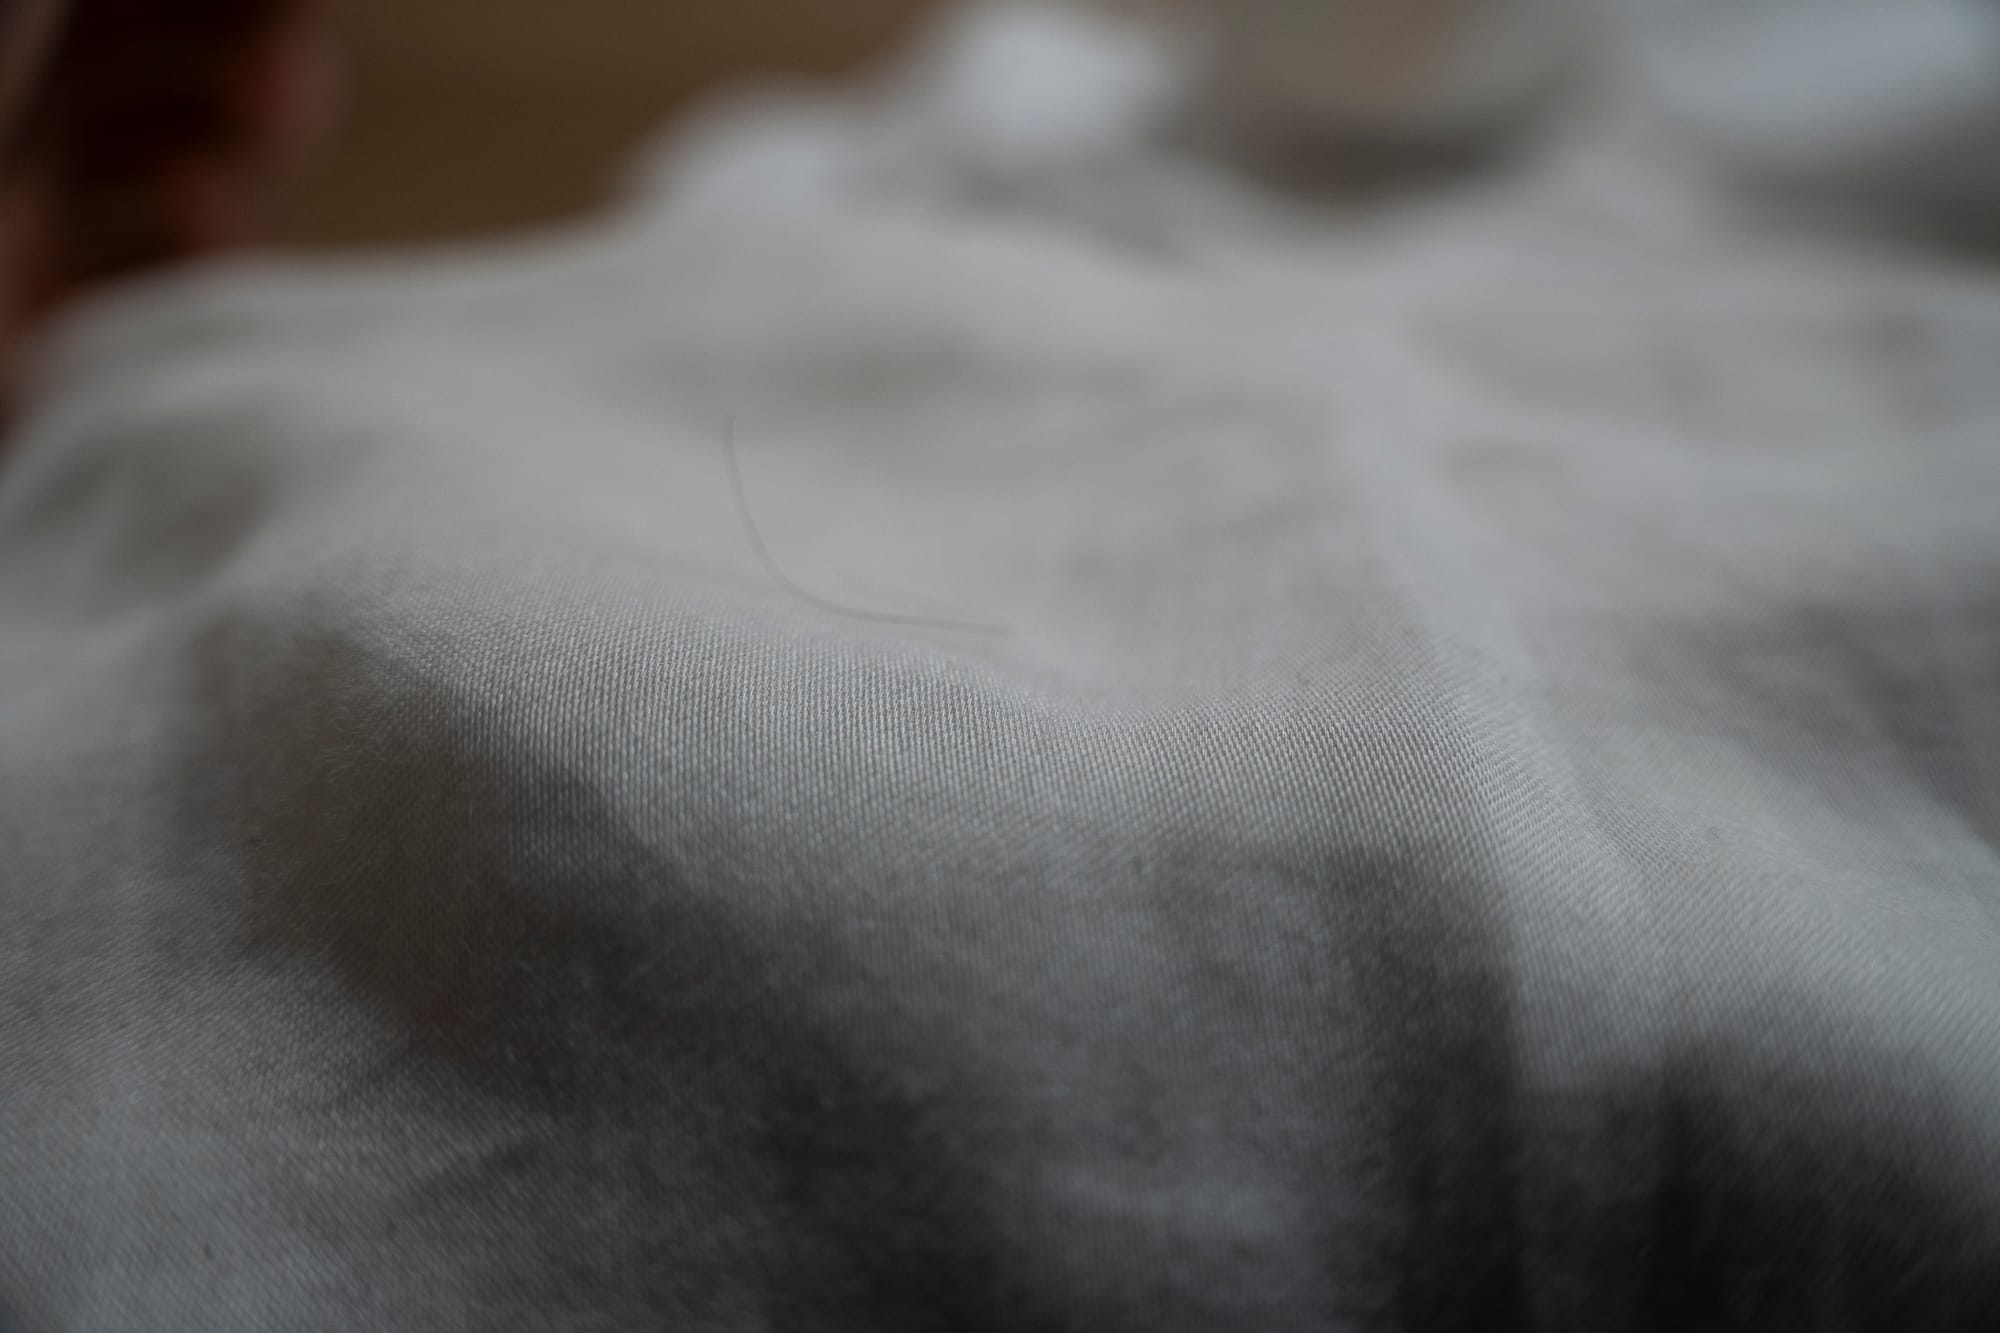
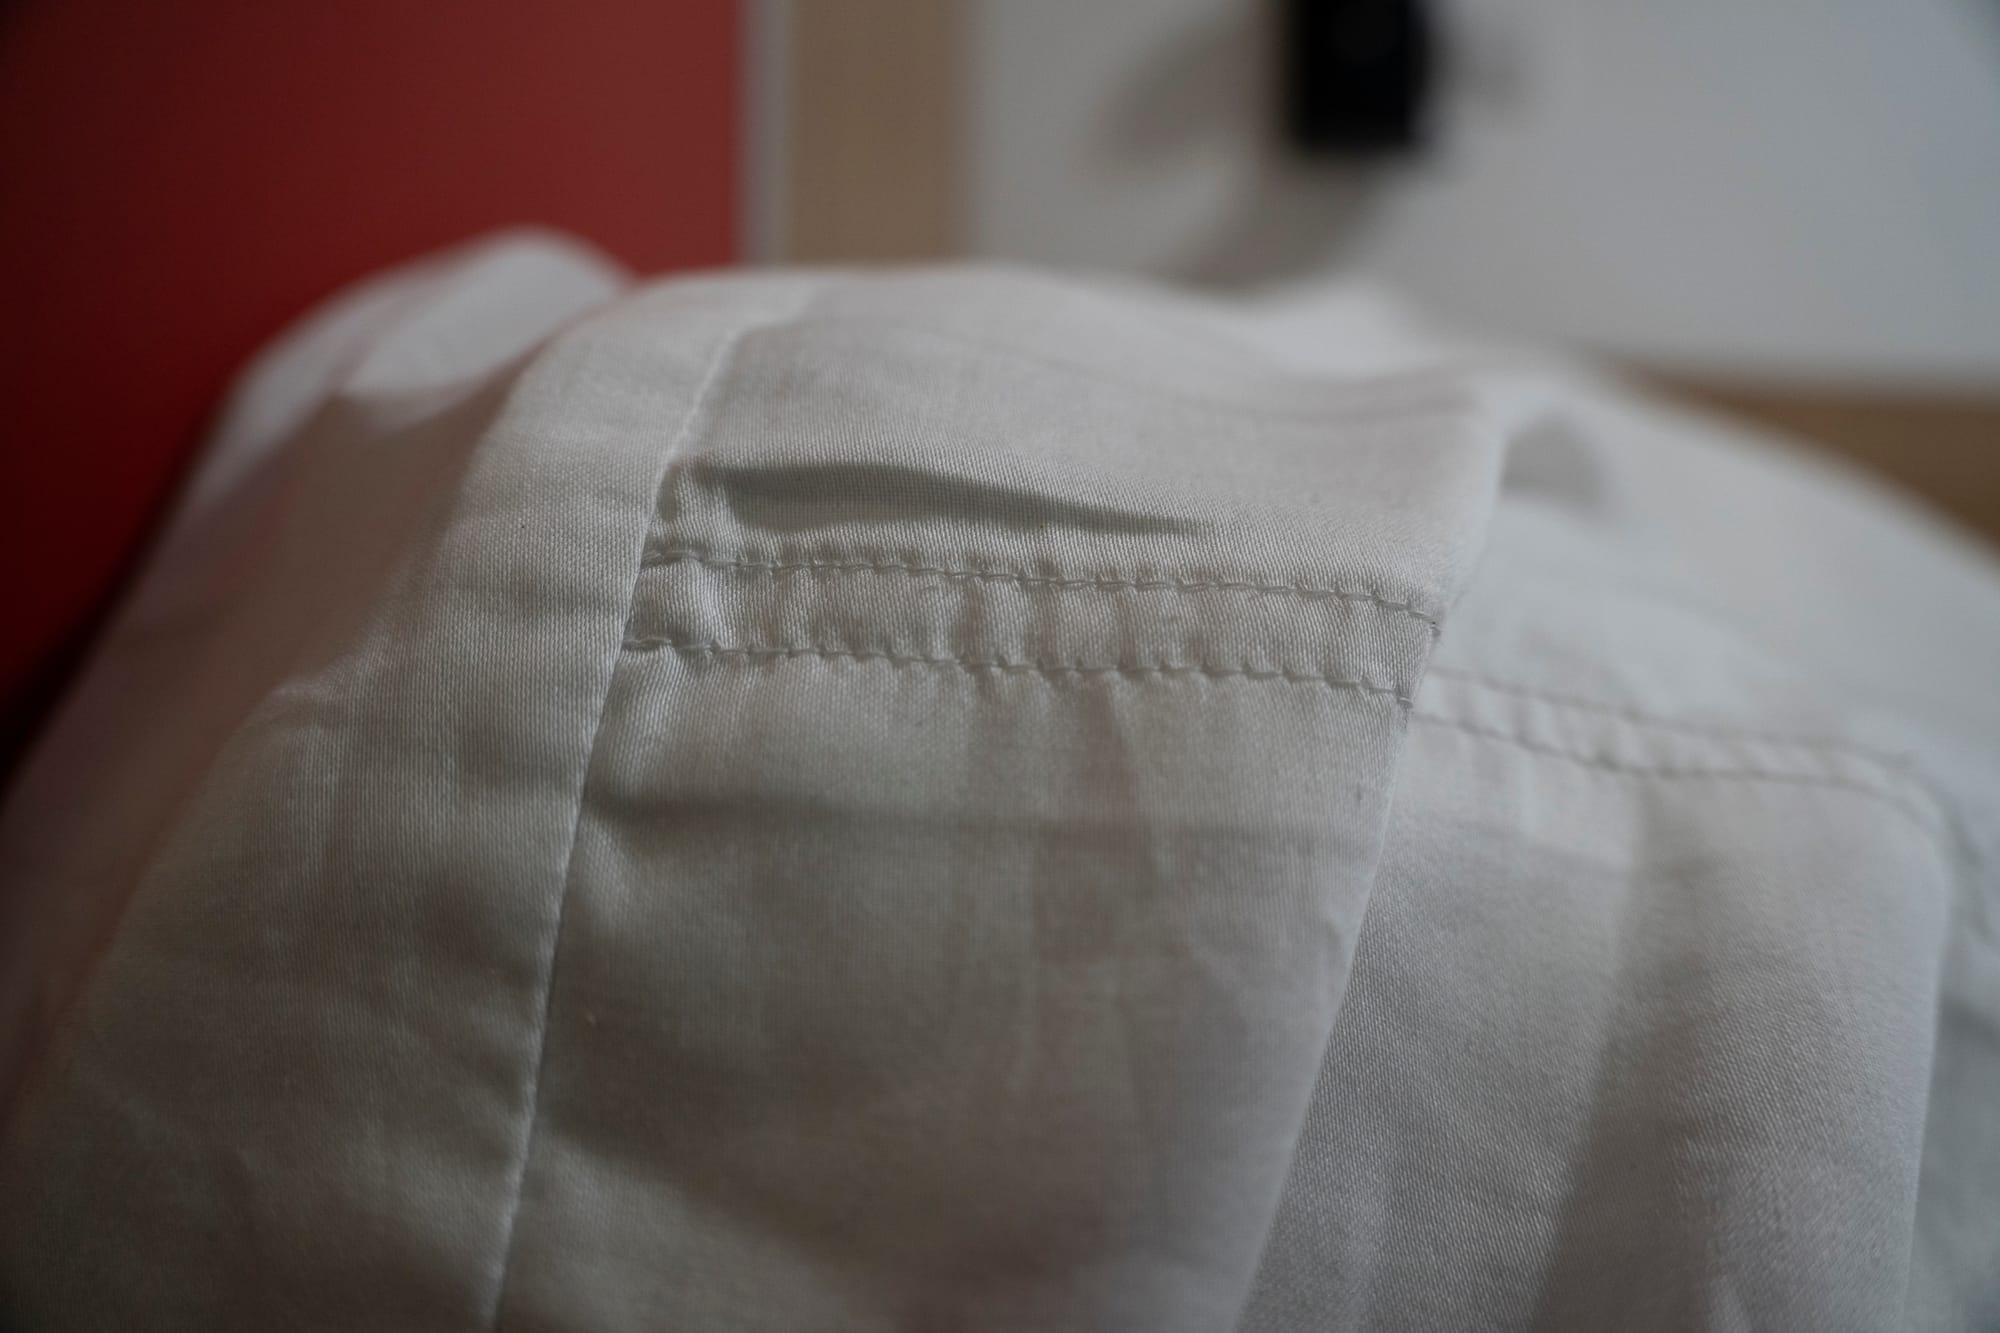
Fabric and Materiality (Bamboo Silk, Cotton, Metal, Wood.)
Light Conditions
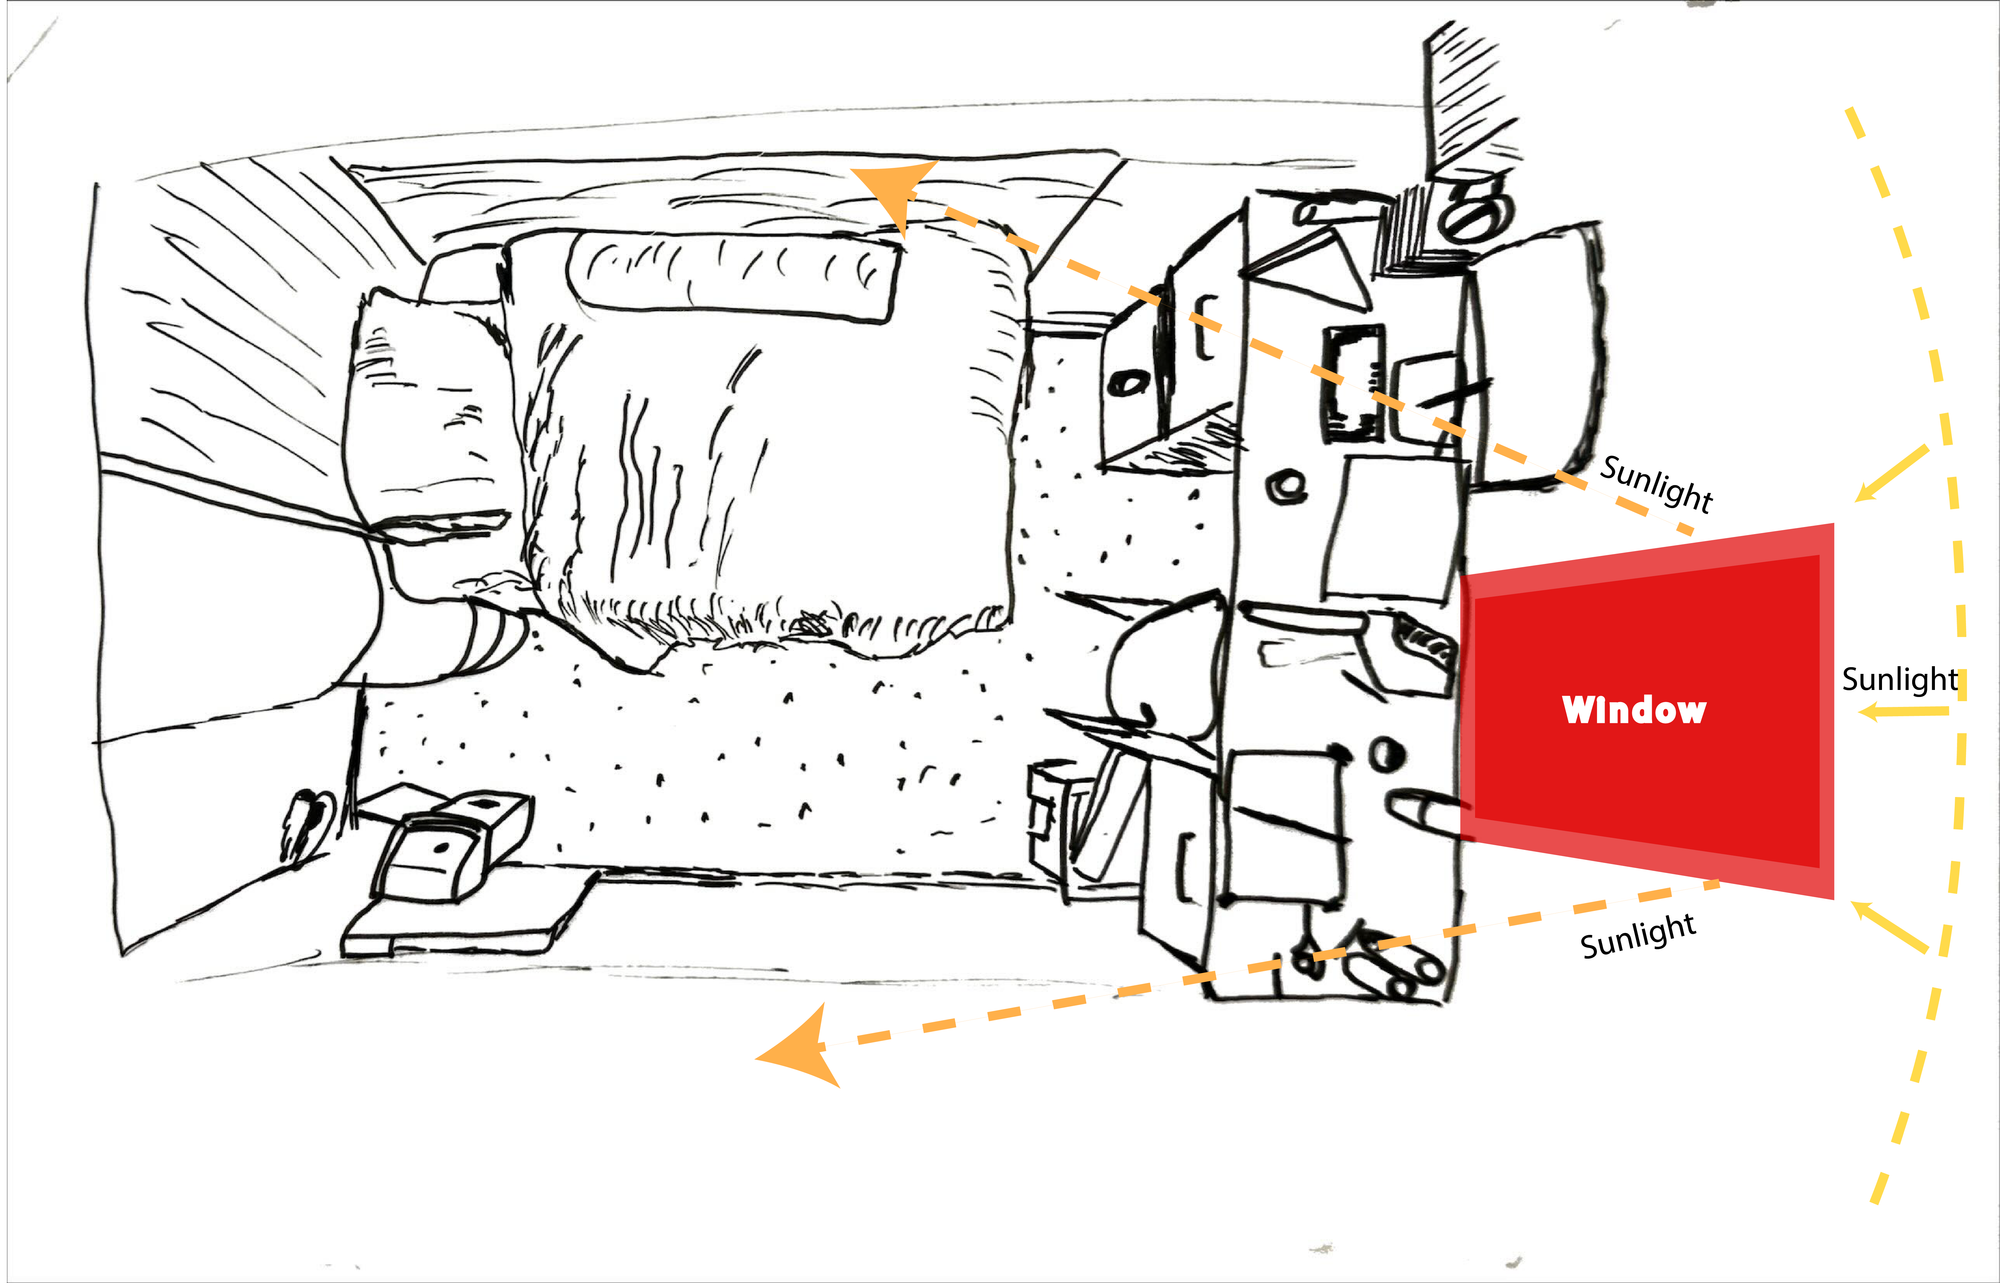
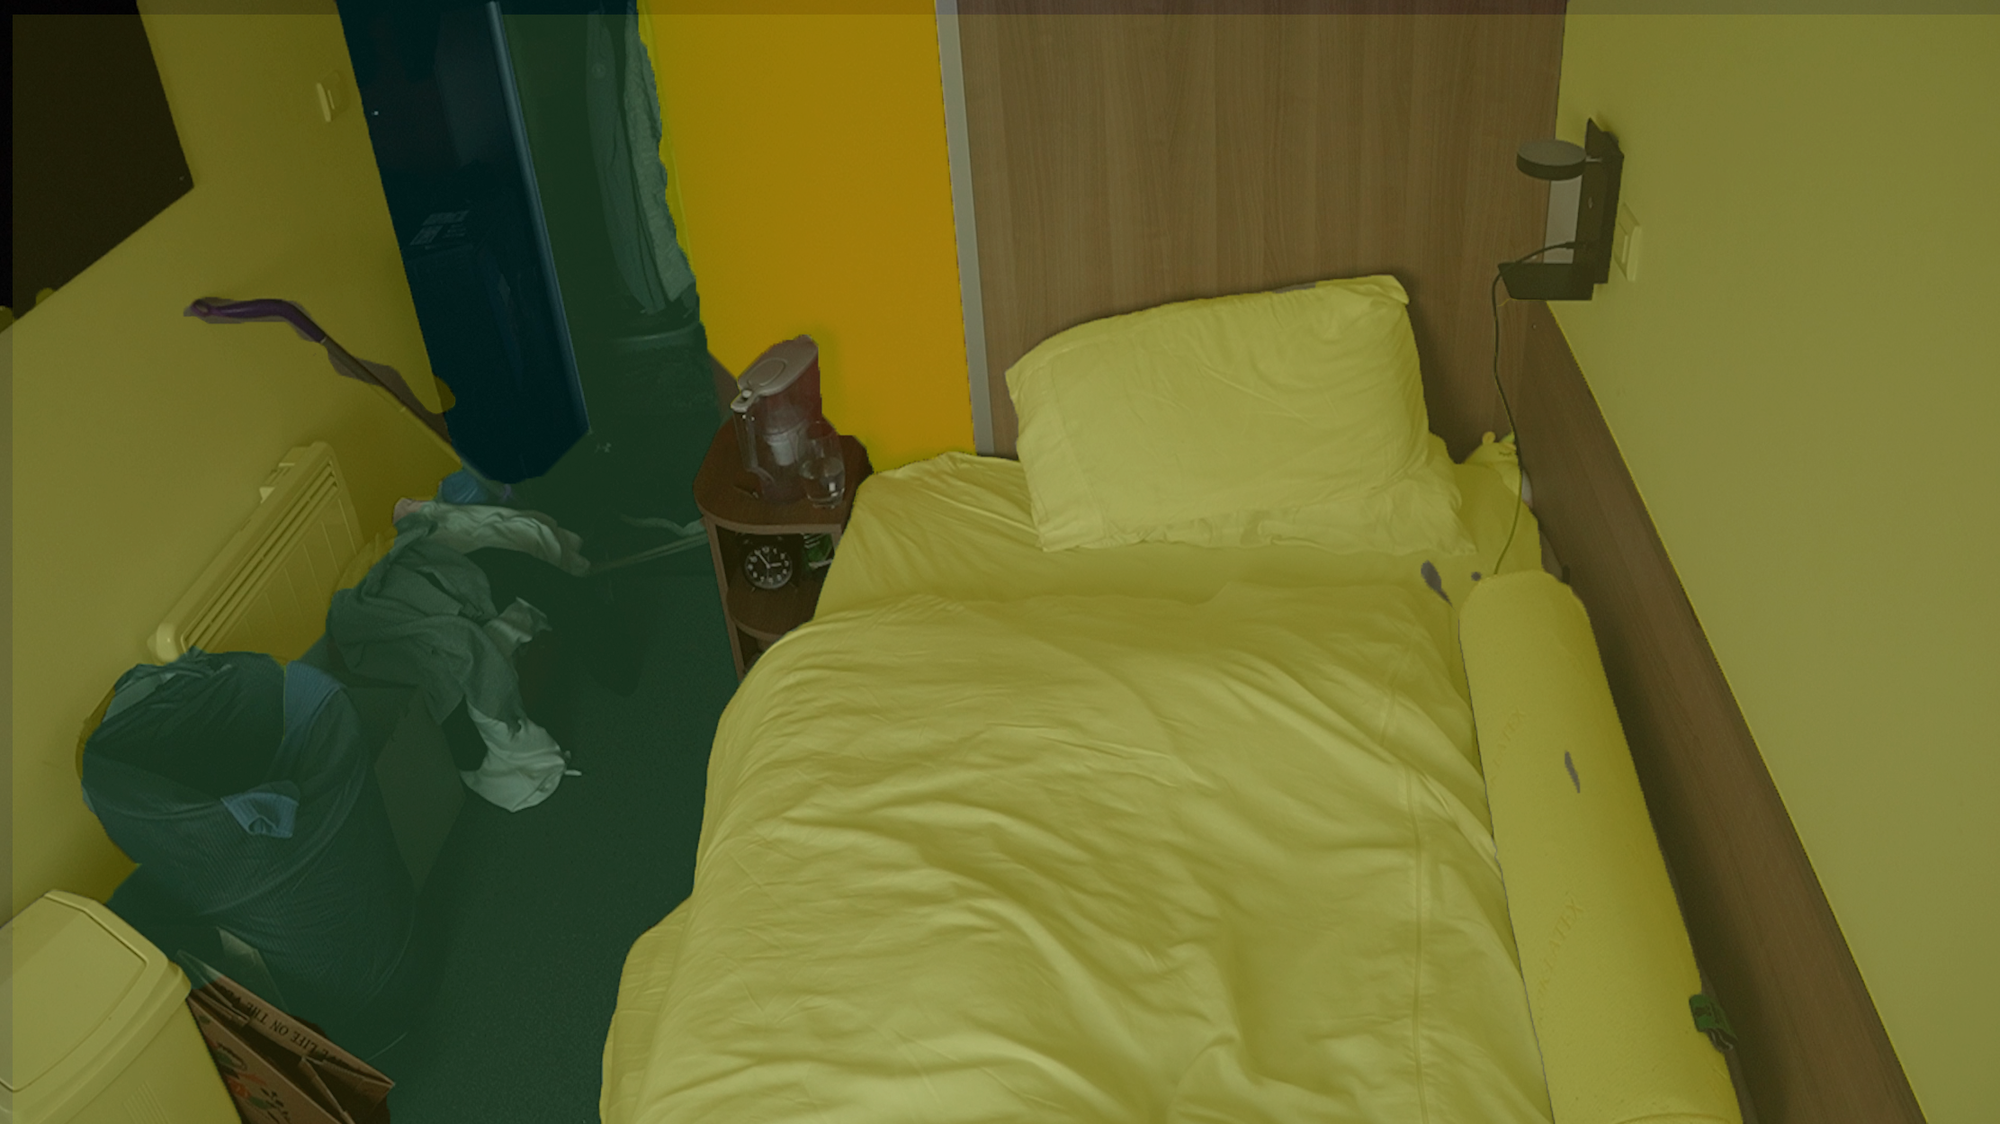
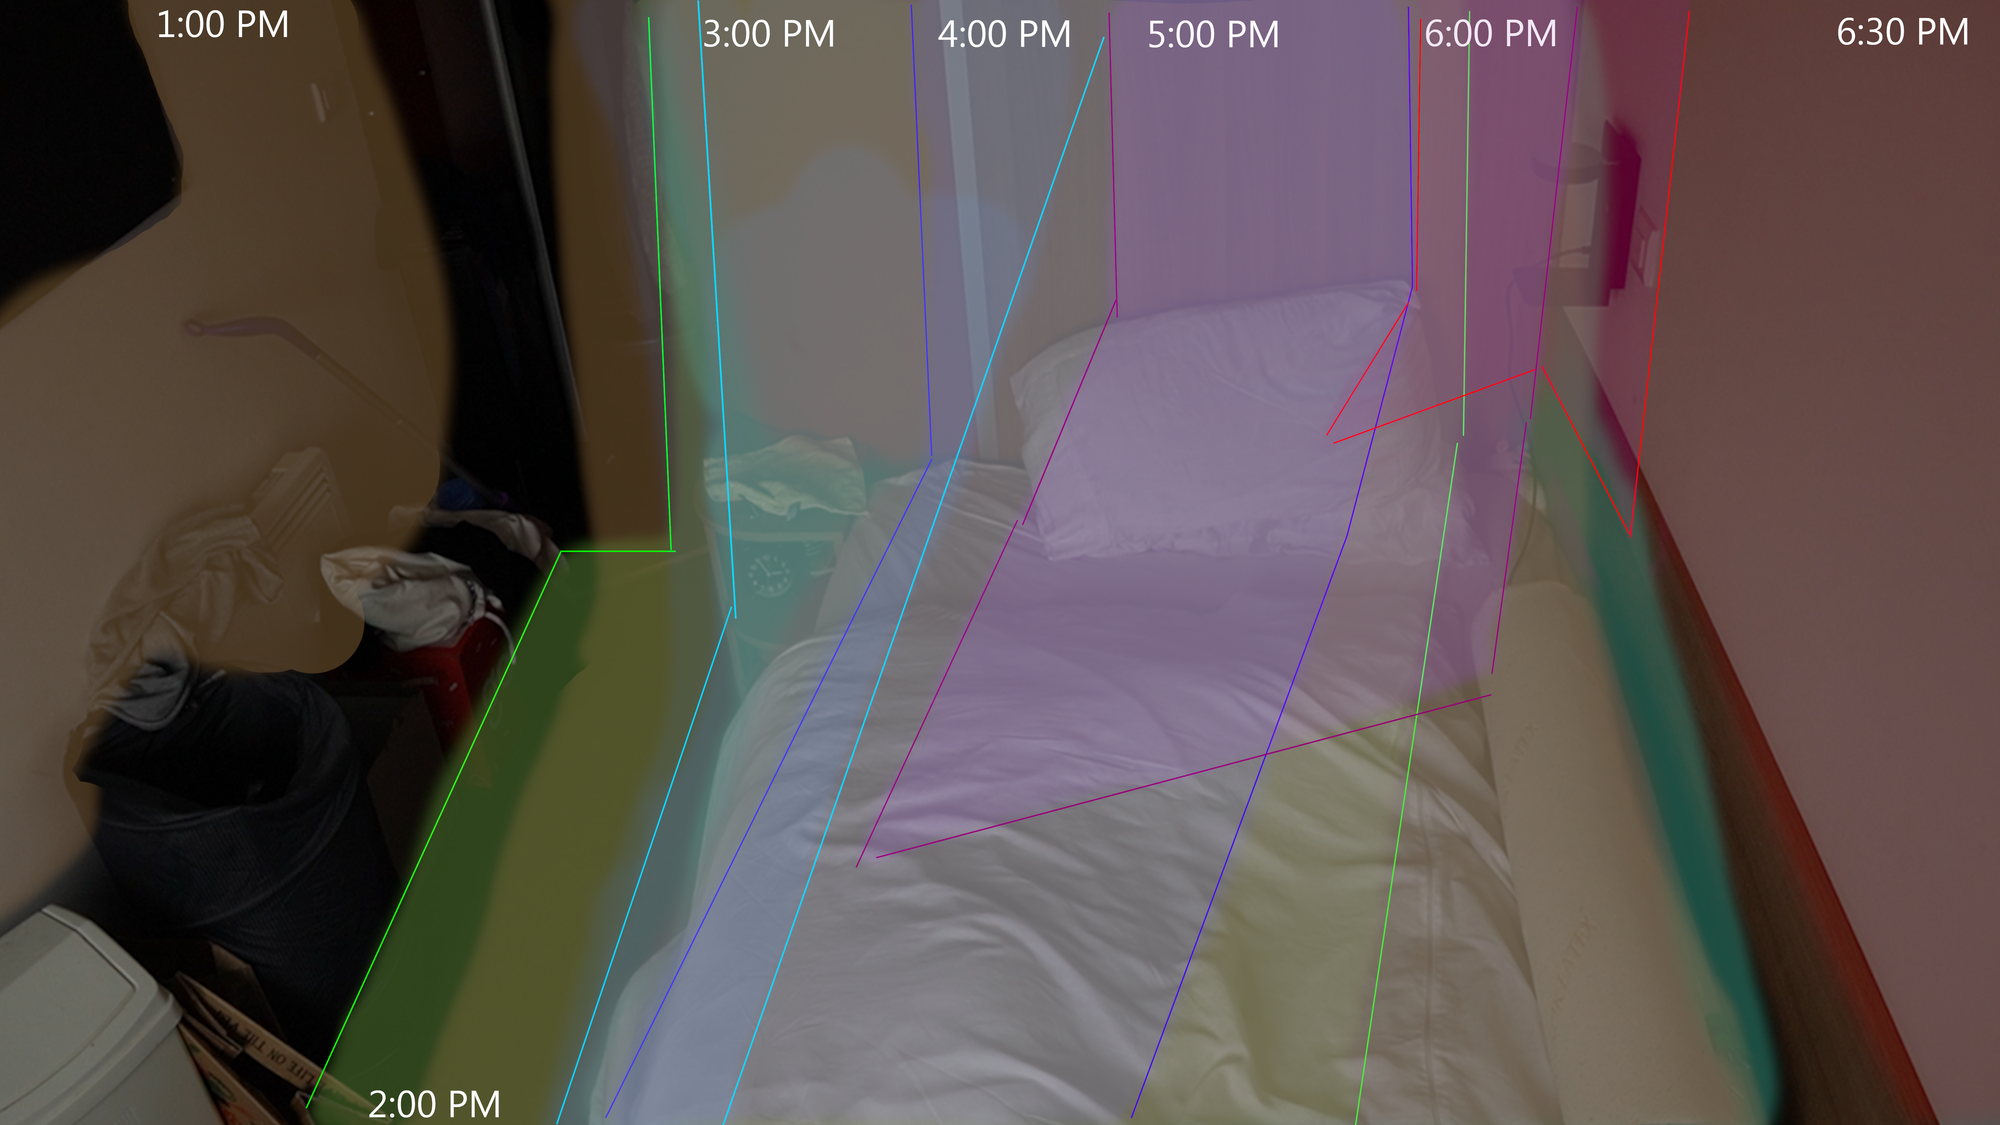
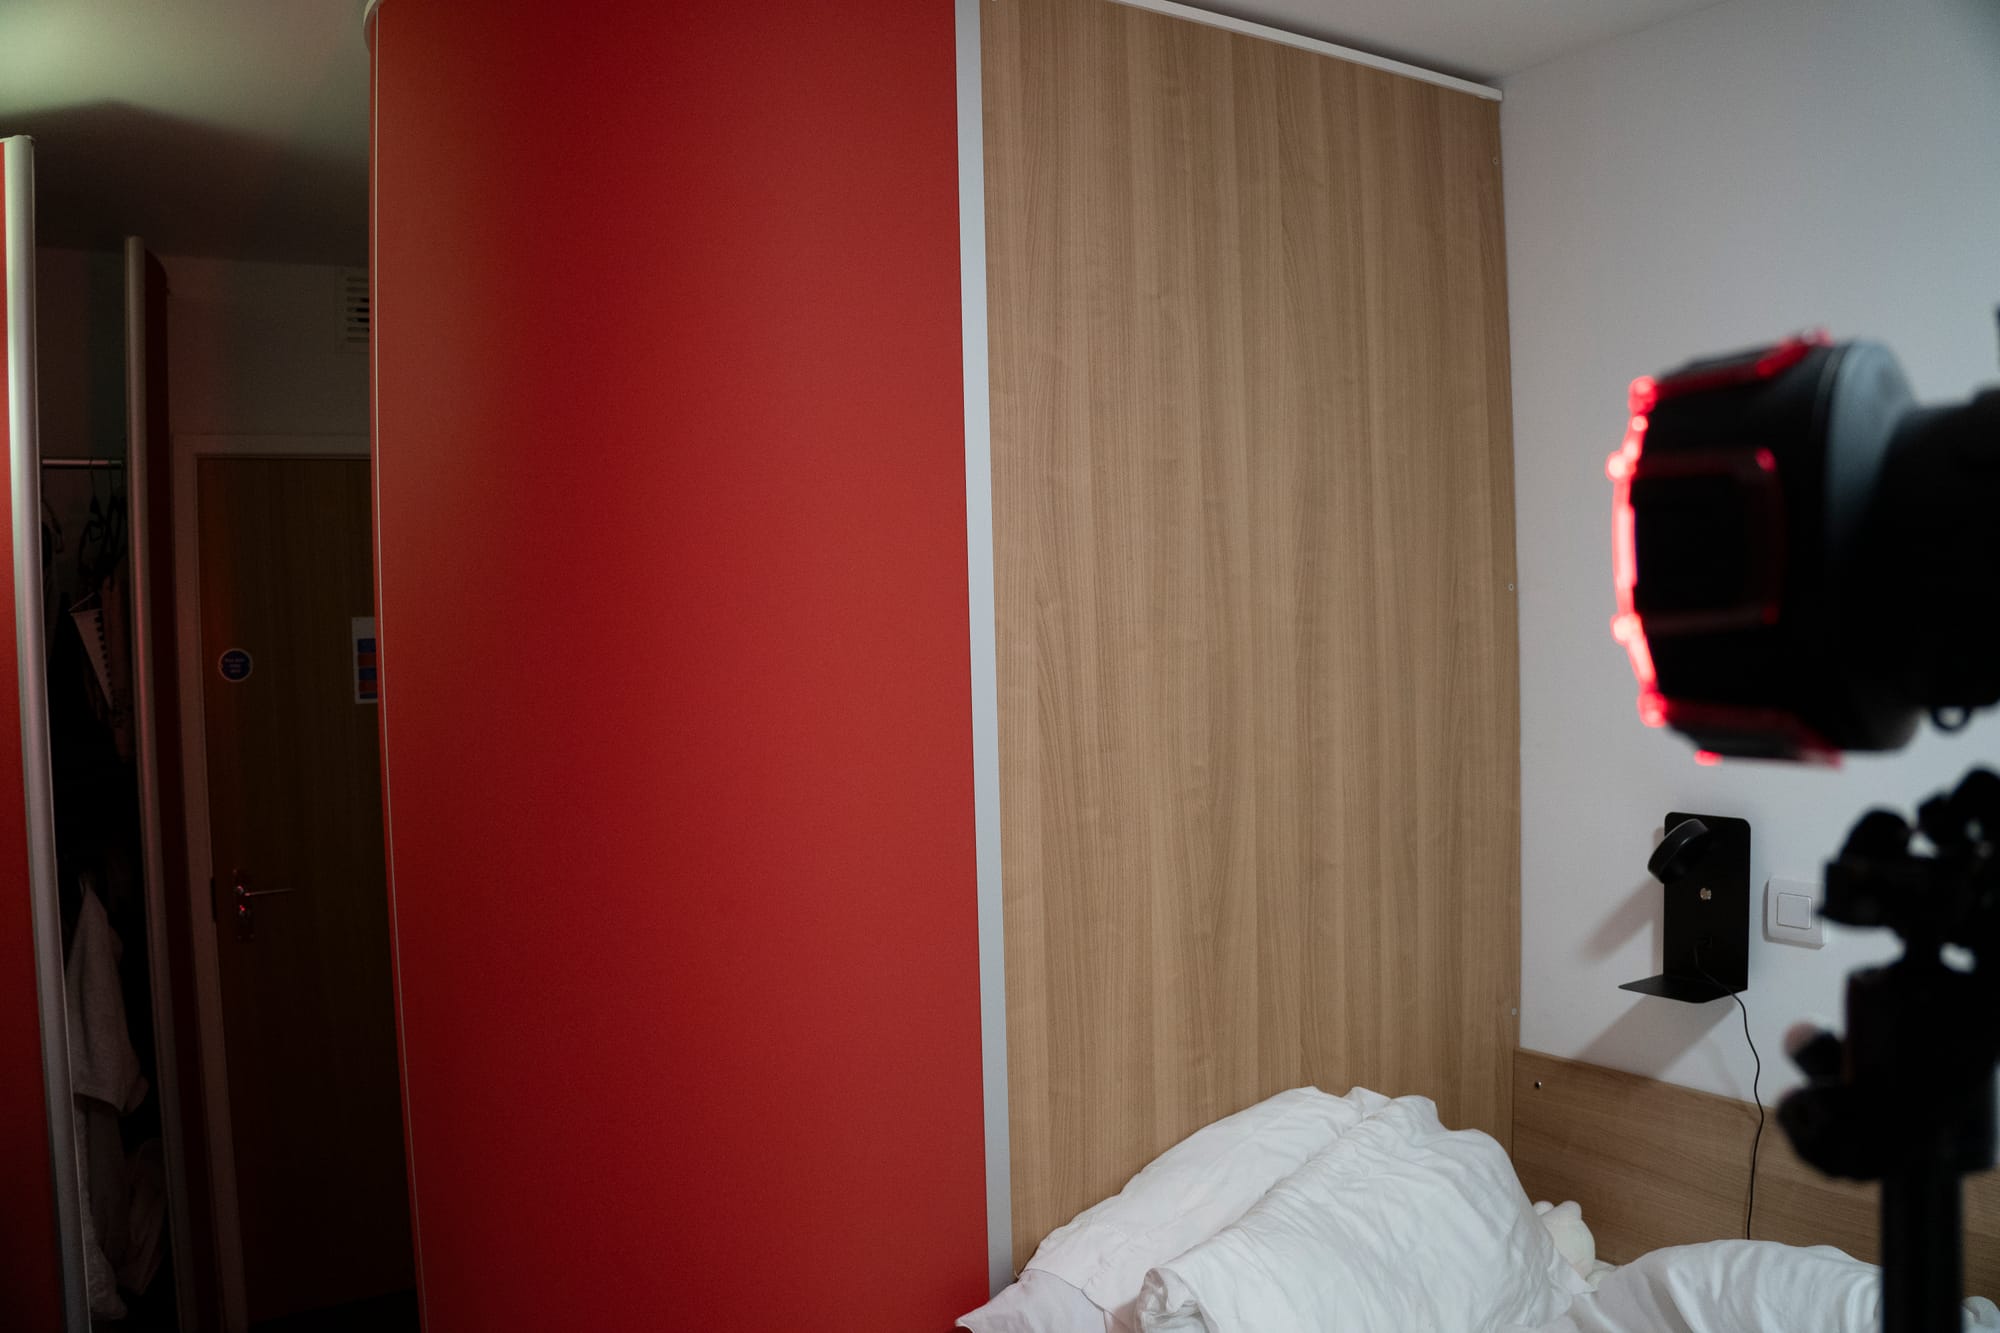
To capture the most dynamic element, I documented the changing light conditions throughout the day. Through photography and time-lapse videos, I analyzed how natural light entered the room, where it landed, and how its quality shifted from the indirect light of morning to the clearer sun of the afternoon, revealing which surfaces were most reflective and which remained in shadow.
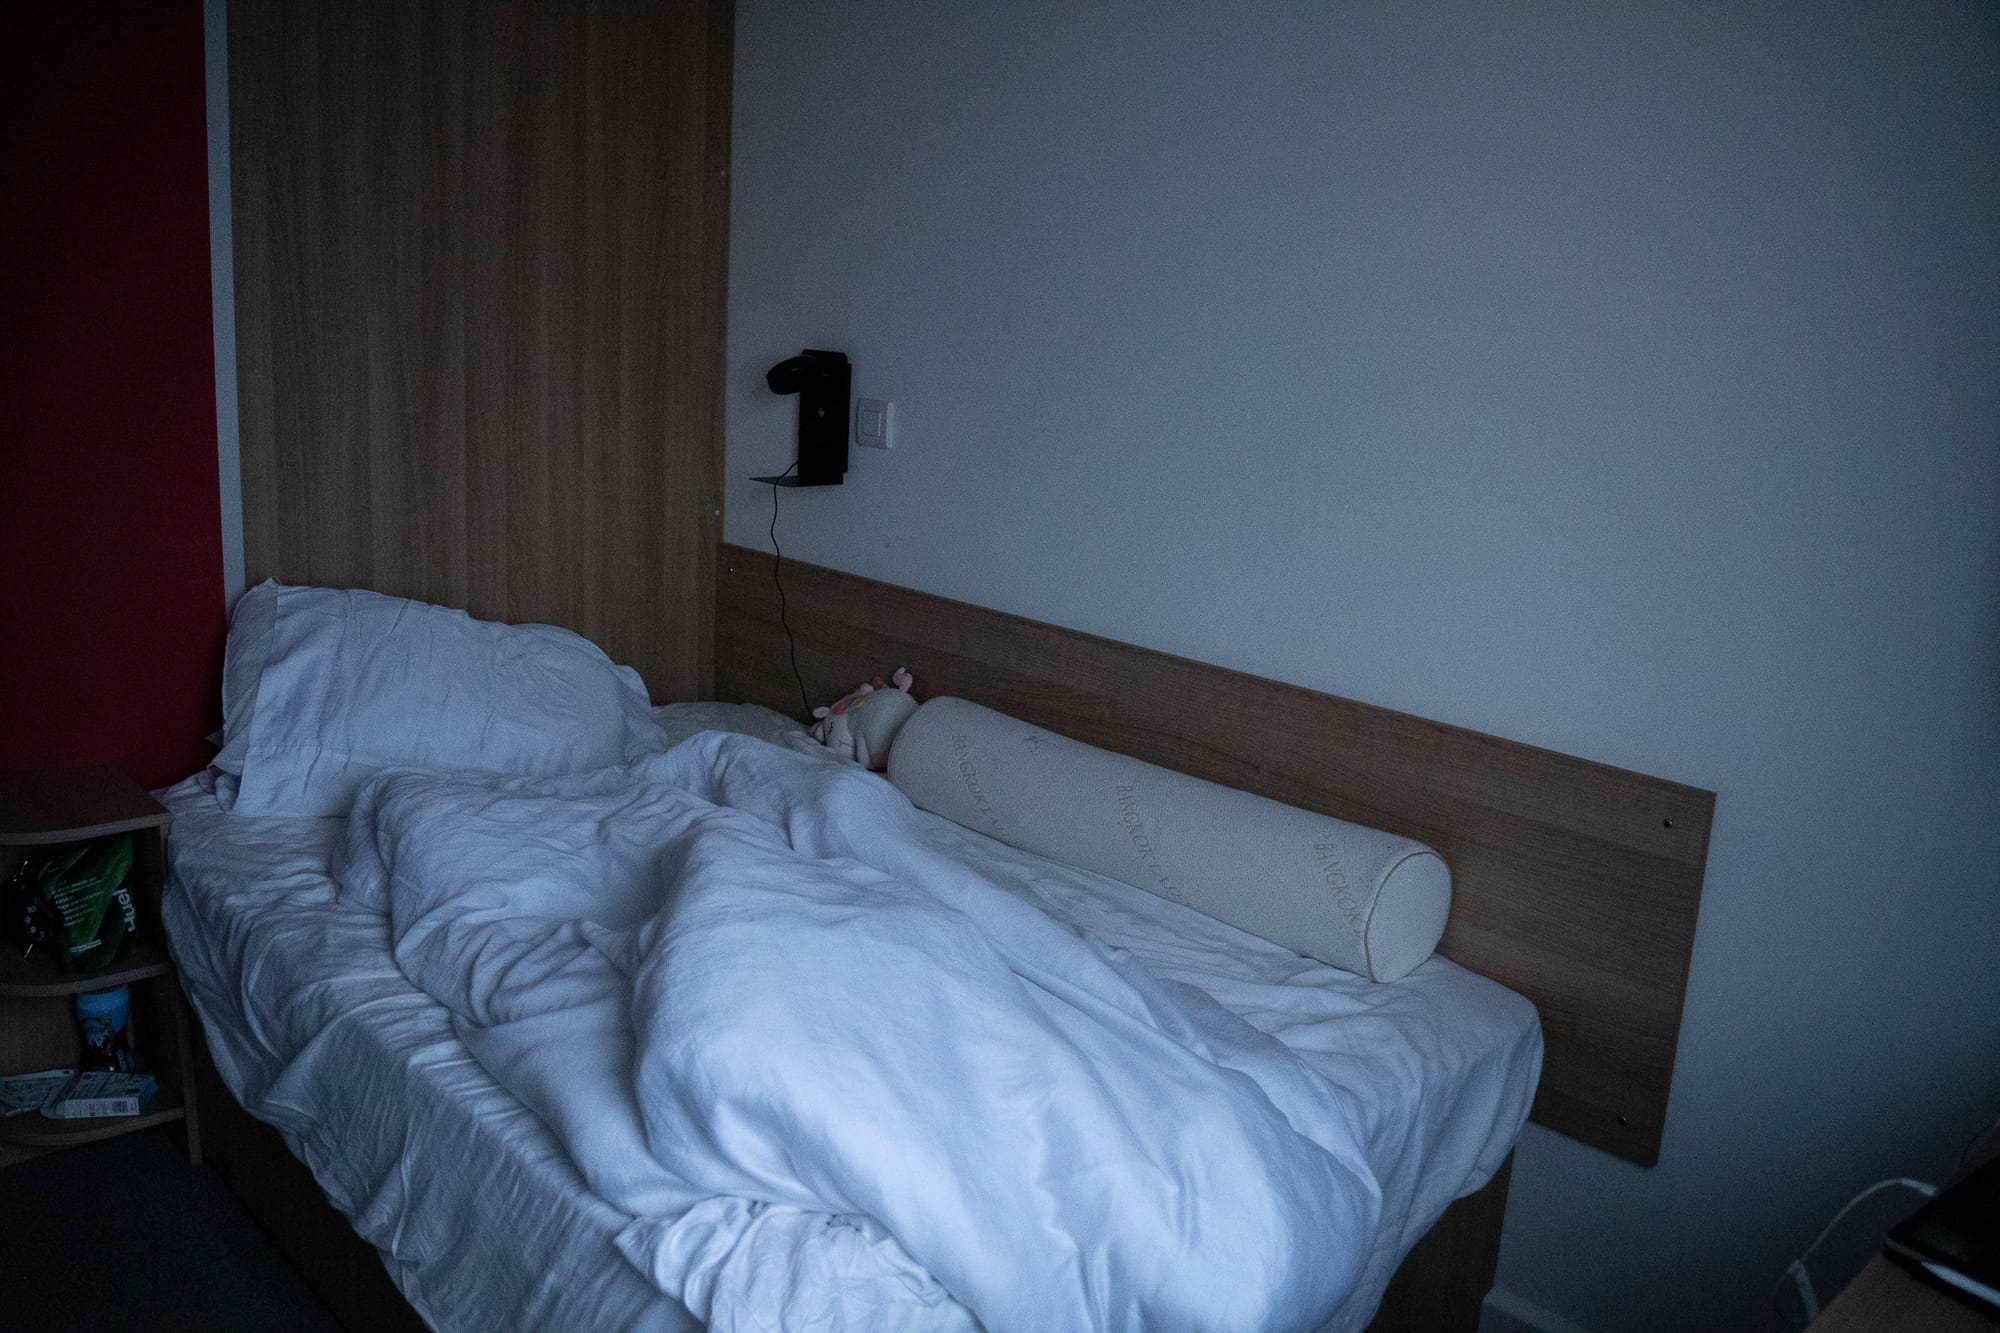

Changes of light within my intimate space from 1:30 PM to 7:22 PM (Sunset time 19:03)
How light is received throughout the day
The Challenge: While personal observation captured the feeling of the space, it lacked measurable data.
Step 2: The Standard Survey - The Limits of Standard Tools
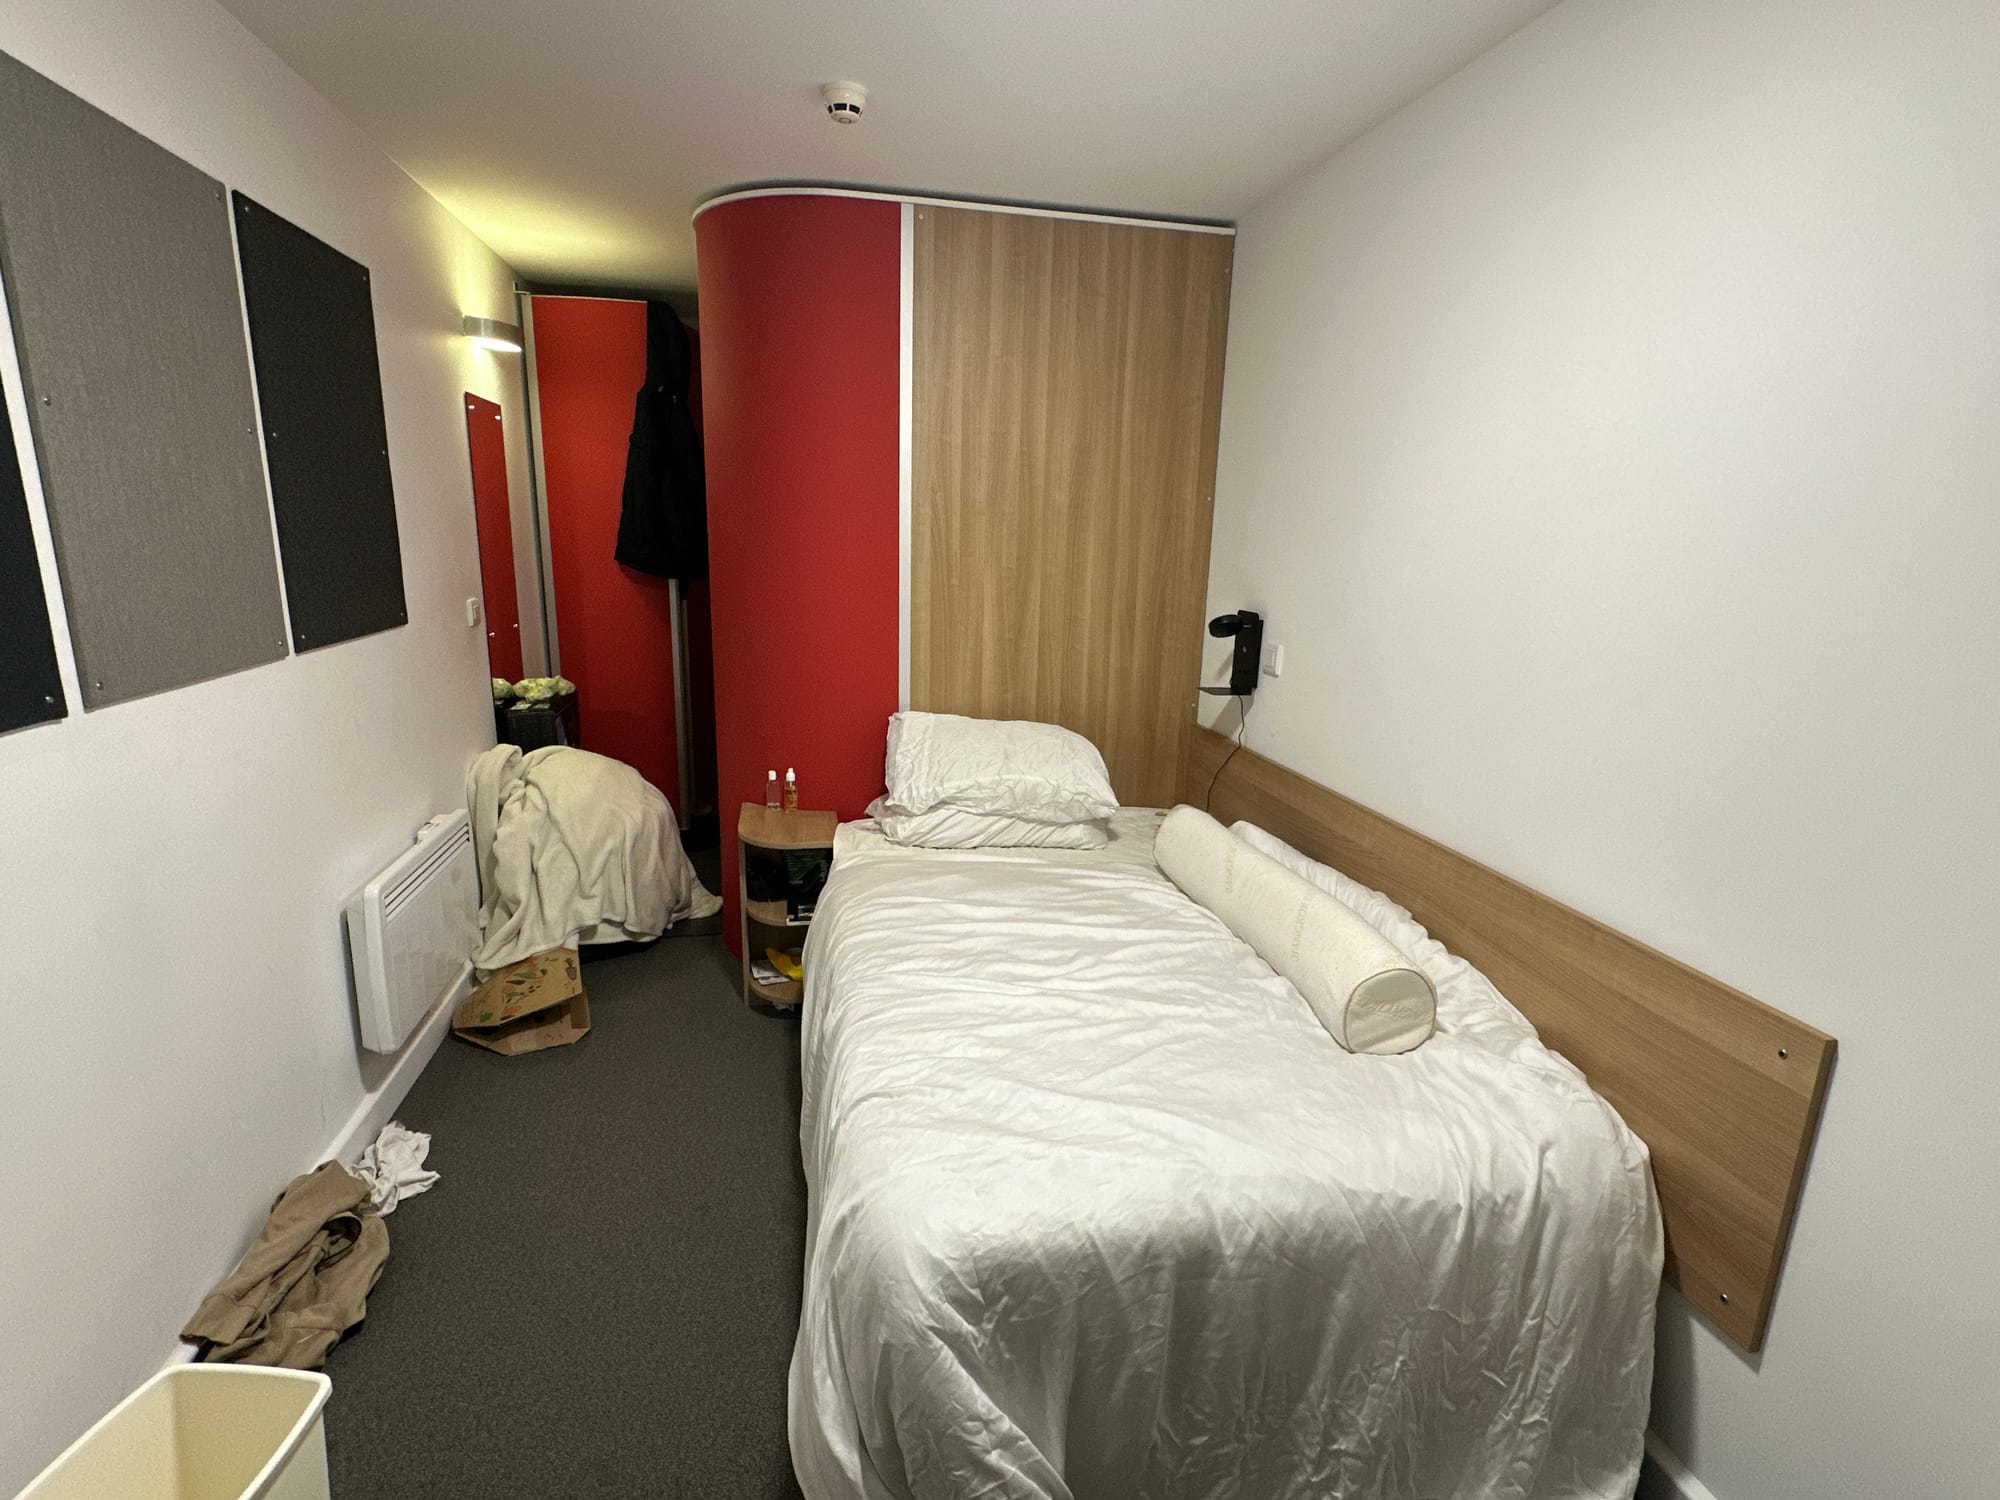
Method One: LiDAR Scanning using Polycam
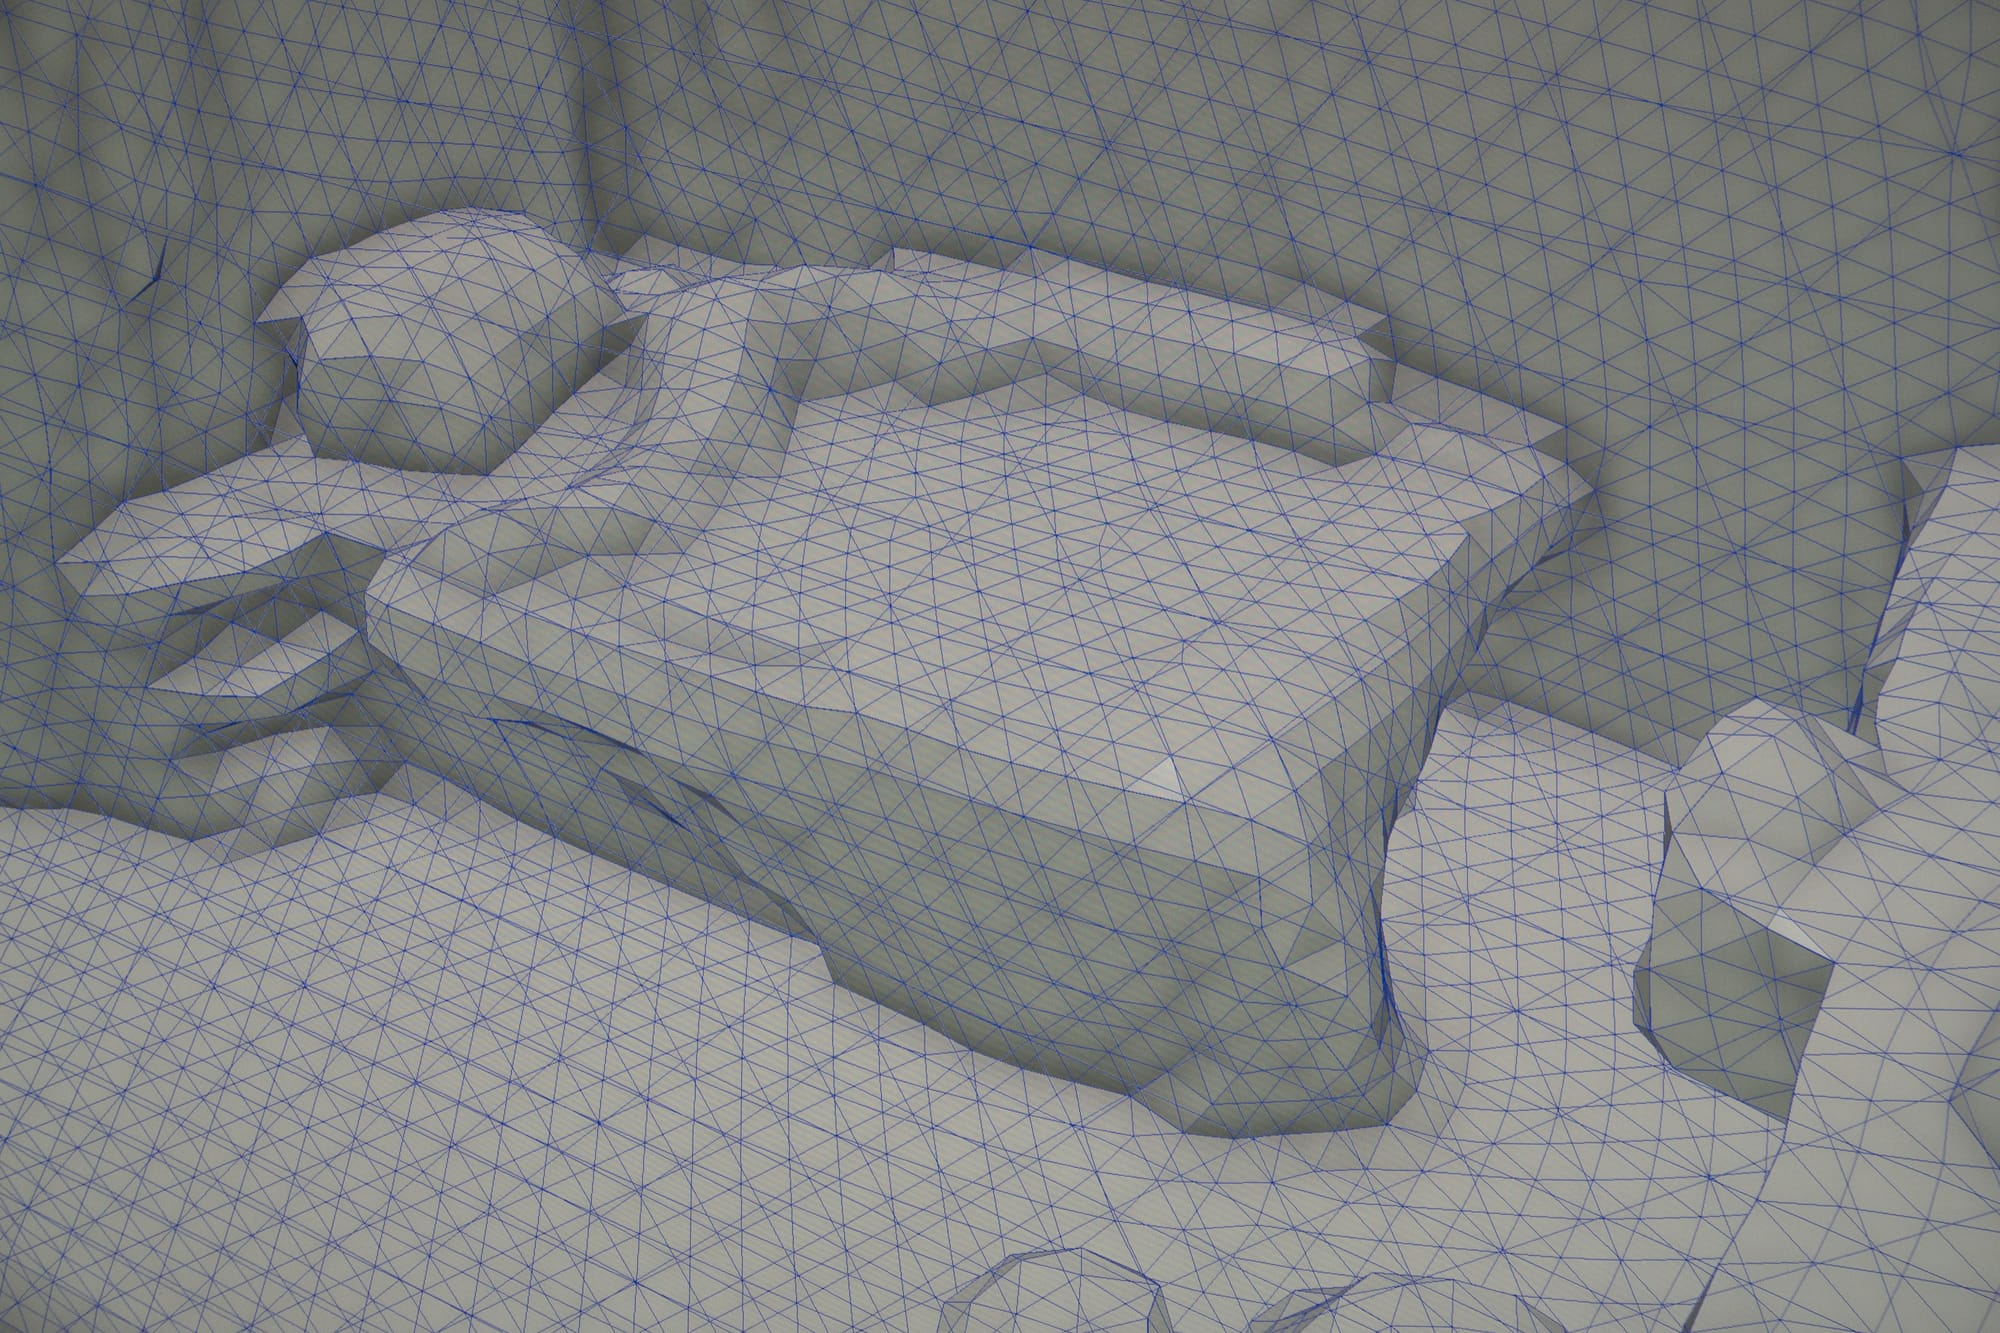
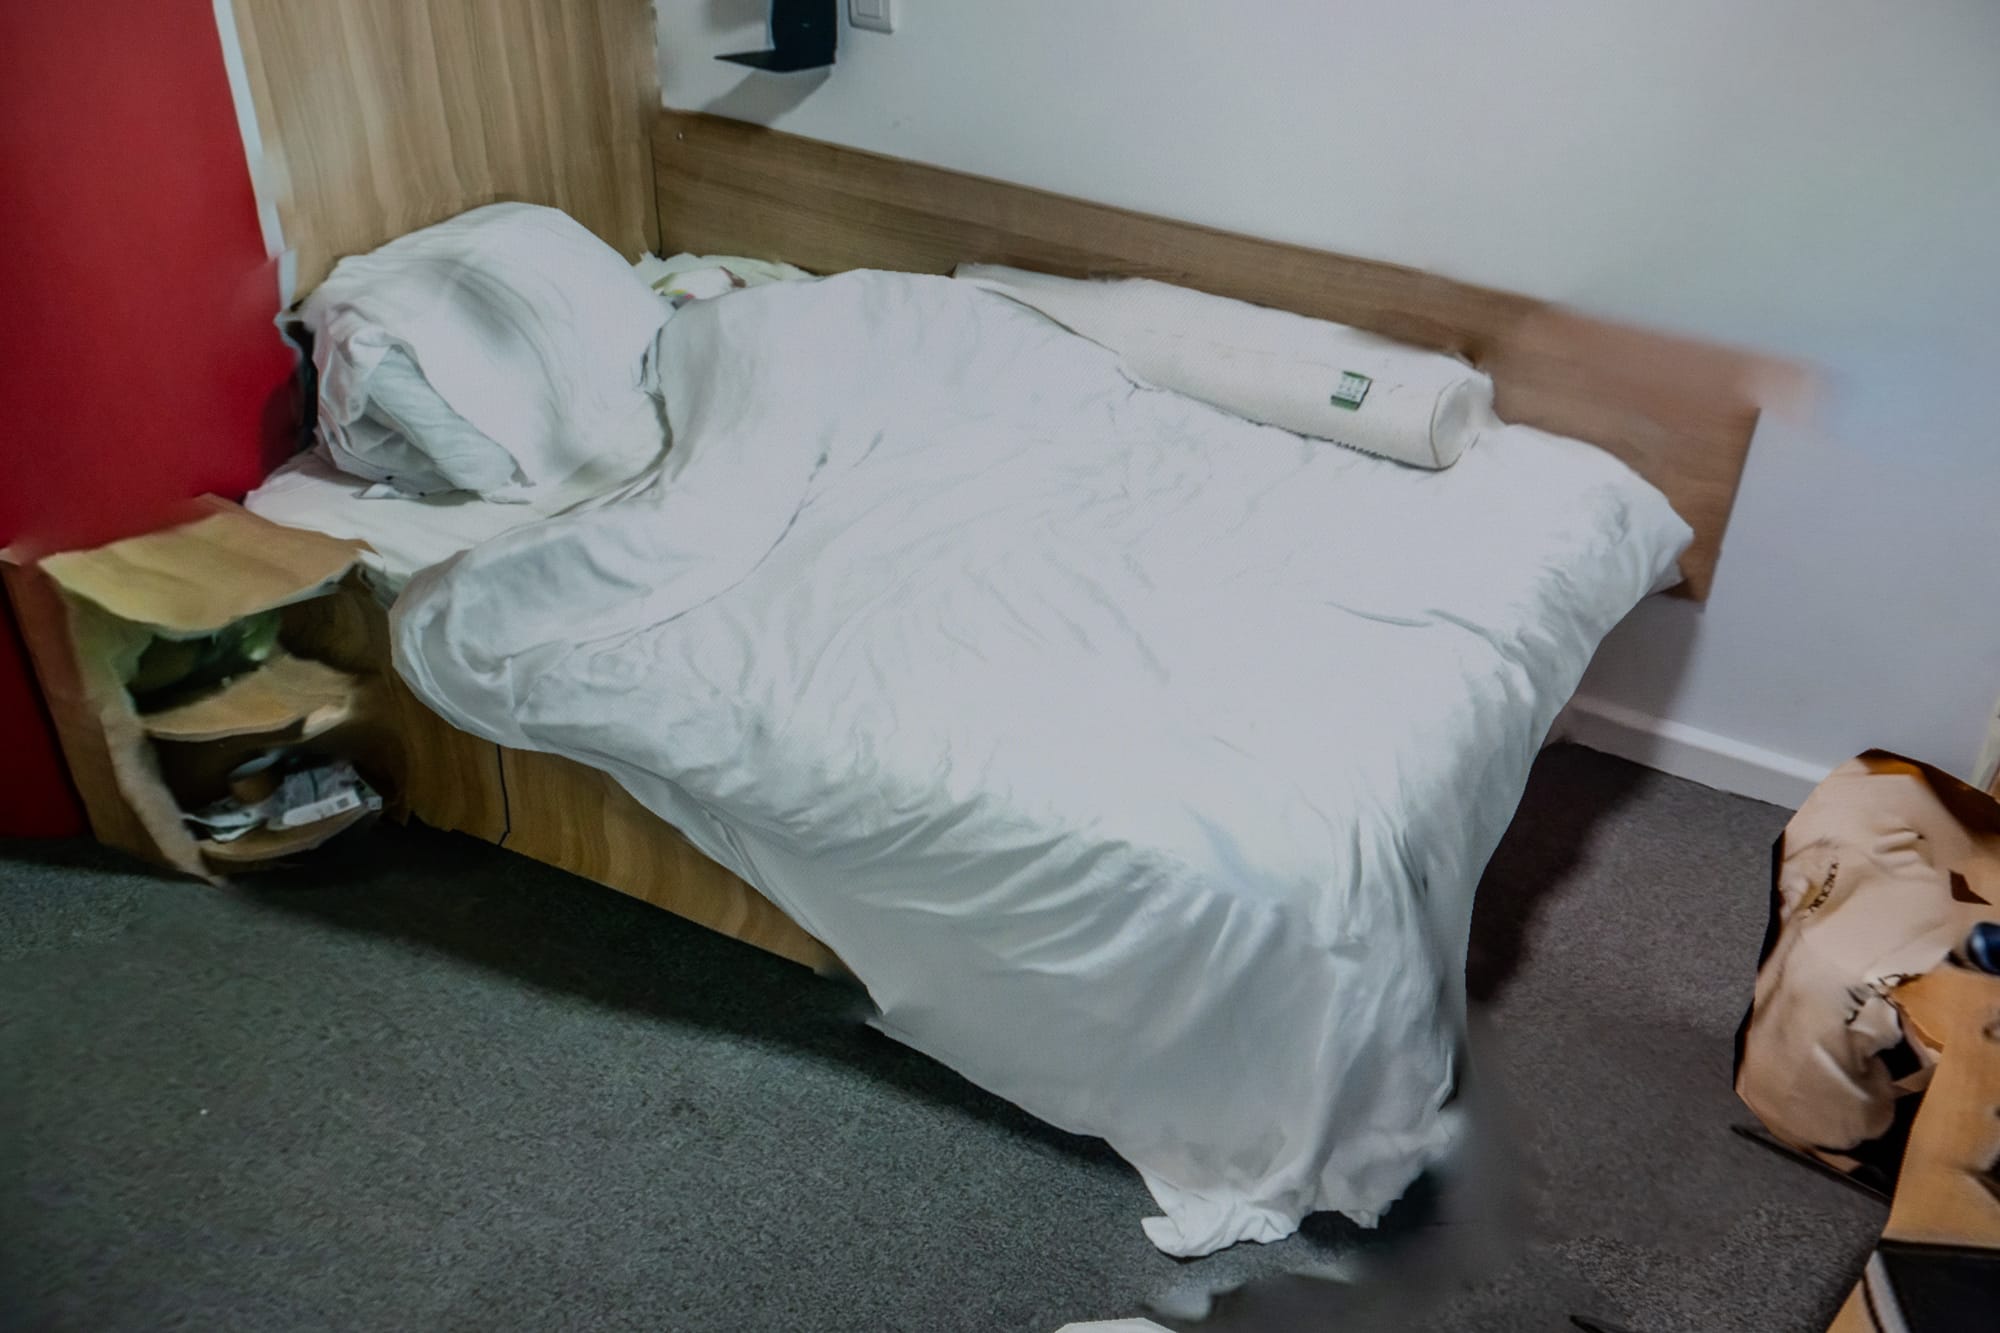
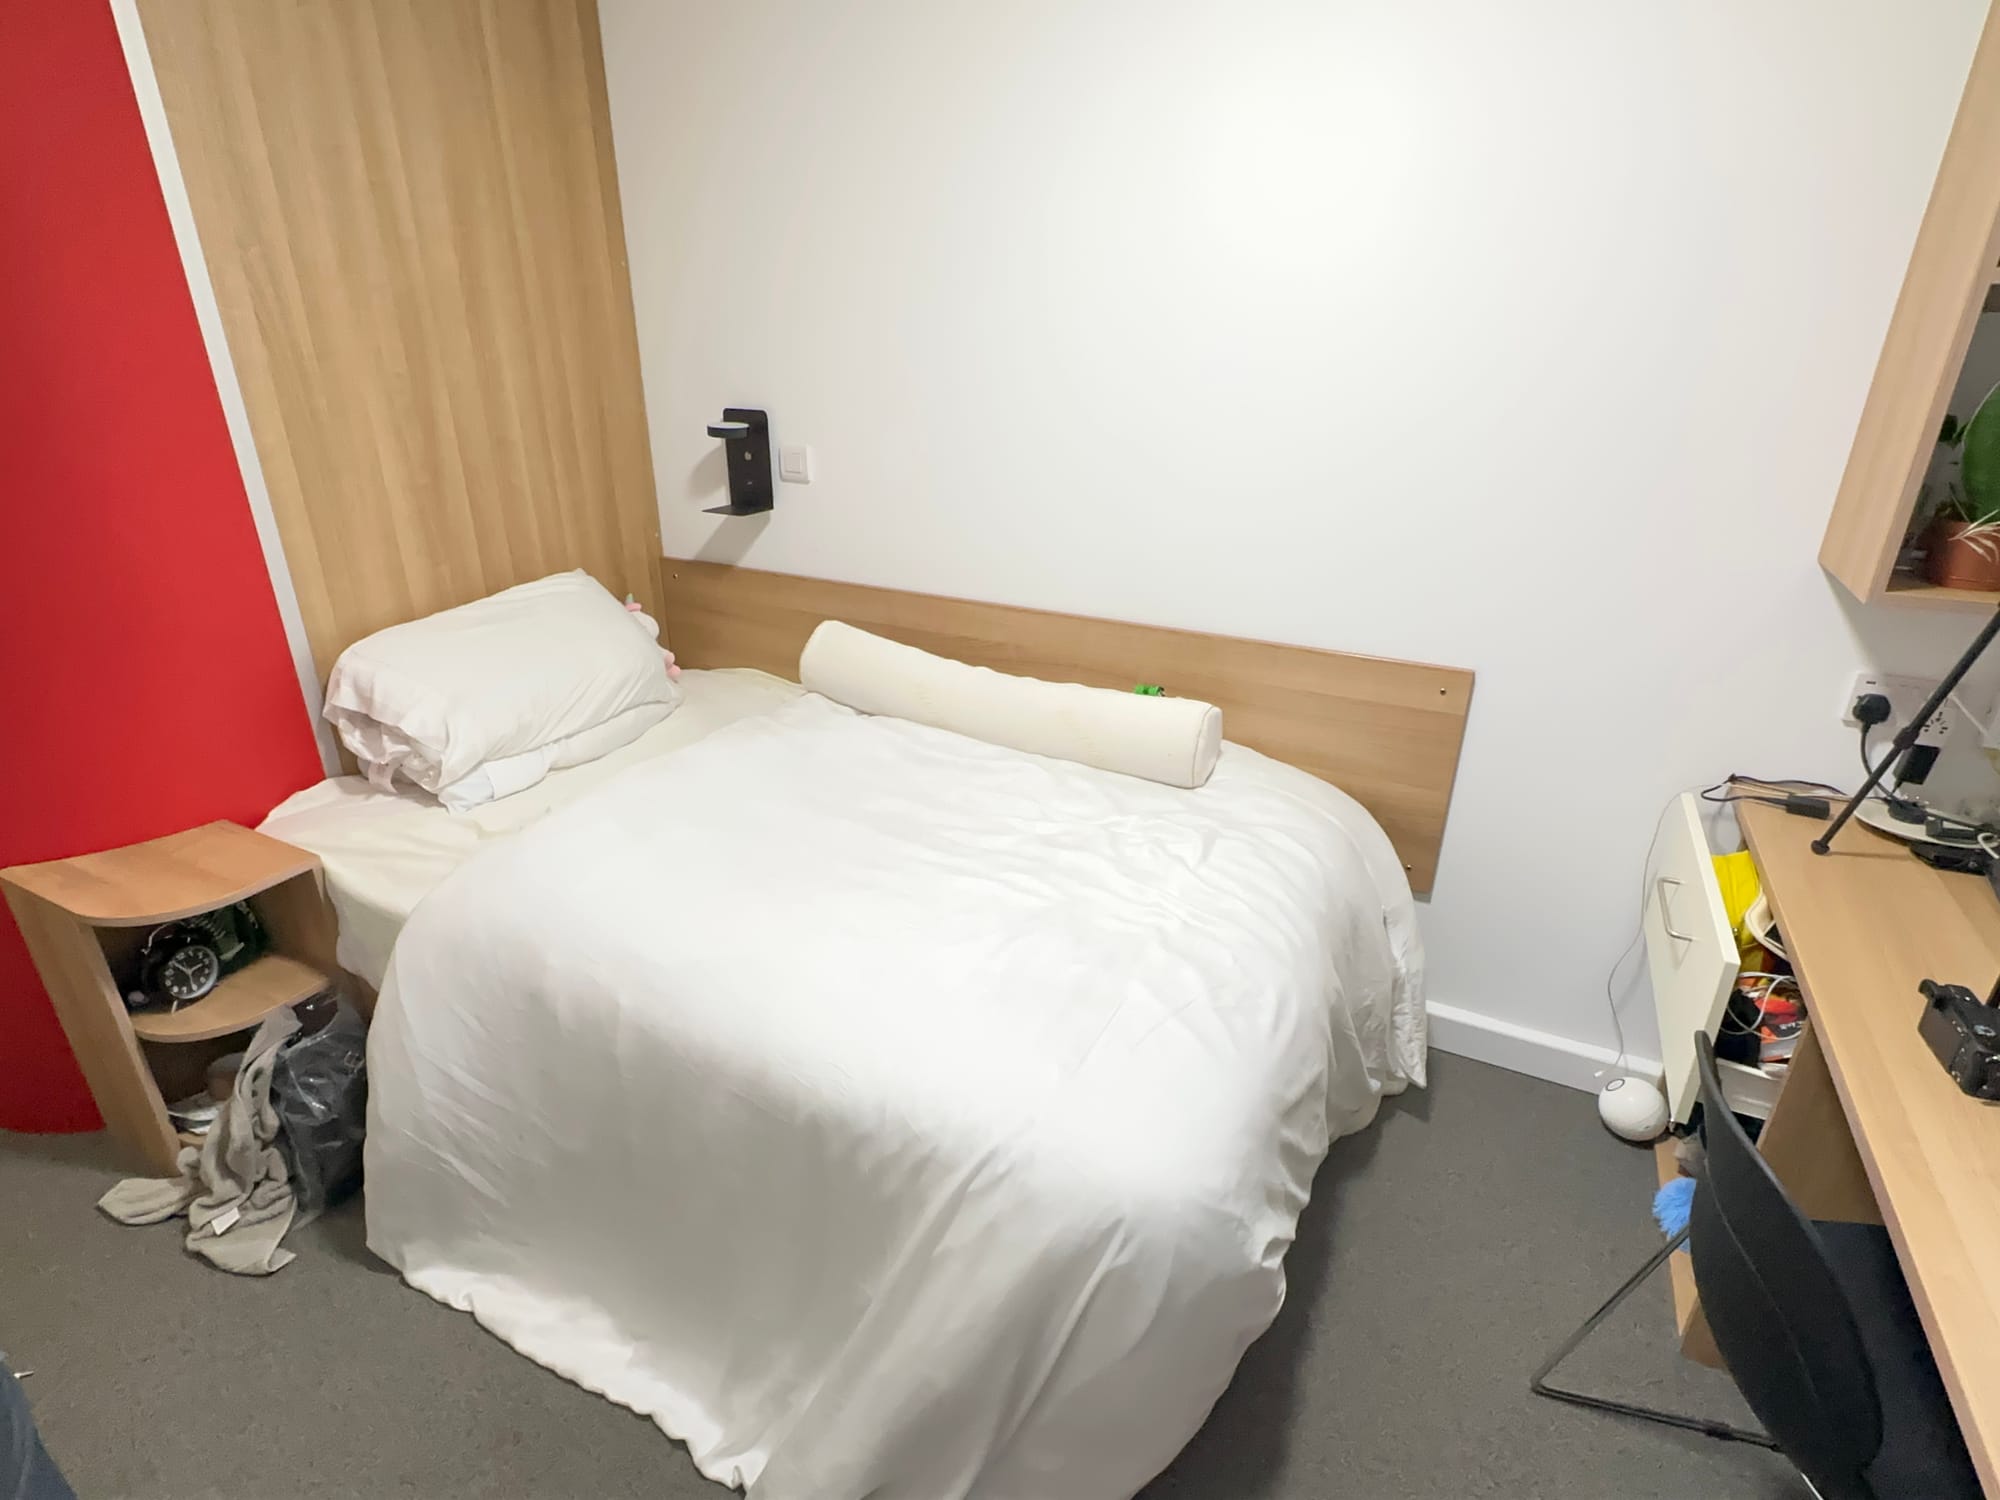

From left to right, Wireframe Mesh View, Textured View, Real Life Image.
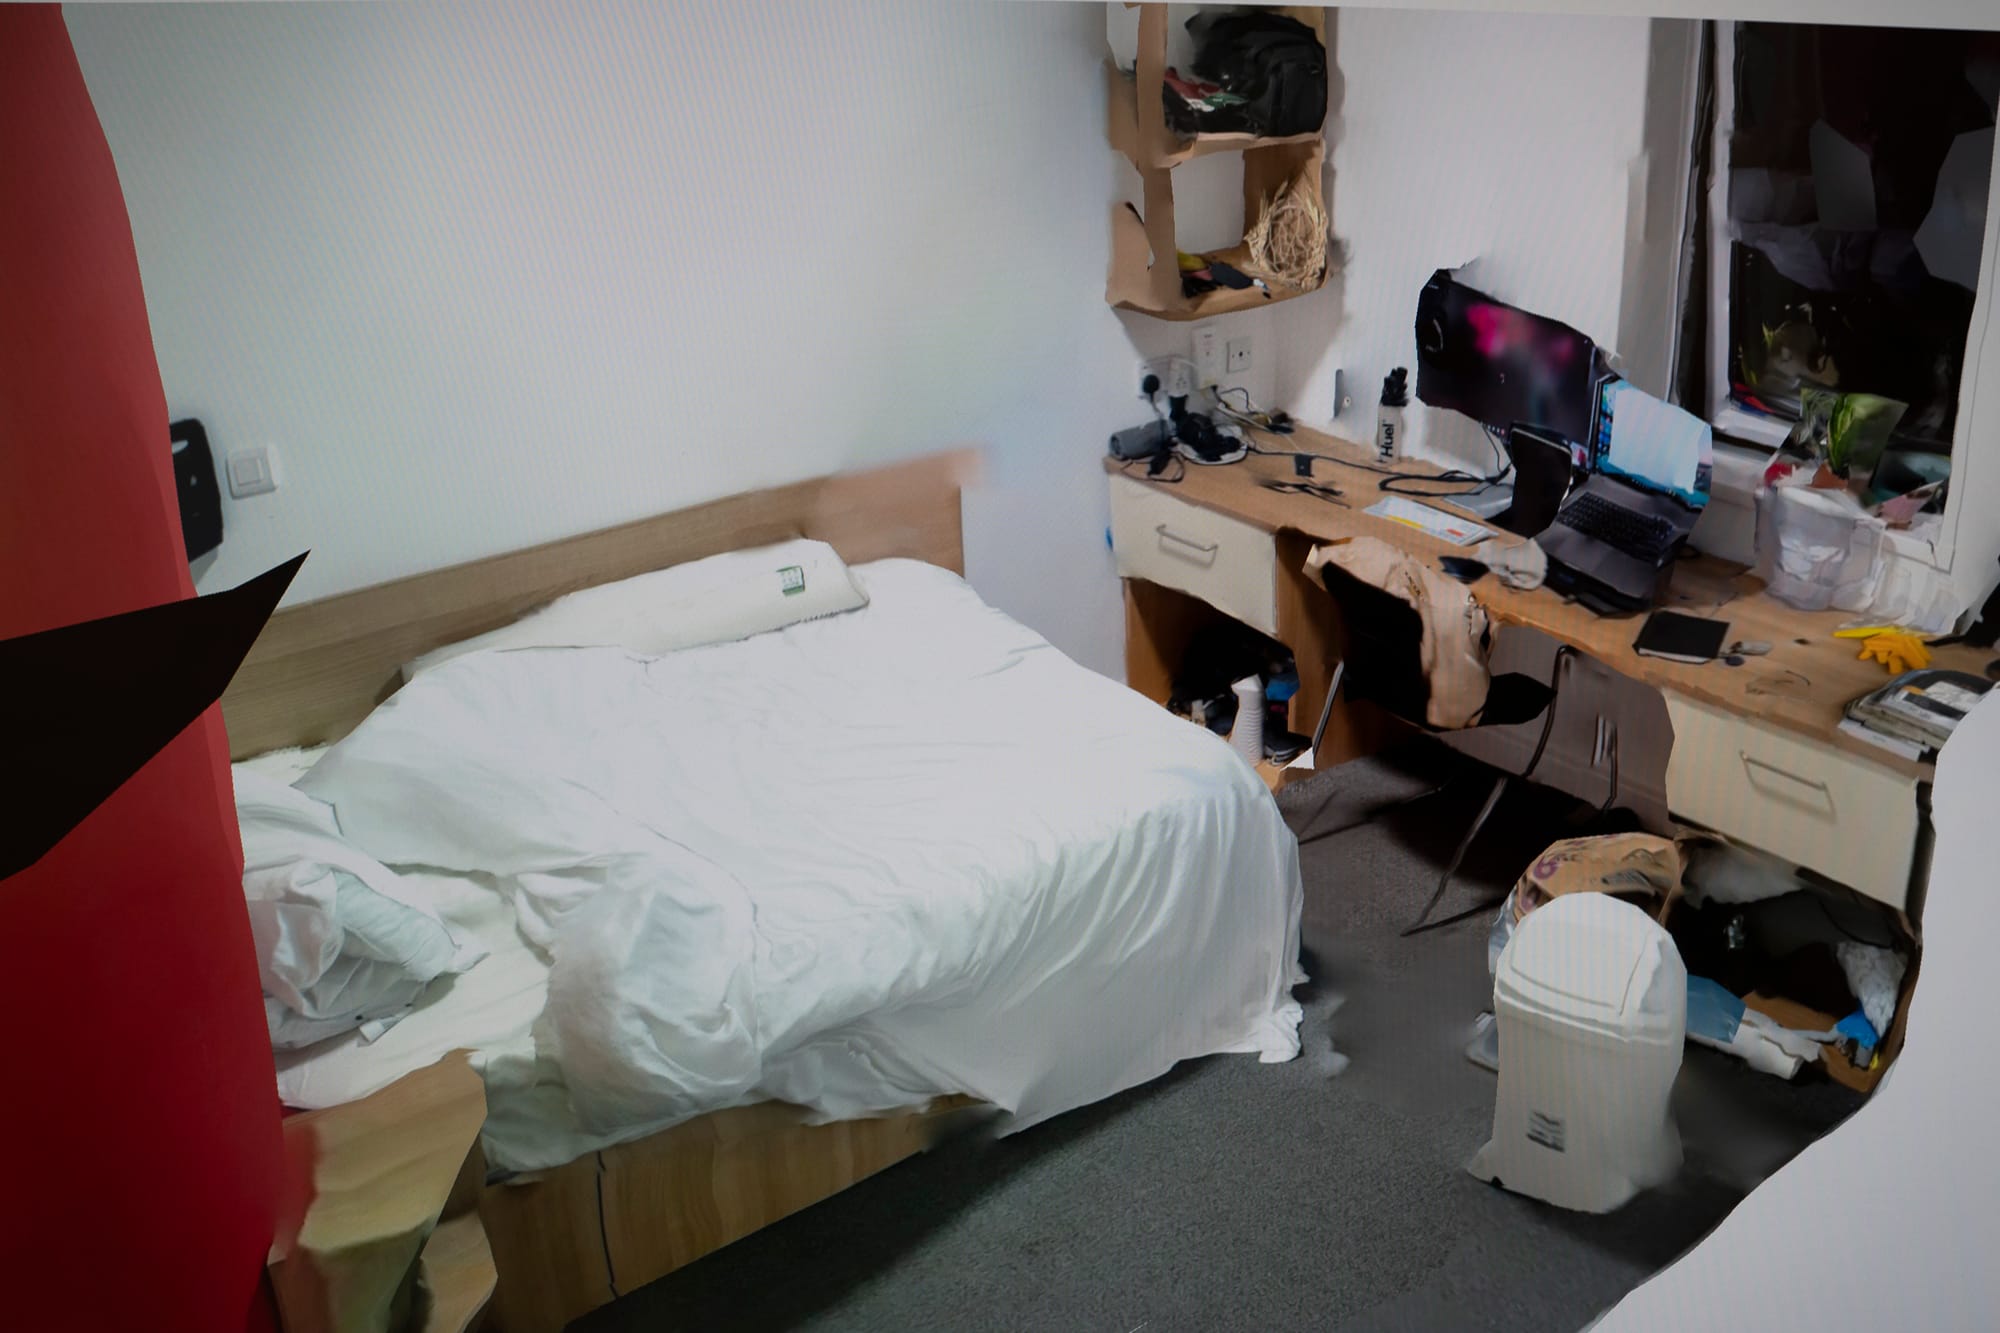
Method Two: Basic Measuring
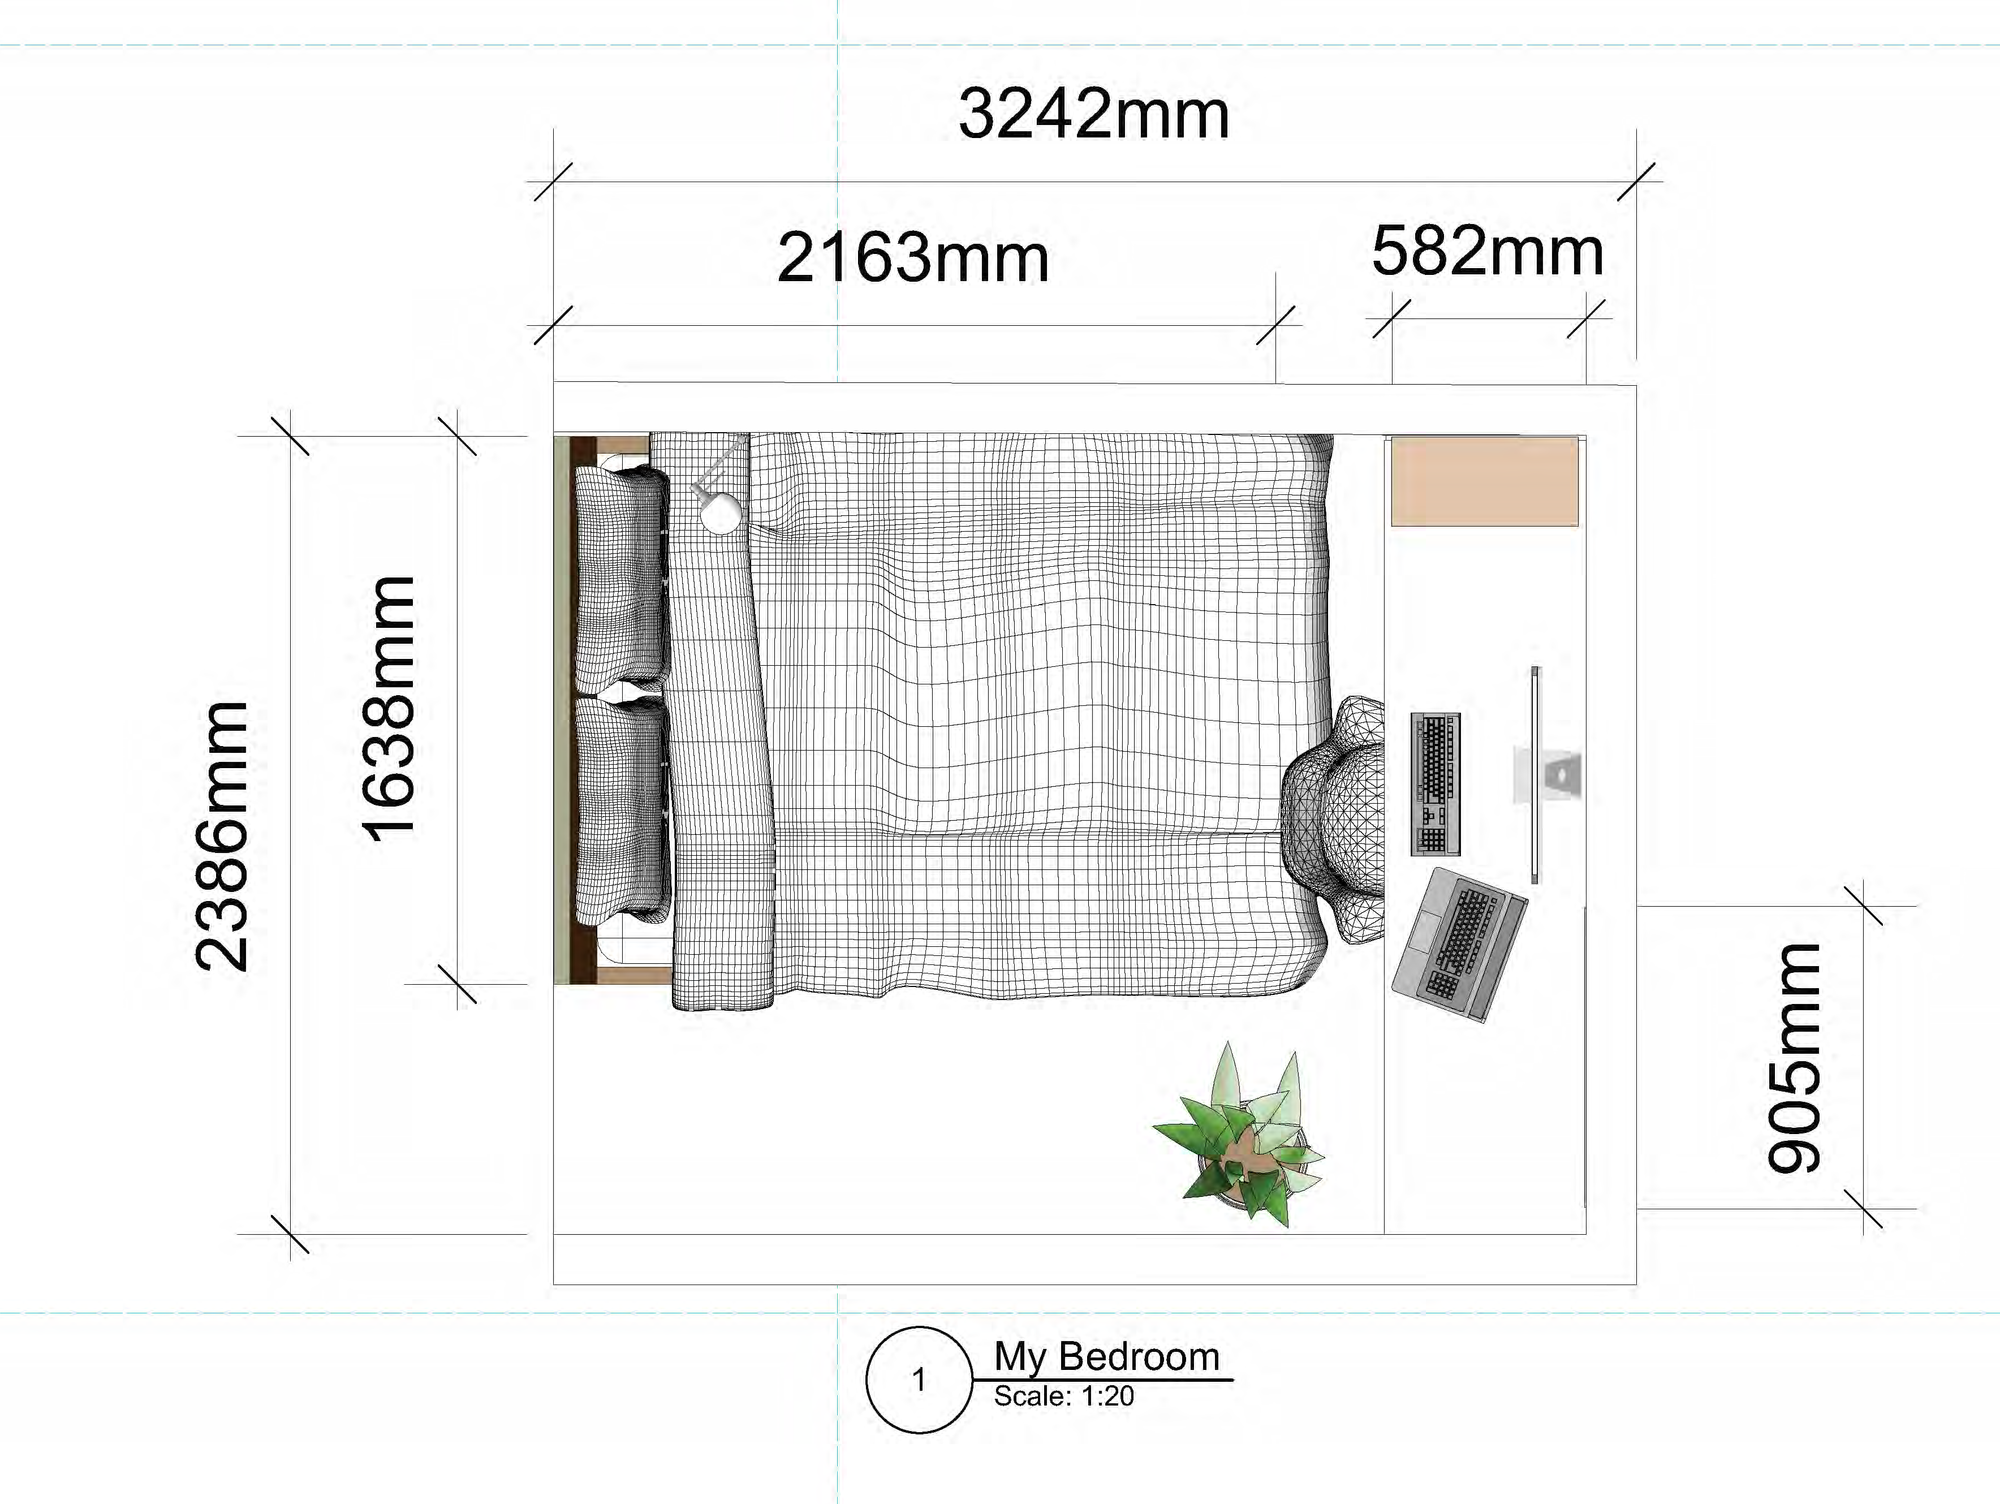
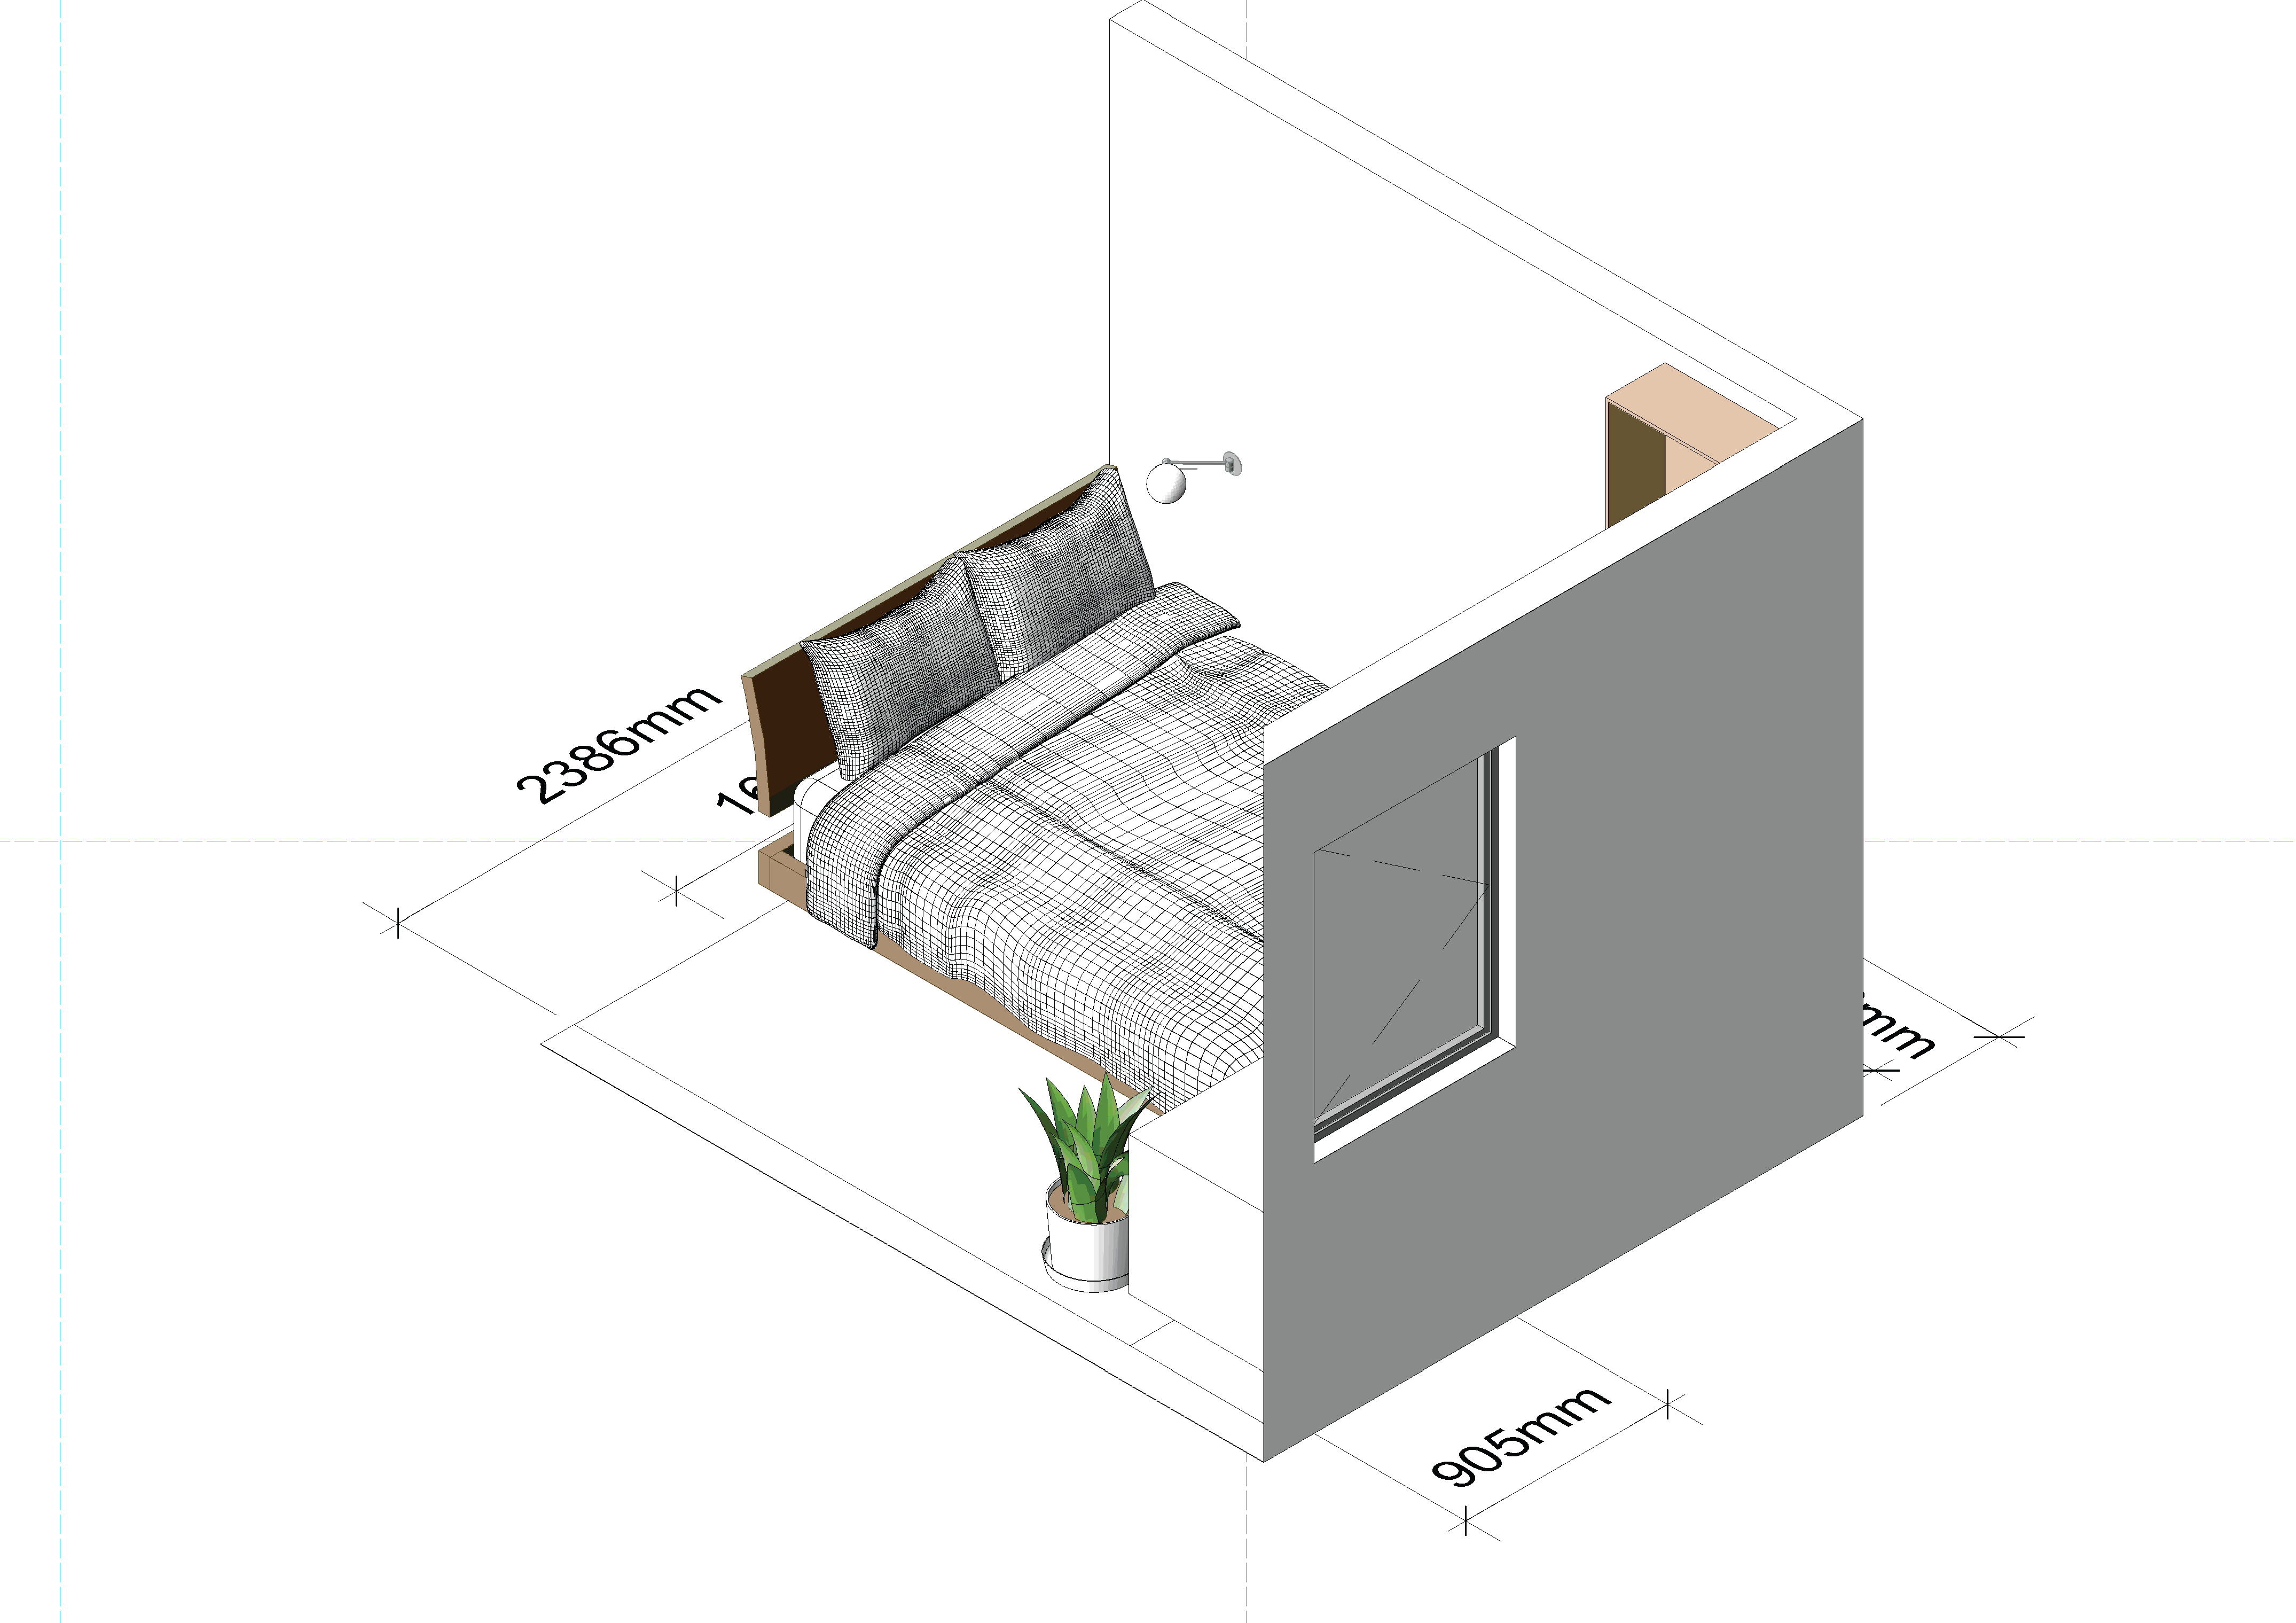
3D Rendered View, Hand-drawn sketches, and real images.
The Challenge: Conversely, standard tools could measure geometry but failed to capture the dynamic quality of light.
To contrast the personal survey, I used standardized methods to measure the space. A LiDAR scan using Polycam provided a general digital representation, while basic hand-measuring produced accurate floor plans.
However, both methods revealed a gap: while they could define the geometry of the space, they couldn't capture the qualitative, dynamic nature of how light interacted with surfaces, a quality I had identified as essential to the room's character. This highlighted a need for a new way of seeing.
Step 3: The Inspiration - Learning from an Artist
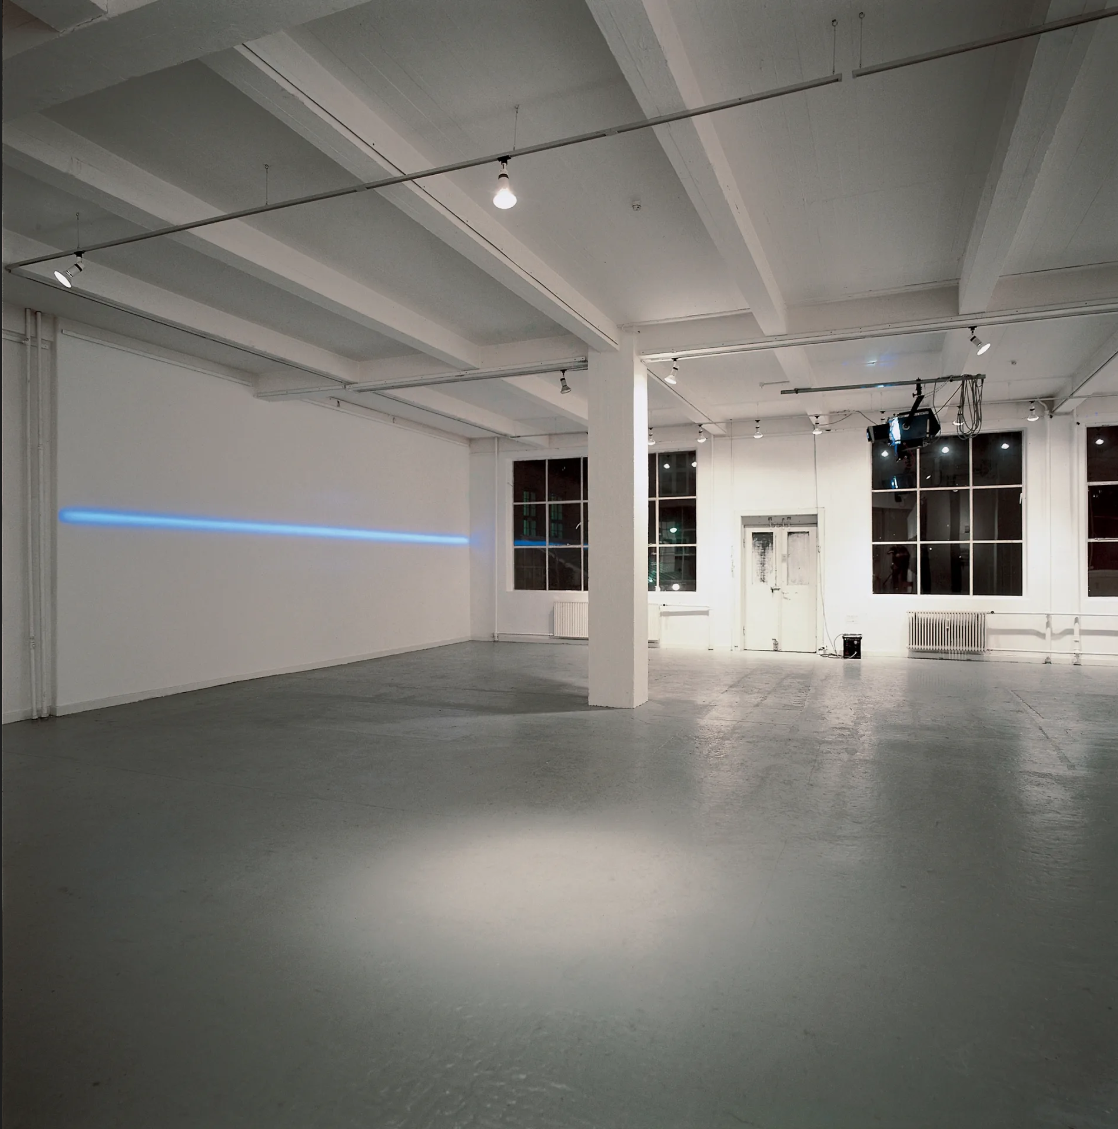

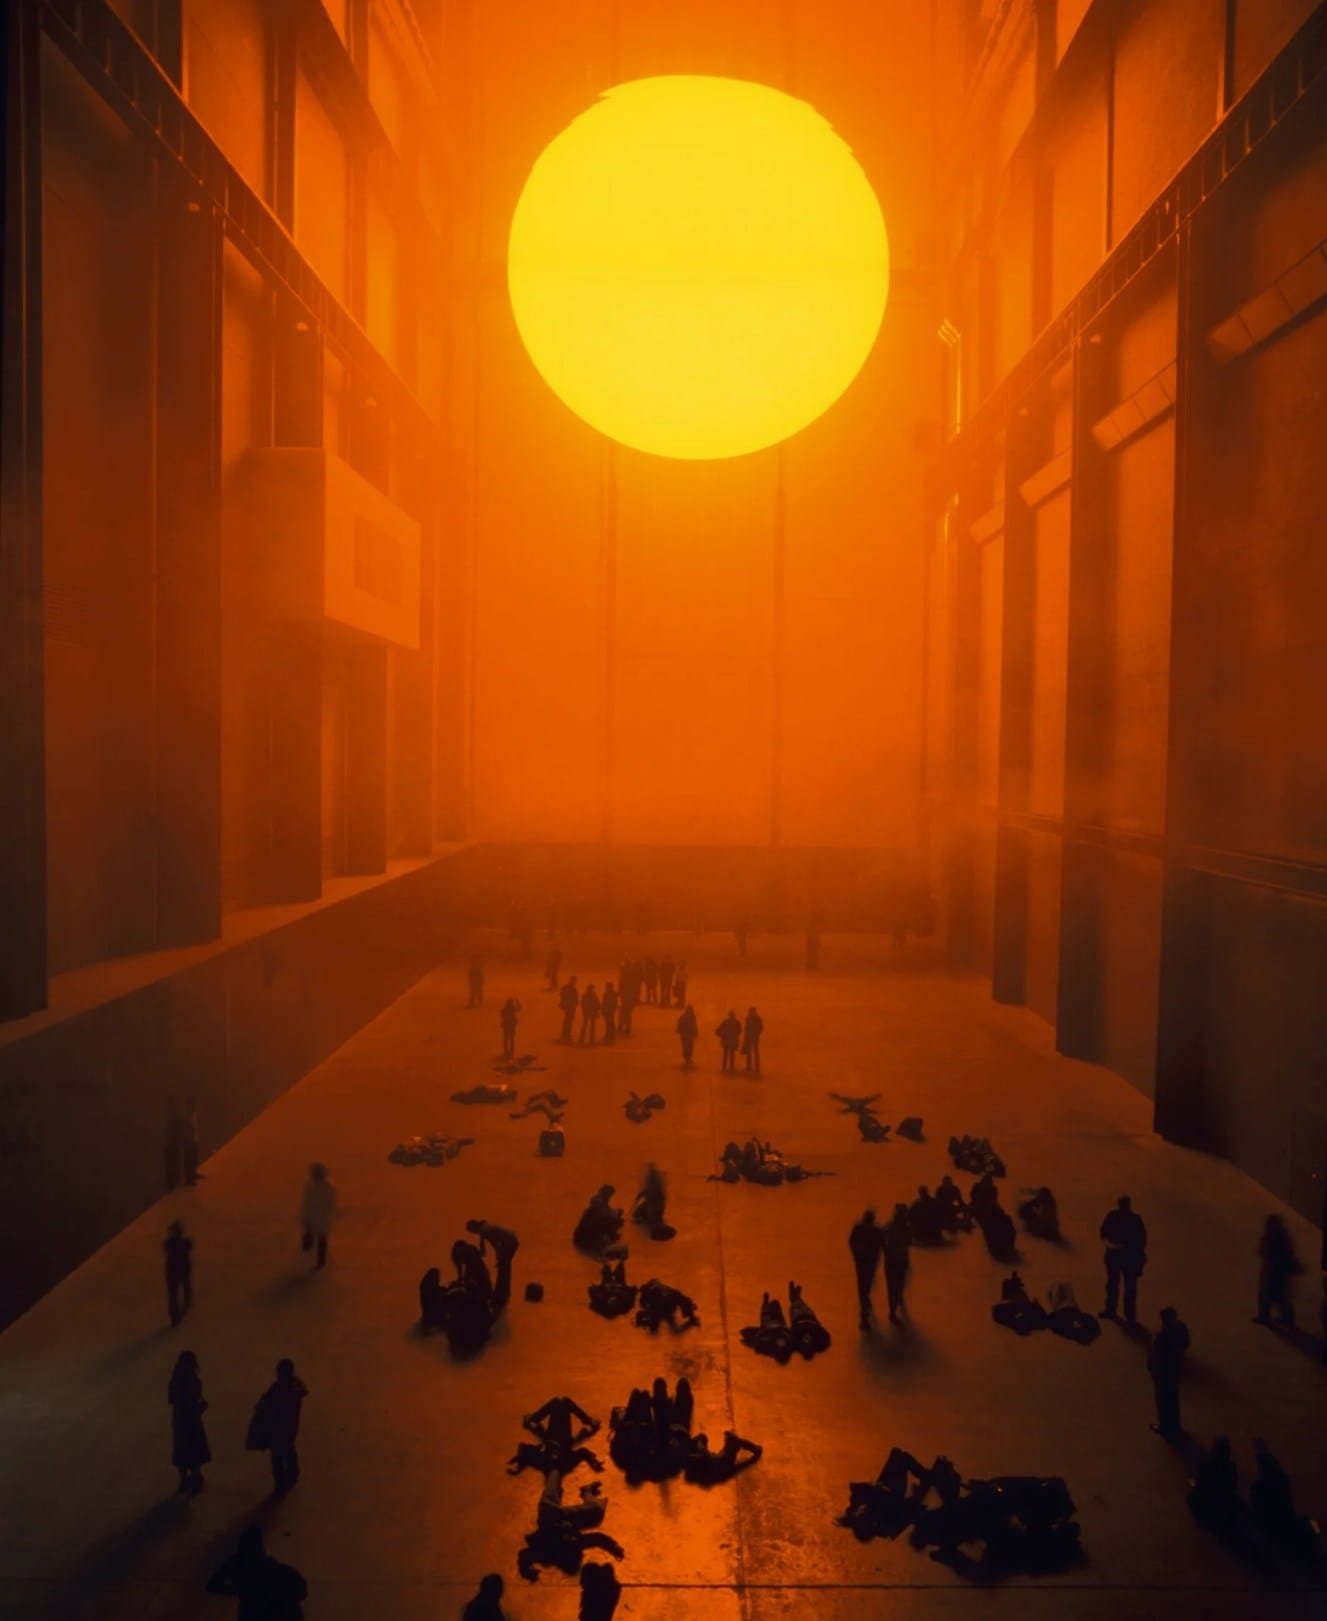
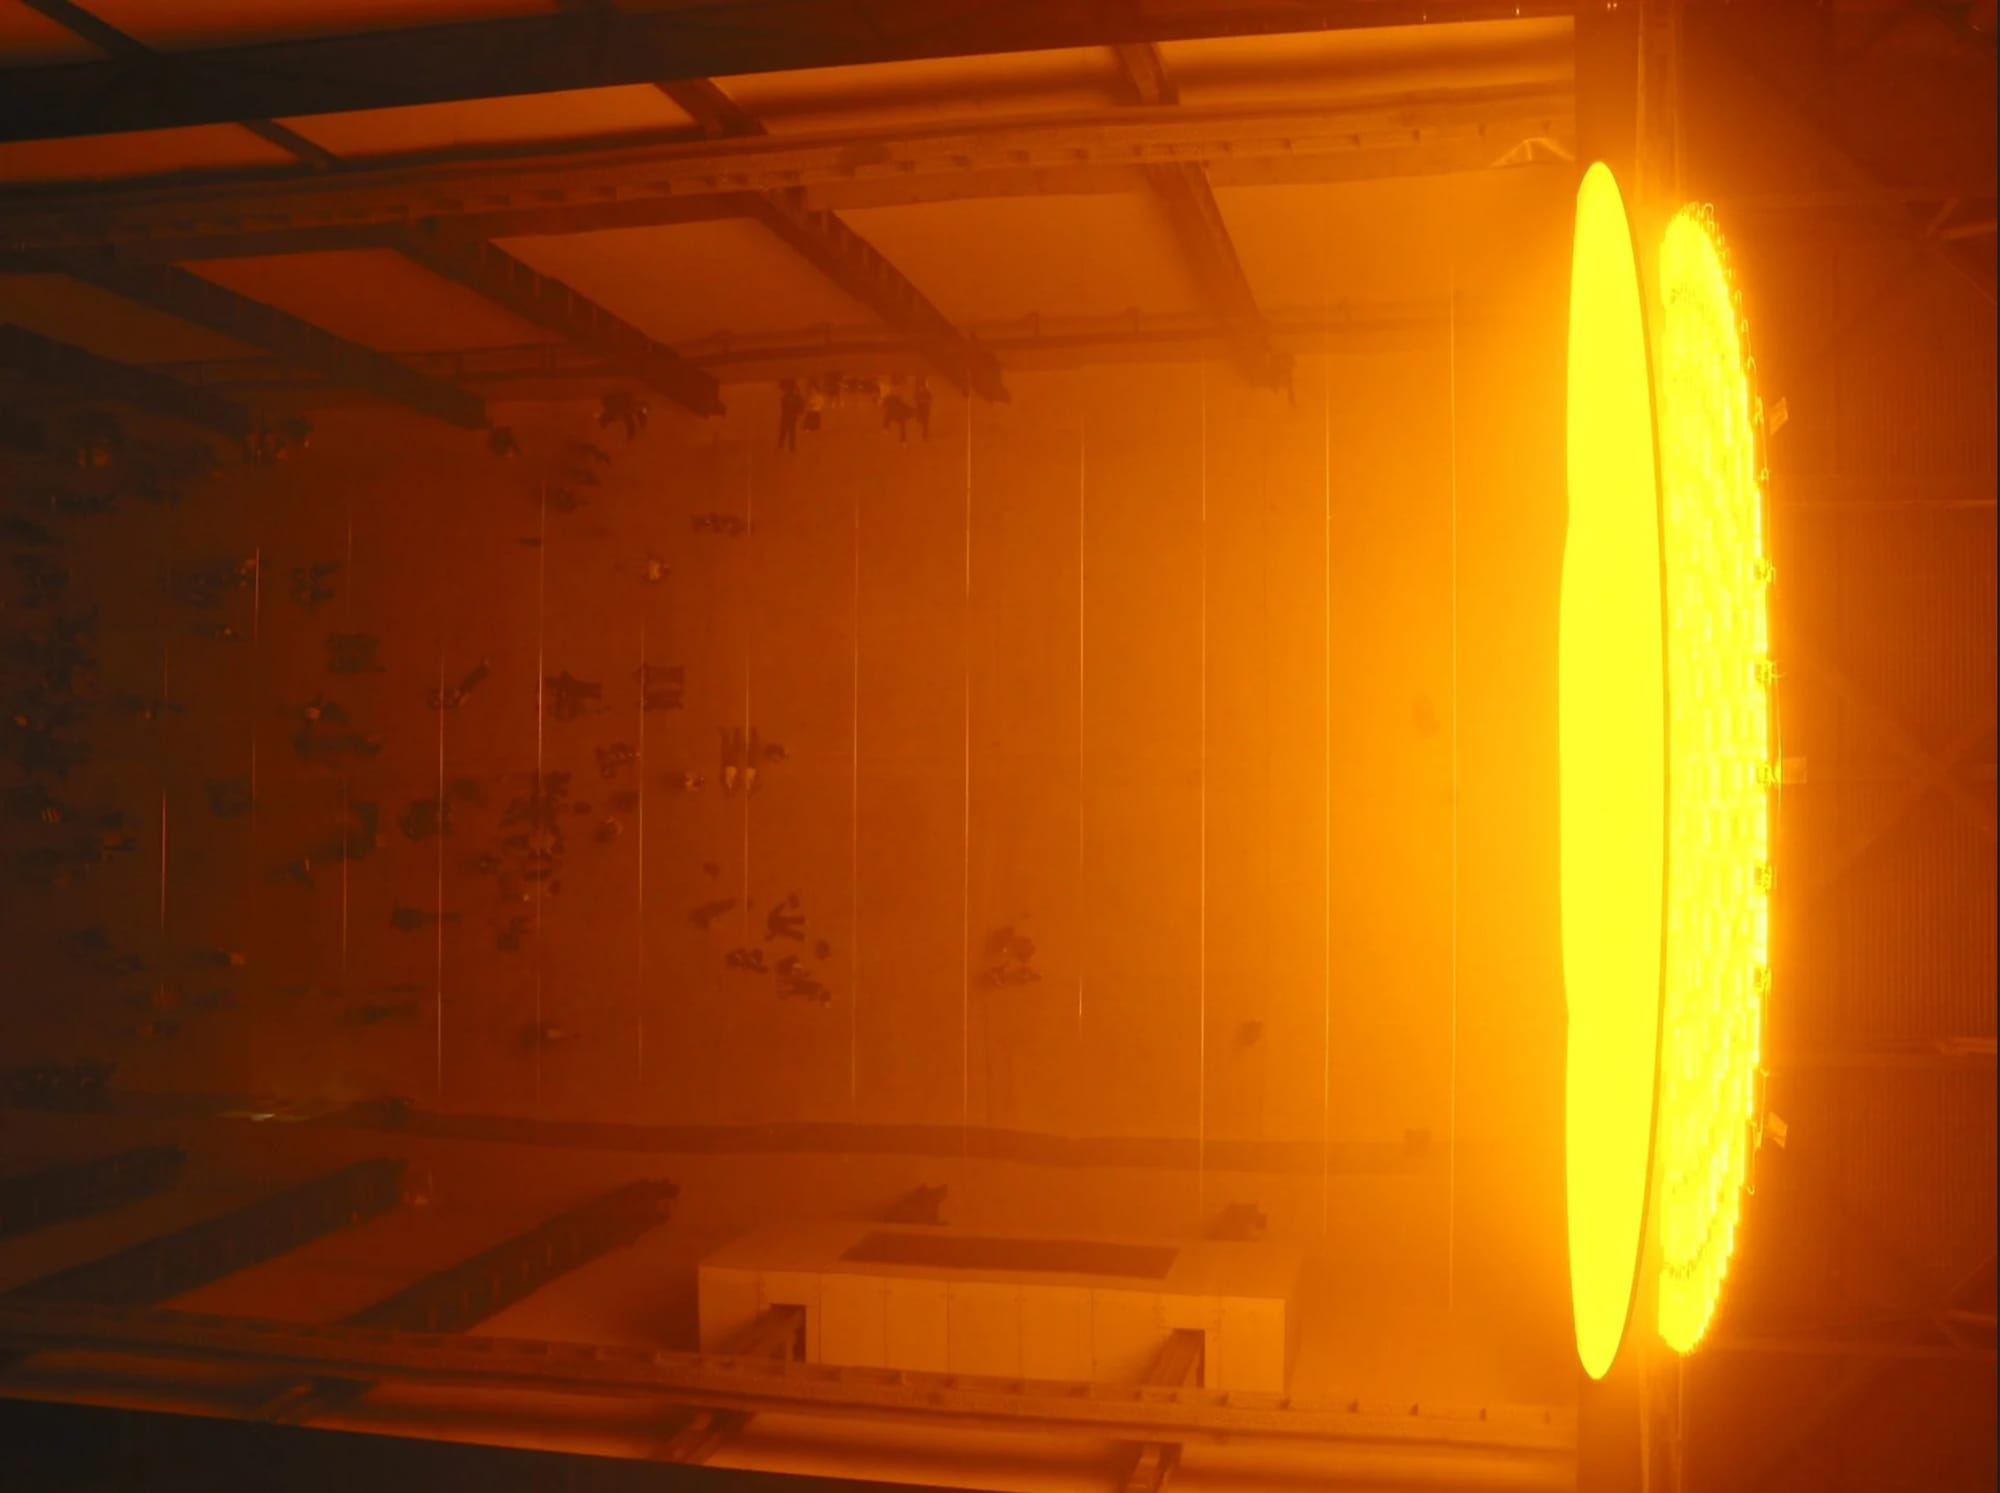
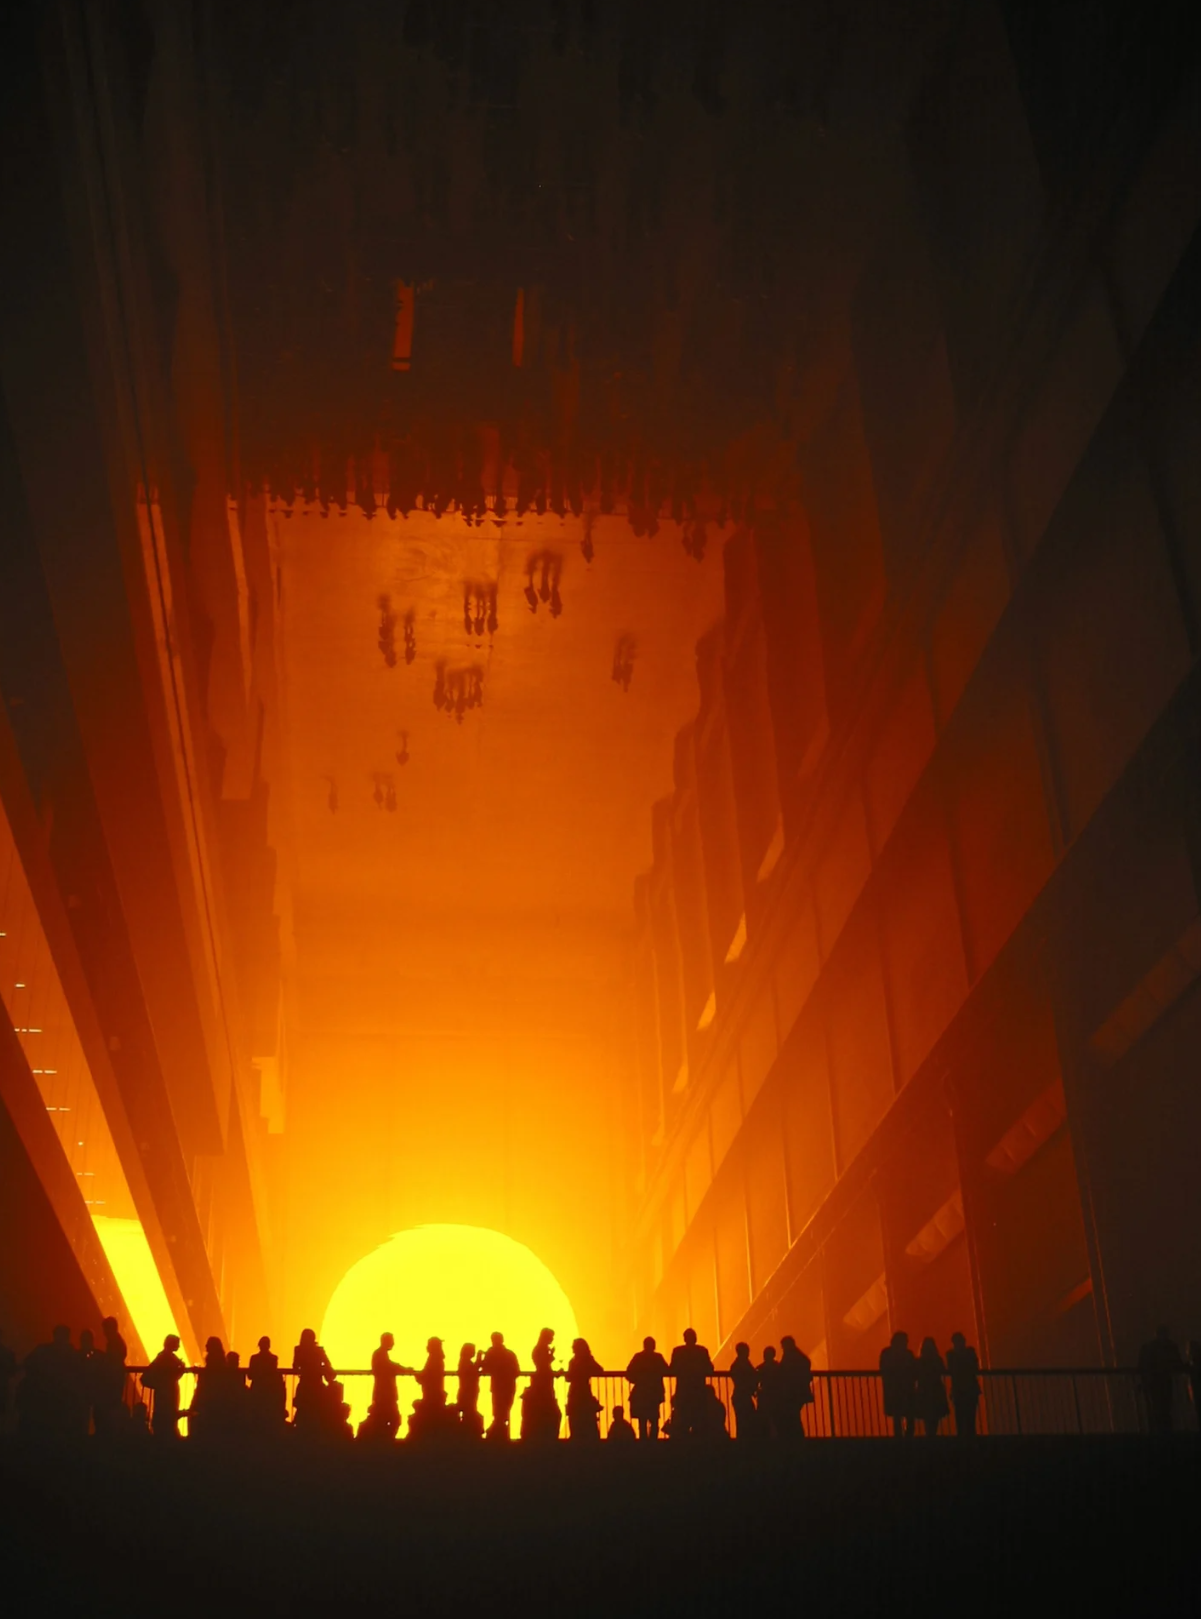
By Olafur Eliasson, Susan May in Turbine Hall, Tate Modern(The Unilever Series), London, 2003
Visitors from the harsh London winter entered a 150-metre long Turbine Hall filled with the bright colors of the sun, and the blurring mist, the work of artist Olafur Eliasson, who masterfully manipulates light to alter spatial perception.
Question Raised
- How does light relates to humans and the space around them? How can we understand the relationship between the user and any architectural detail, ideological strategy, and the project?
- How do i create the device serving the same function, but in a smaller scale and be operated by one?
Thus, I set out to design my own tool.
Step 4: The Innovation - Designing and Fabricating a Solution
The goal was to create a portable device that could project a controlled beam of light to precisely measure how different surfaces on a site respond. After researching light sources and prototyping with accessible materials like a high-lumen flashlight and a custom-made cone, I fabricated a final device.
Requirements for the device
- Portable, can be carried by a coach
- Battery Powered, that could last possibly hours of use without recharging.
- Scanning Area - Outdoors, both during the day or during the night.
- Cost and the Material - Easy to duplicate, and not that much.
- Easily Processed Data
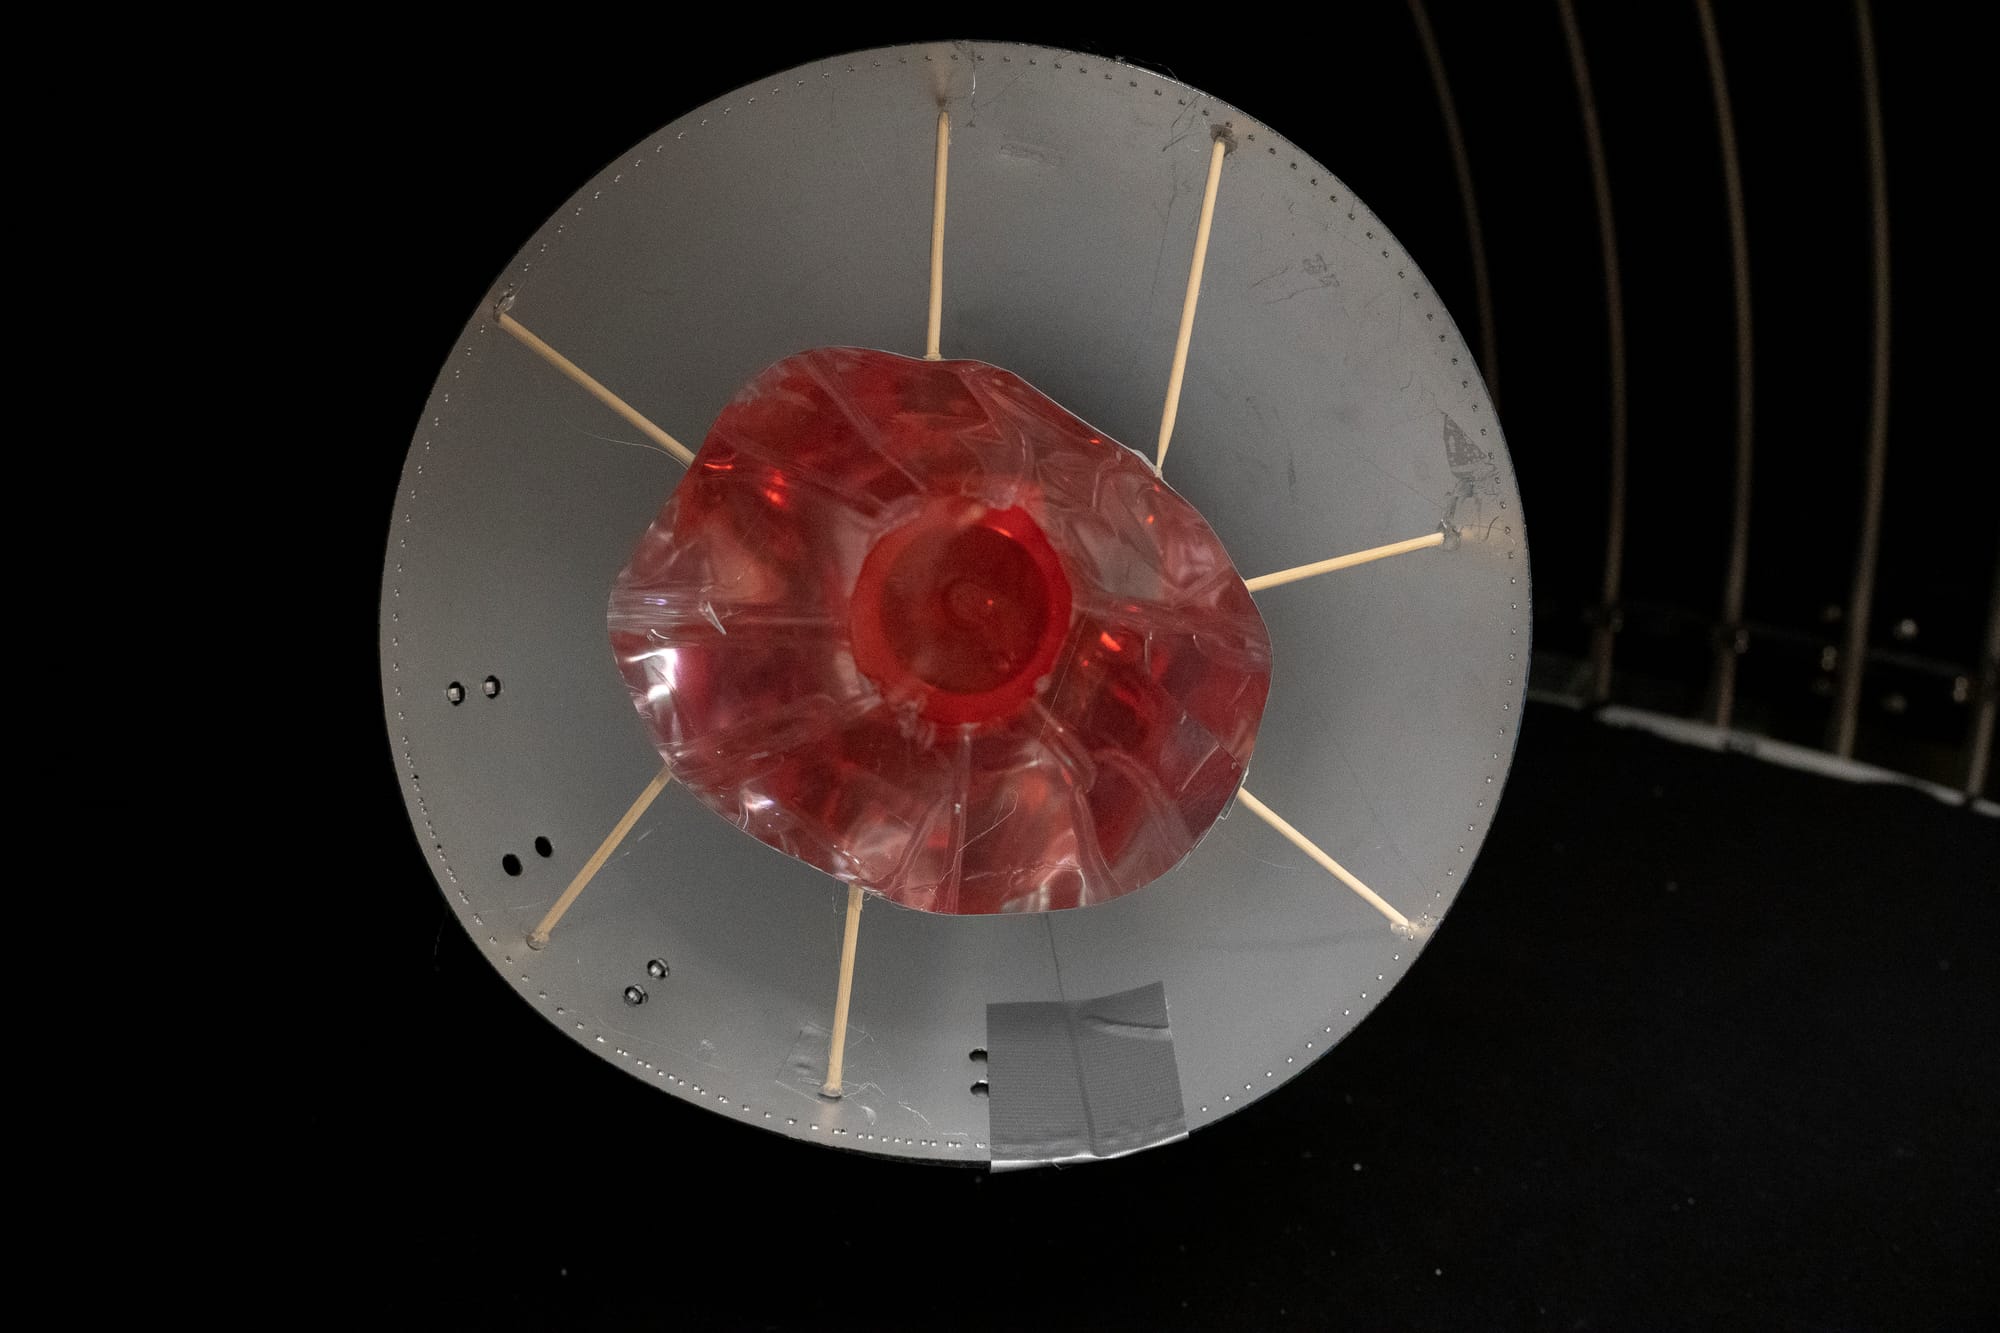
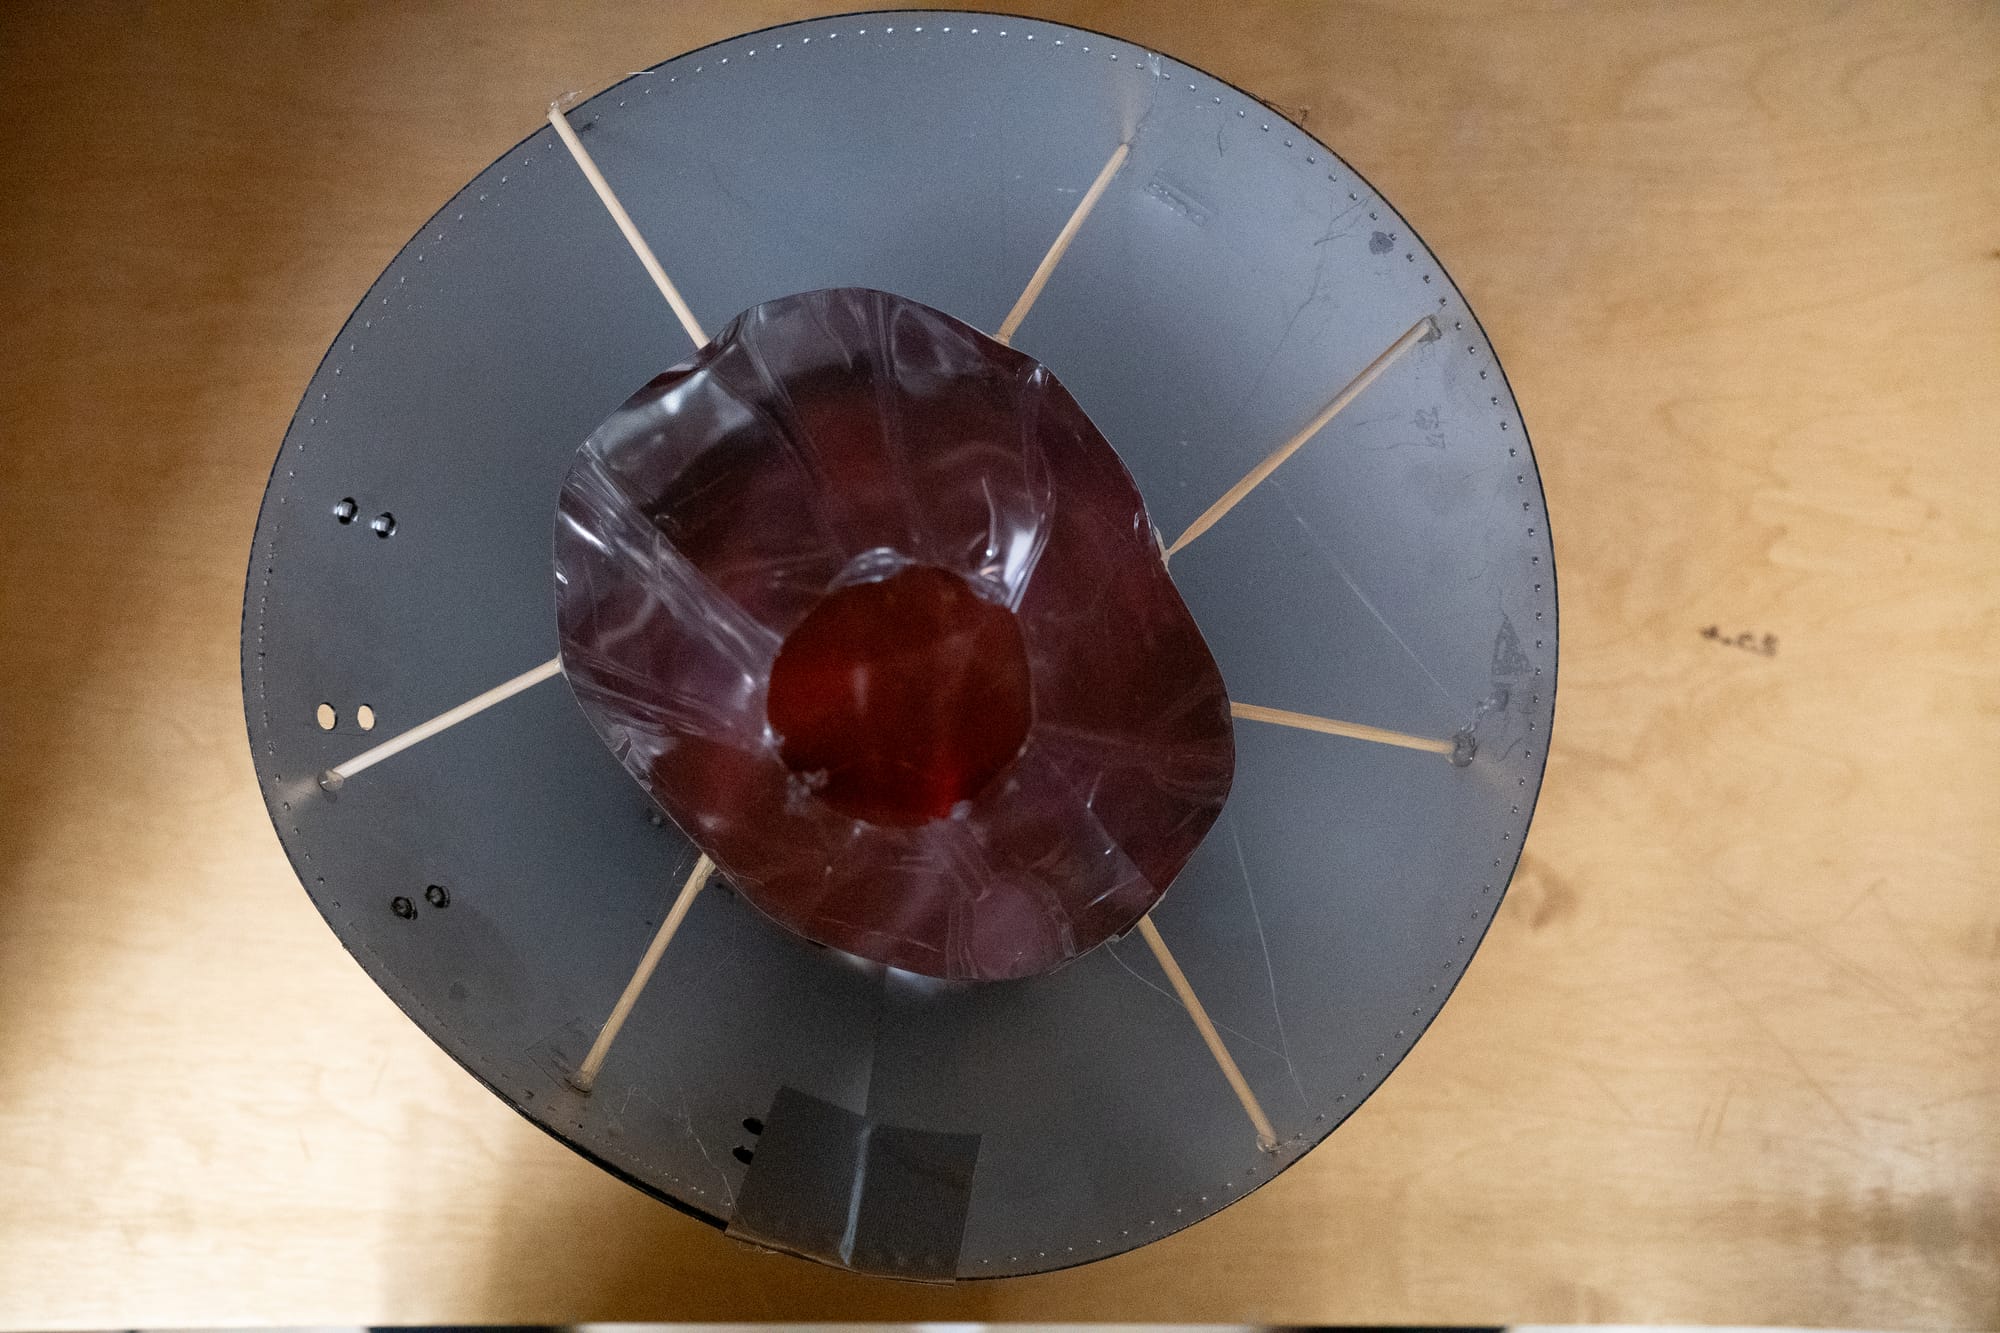
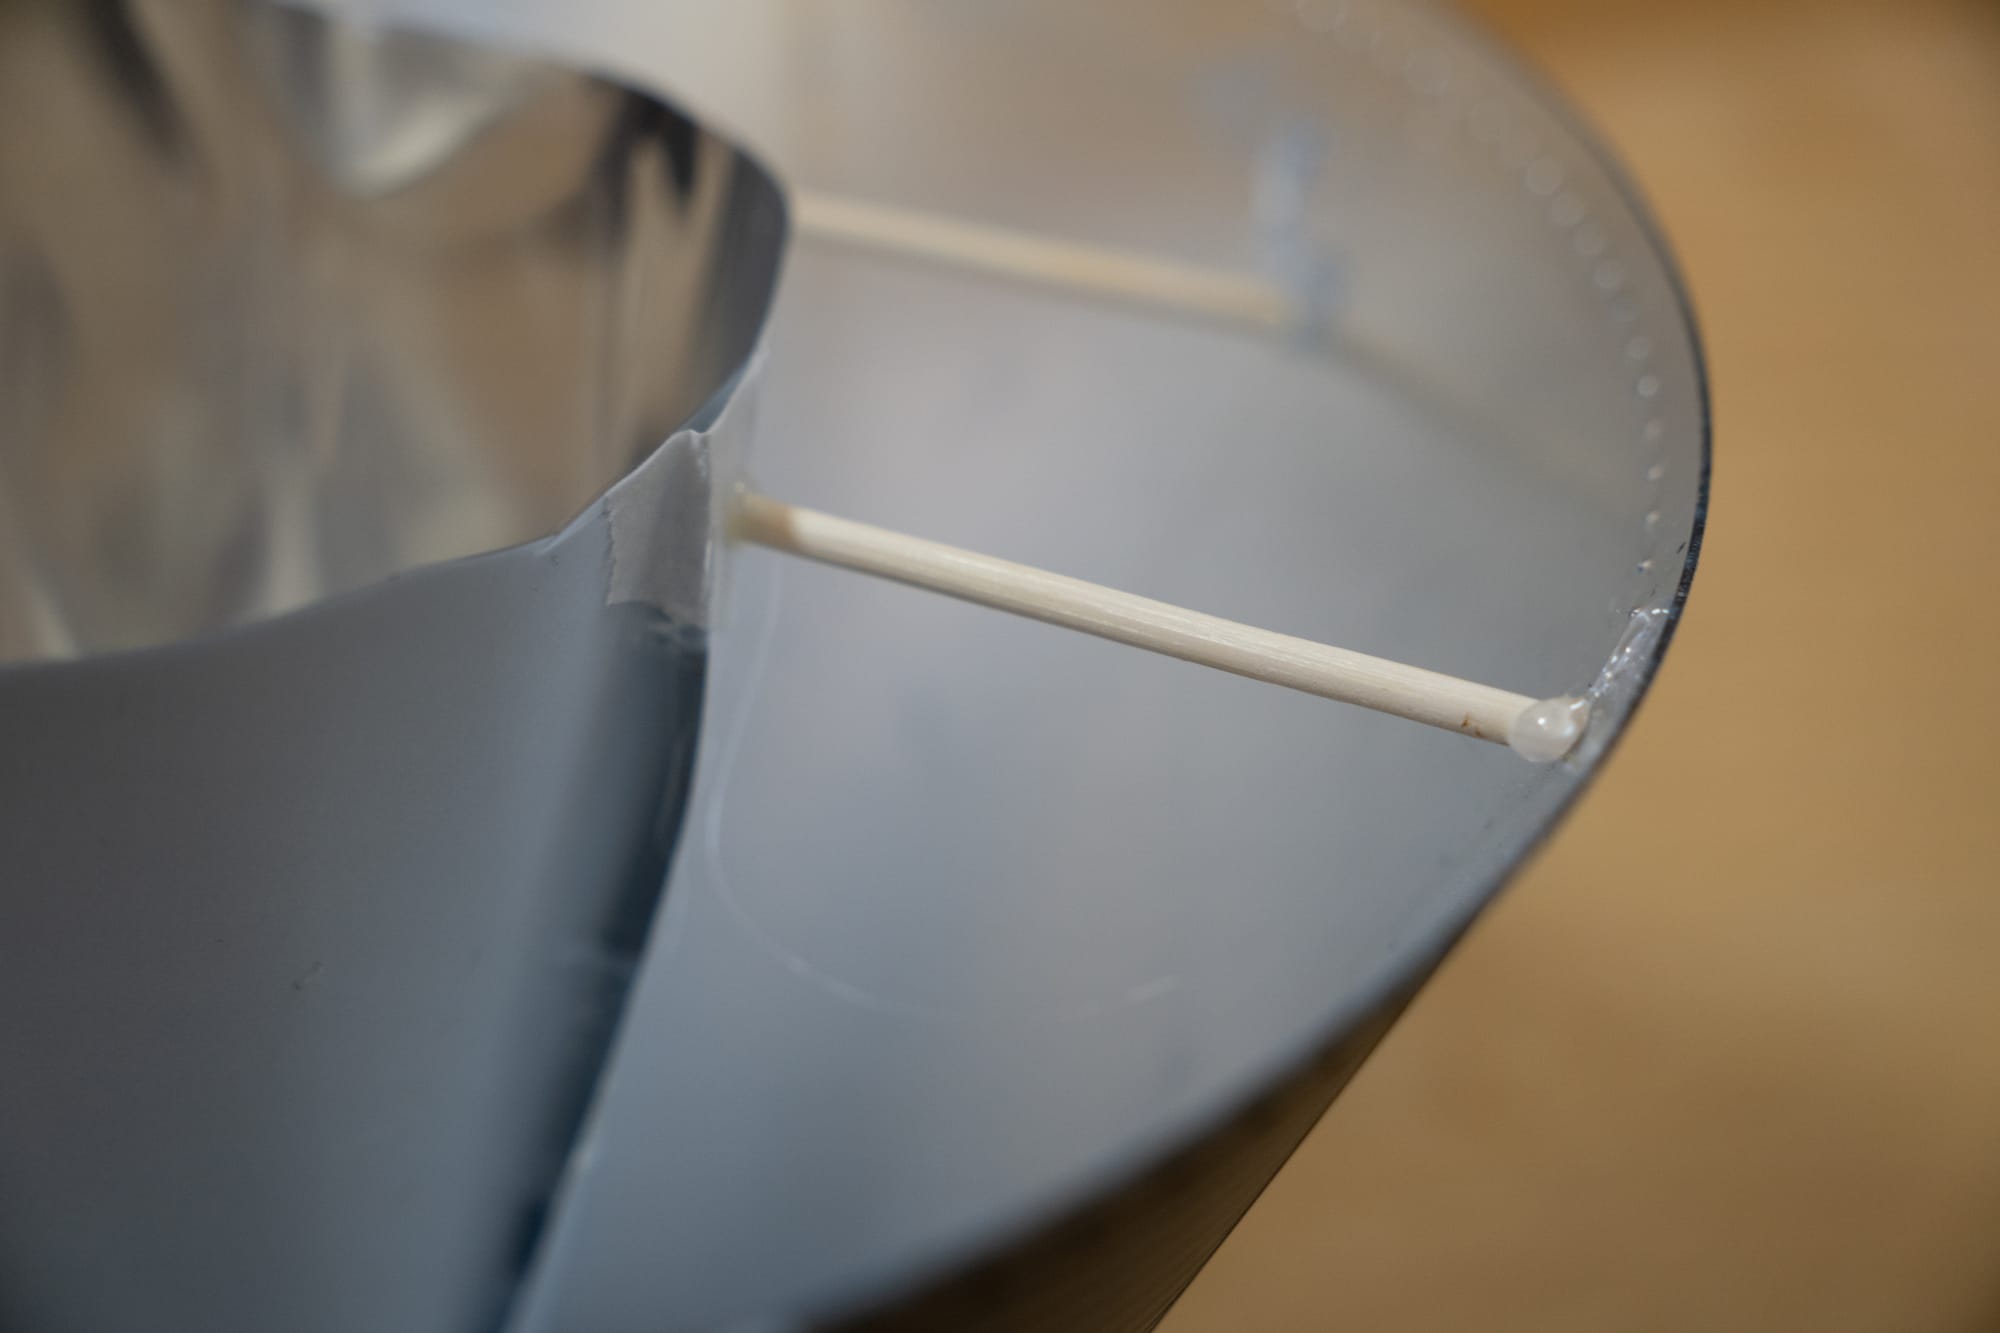
Initial Design
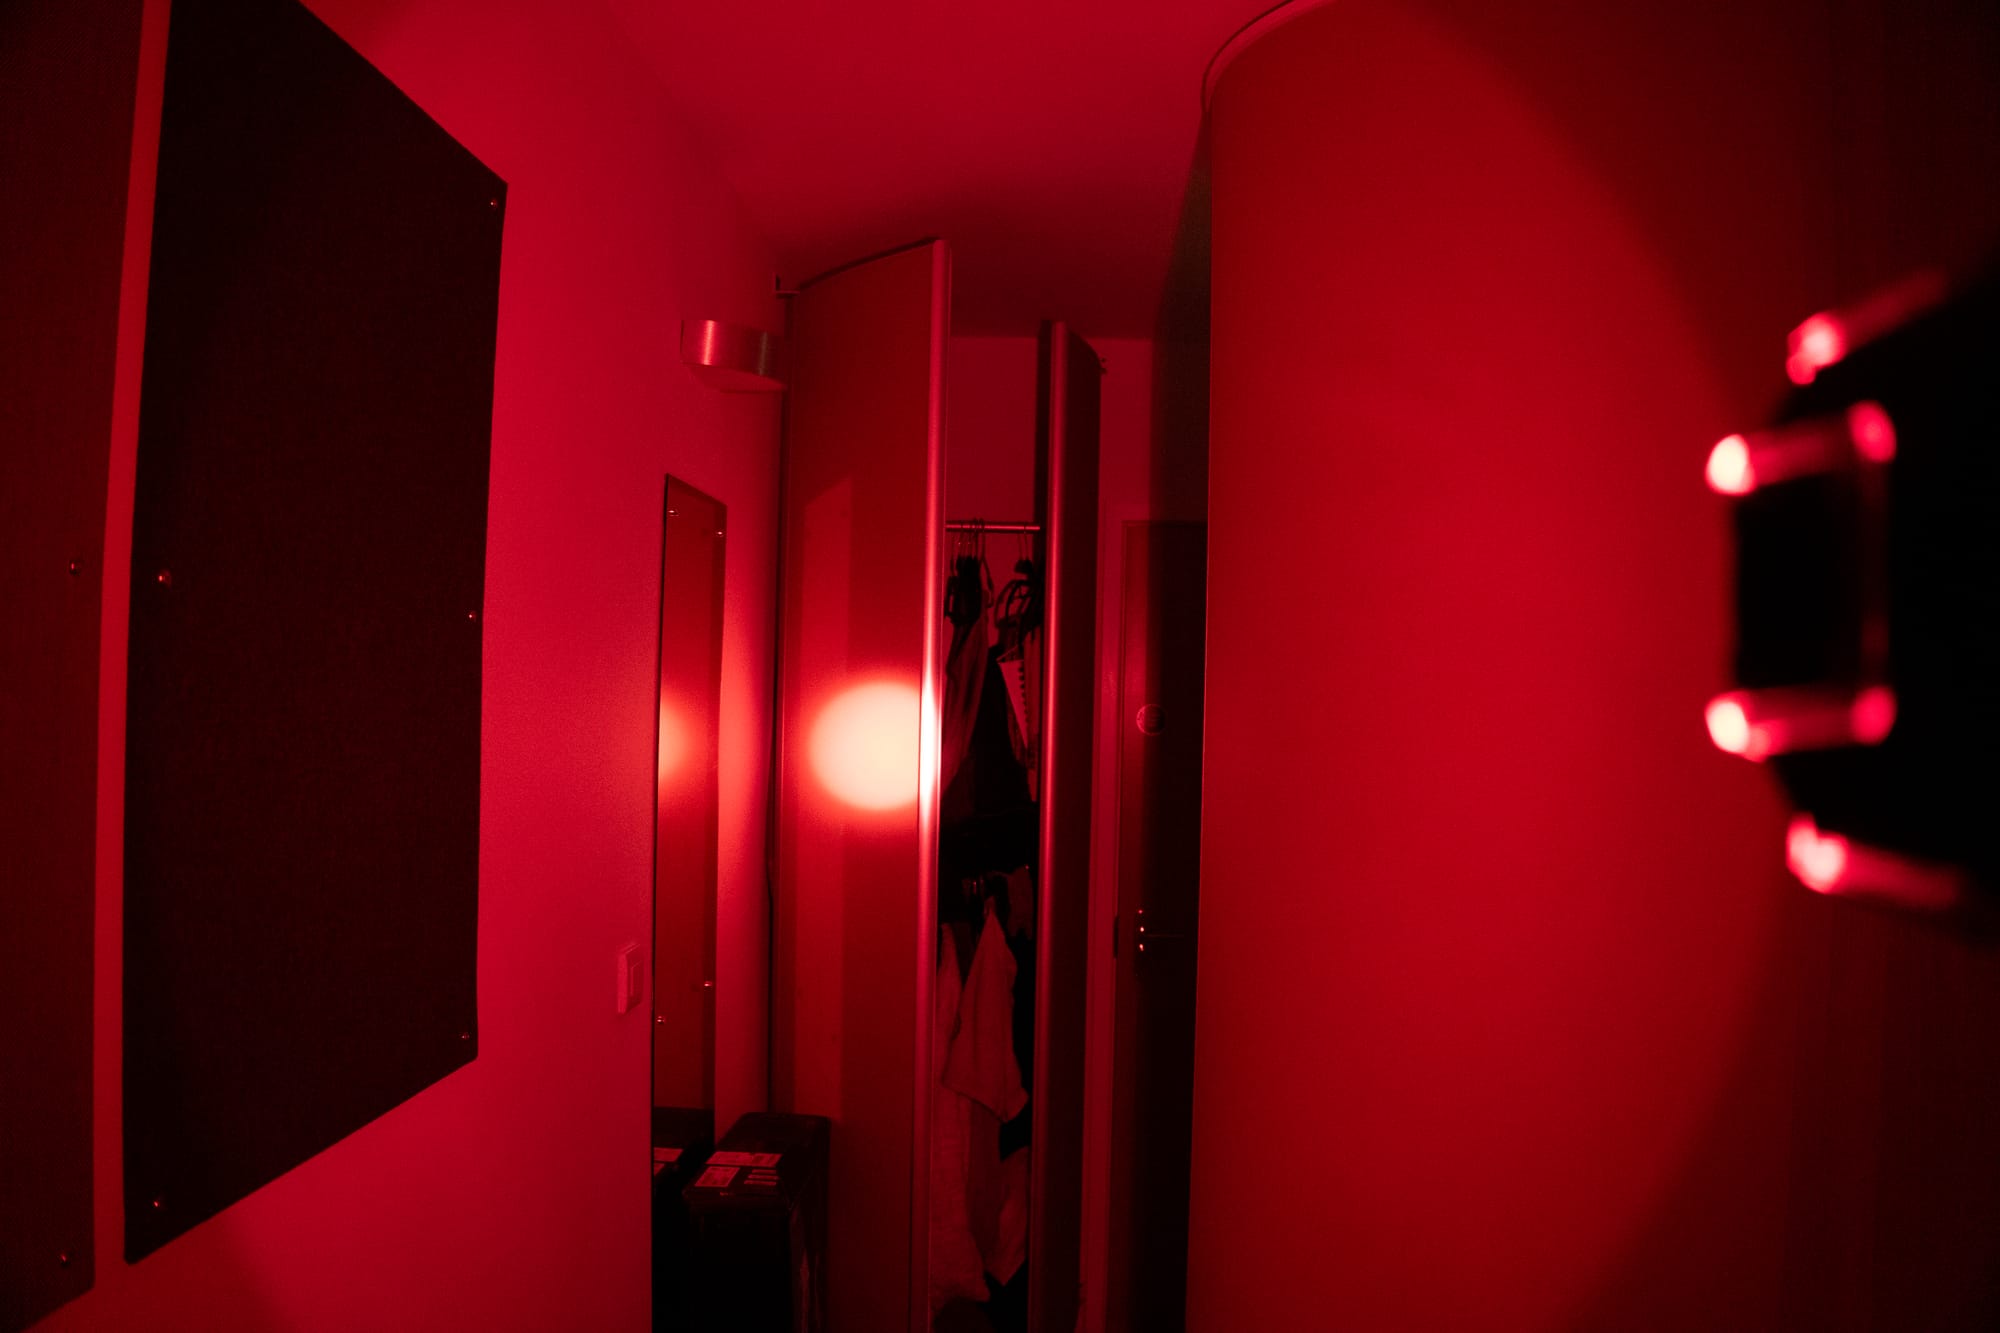
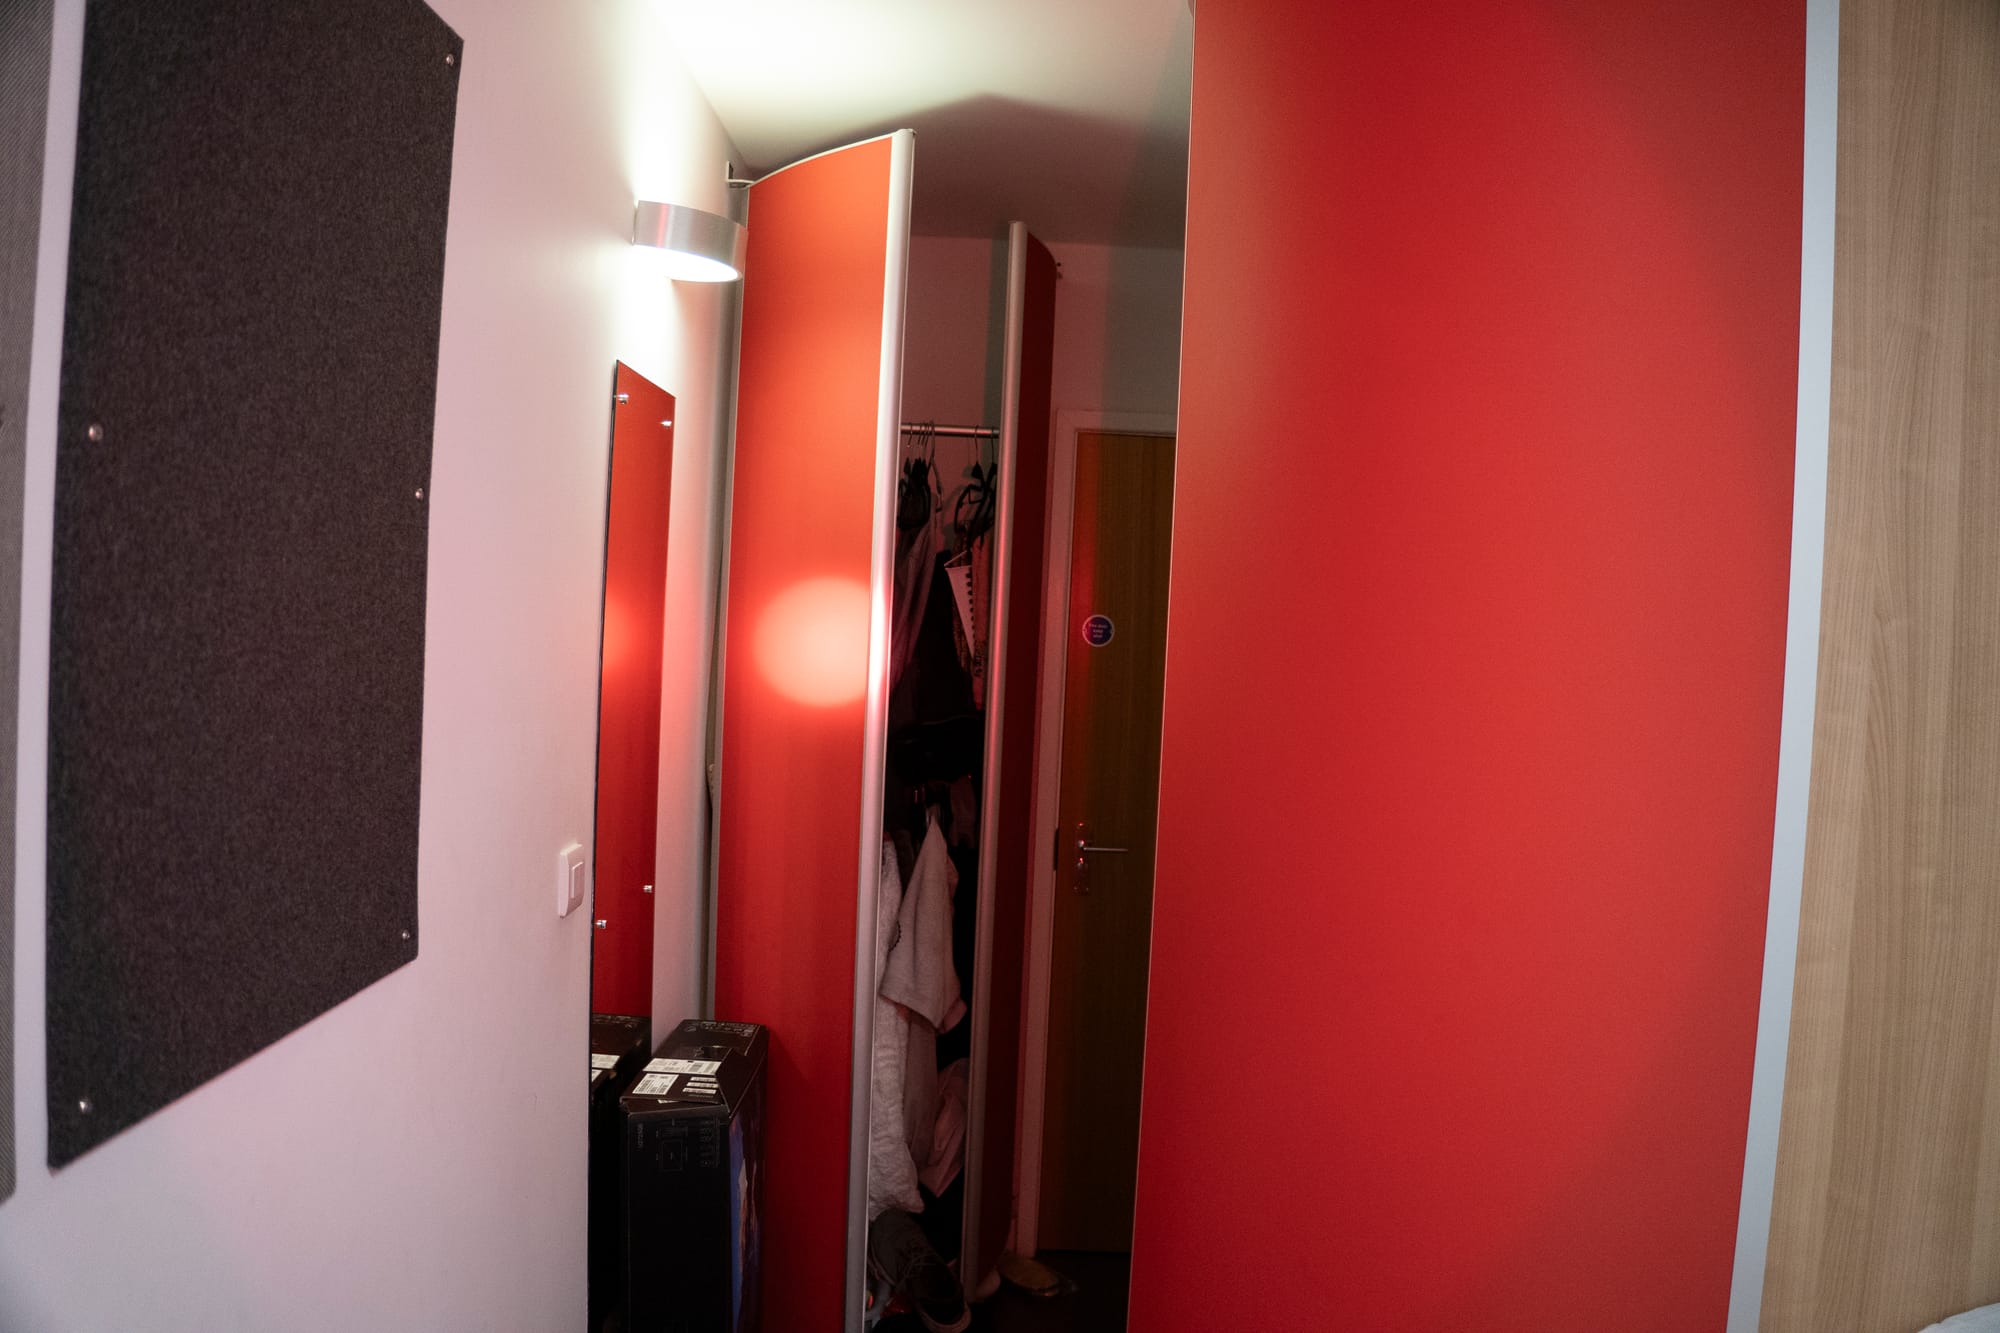
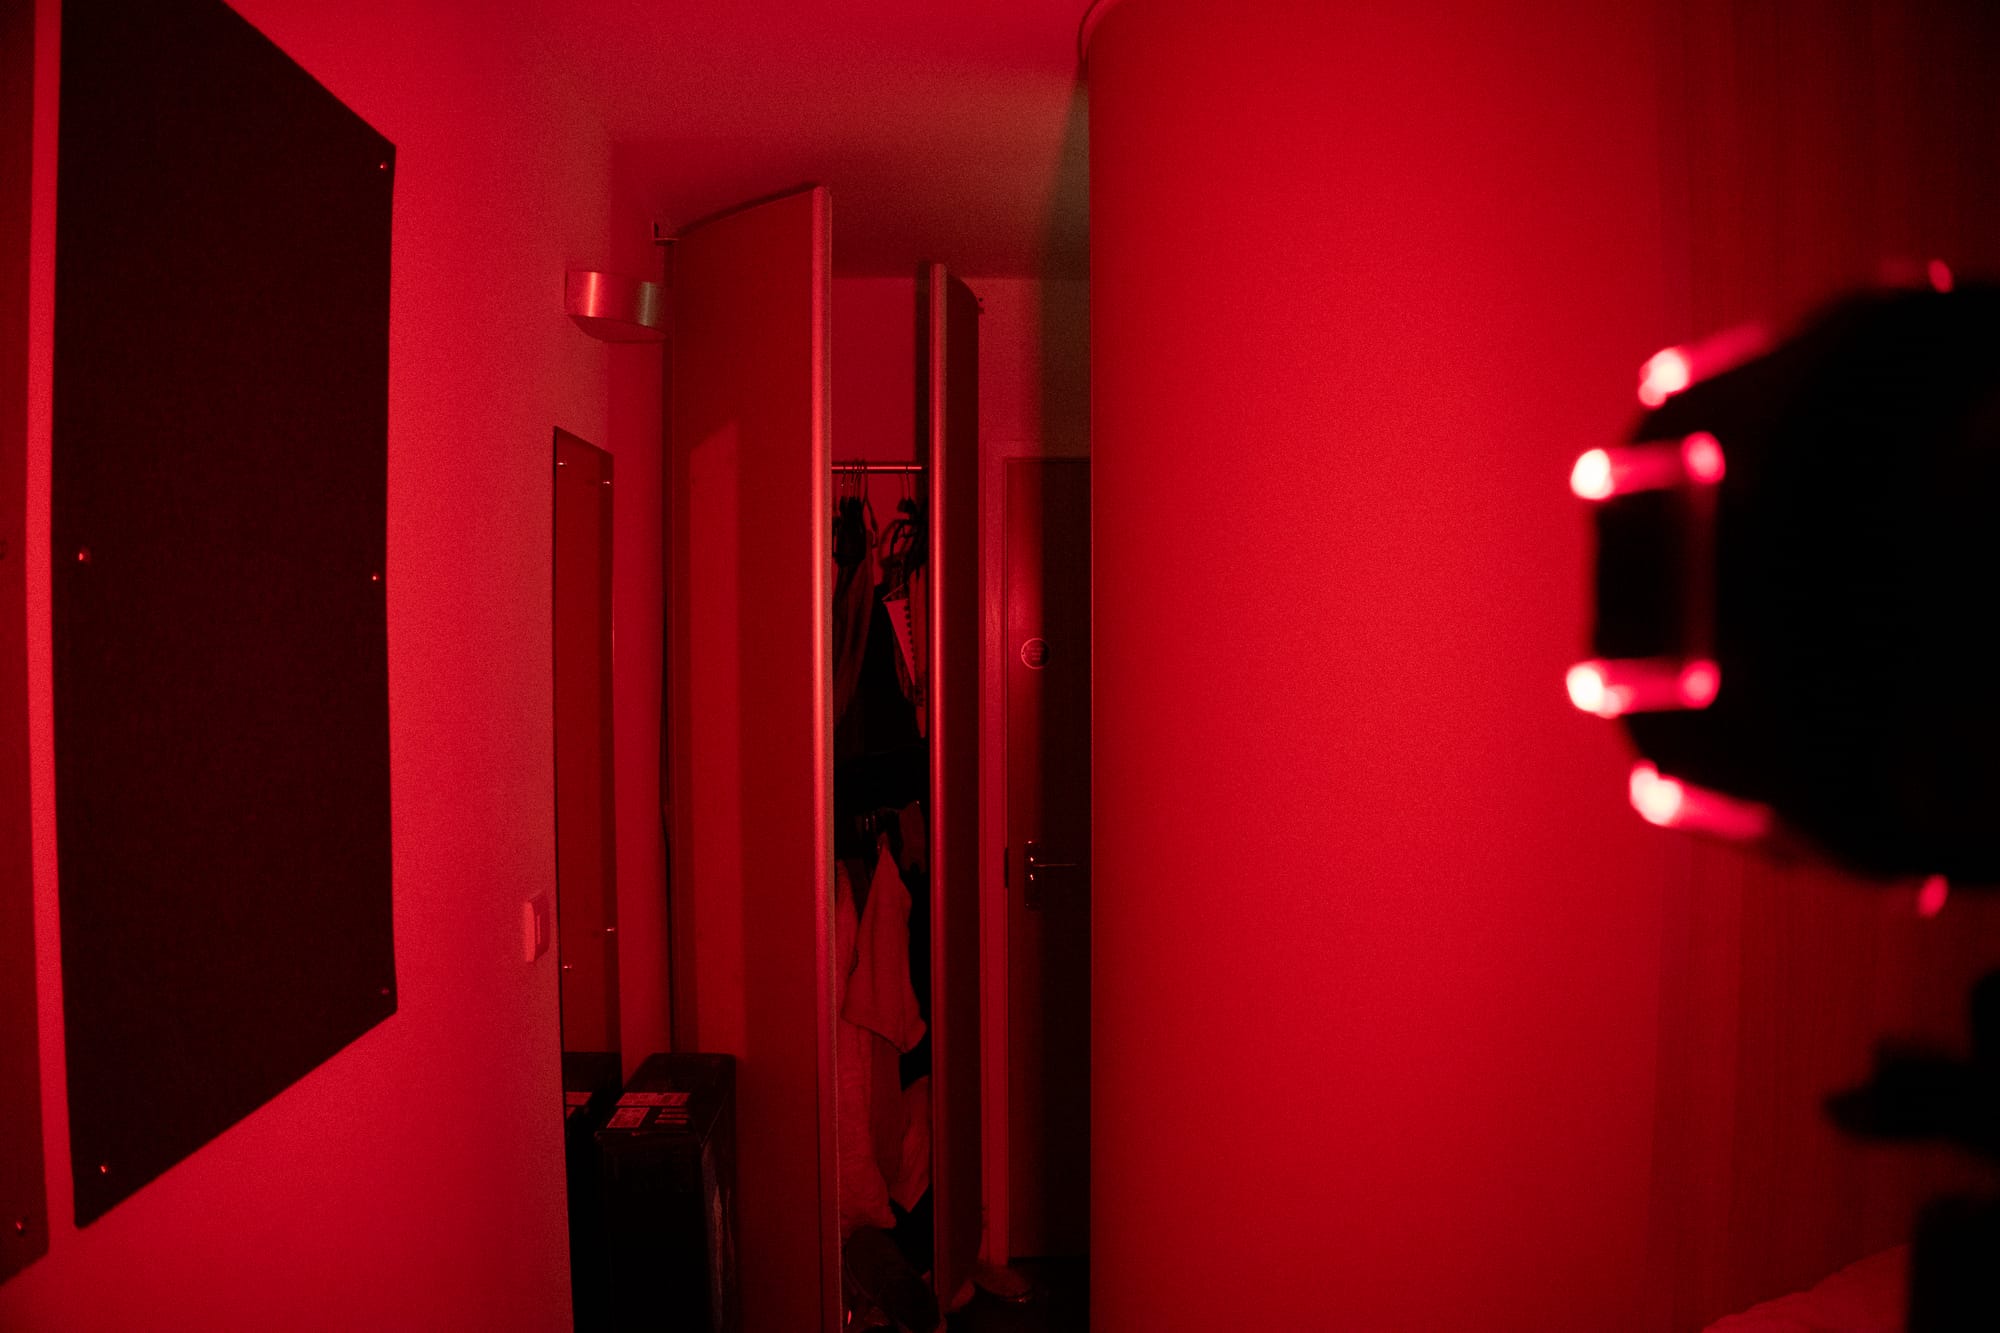
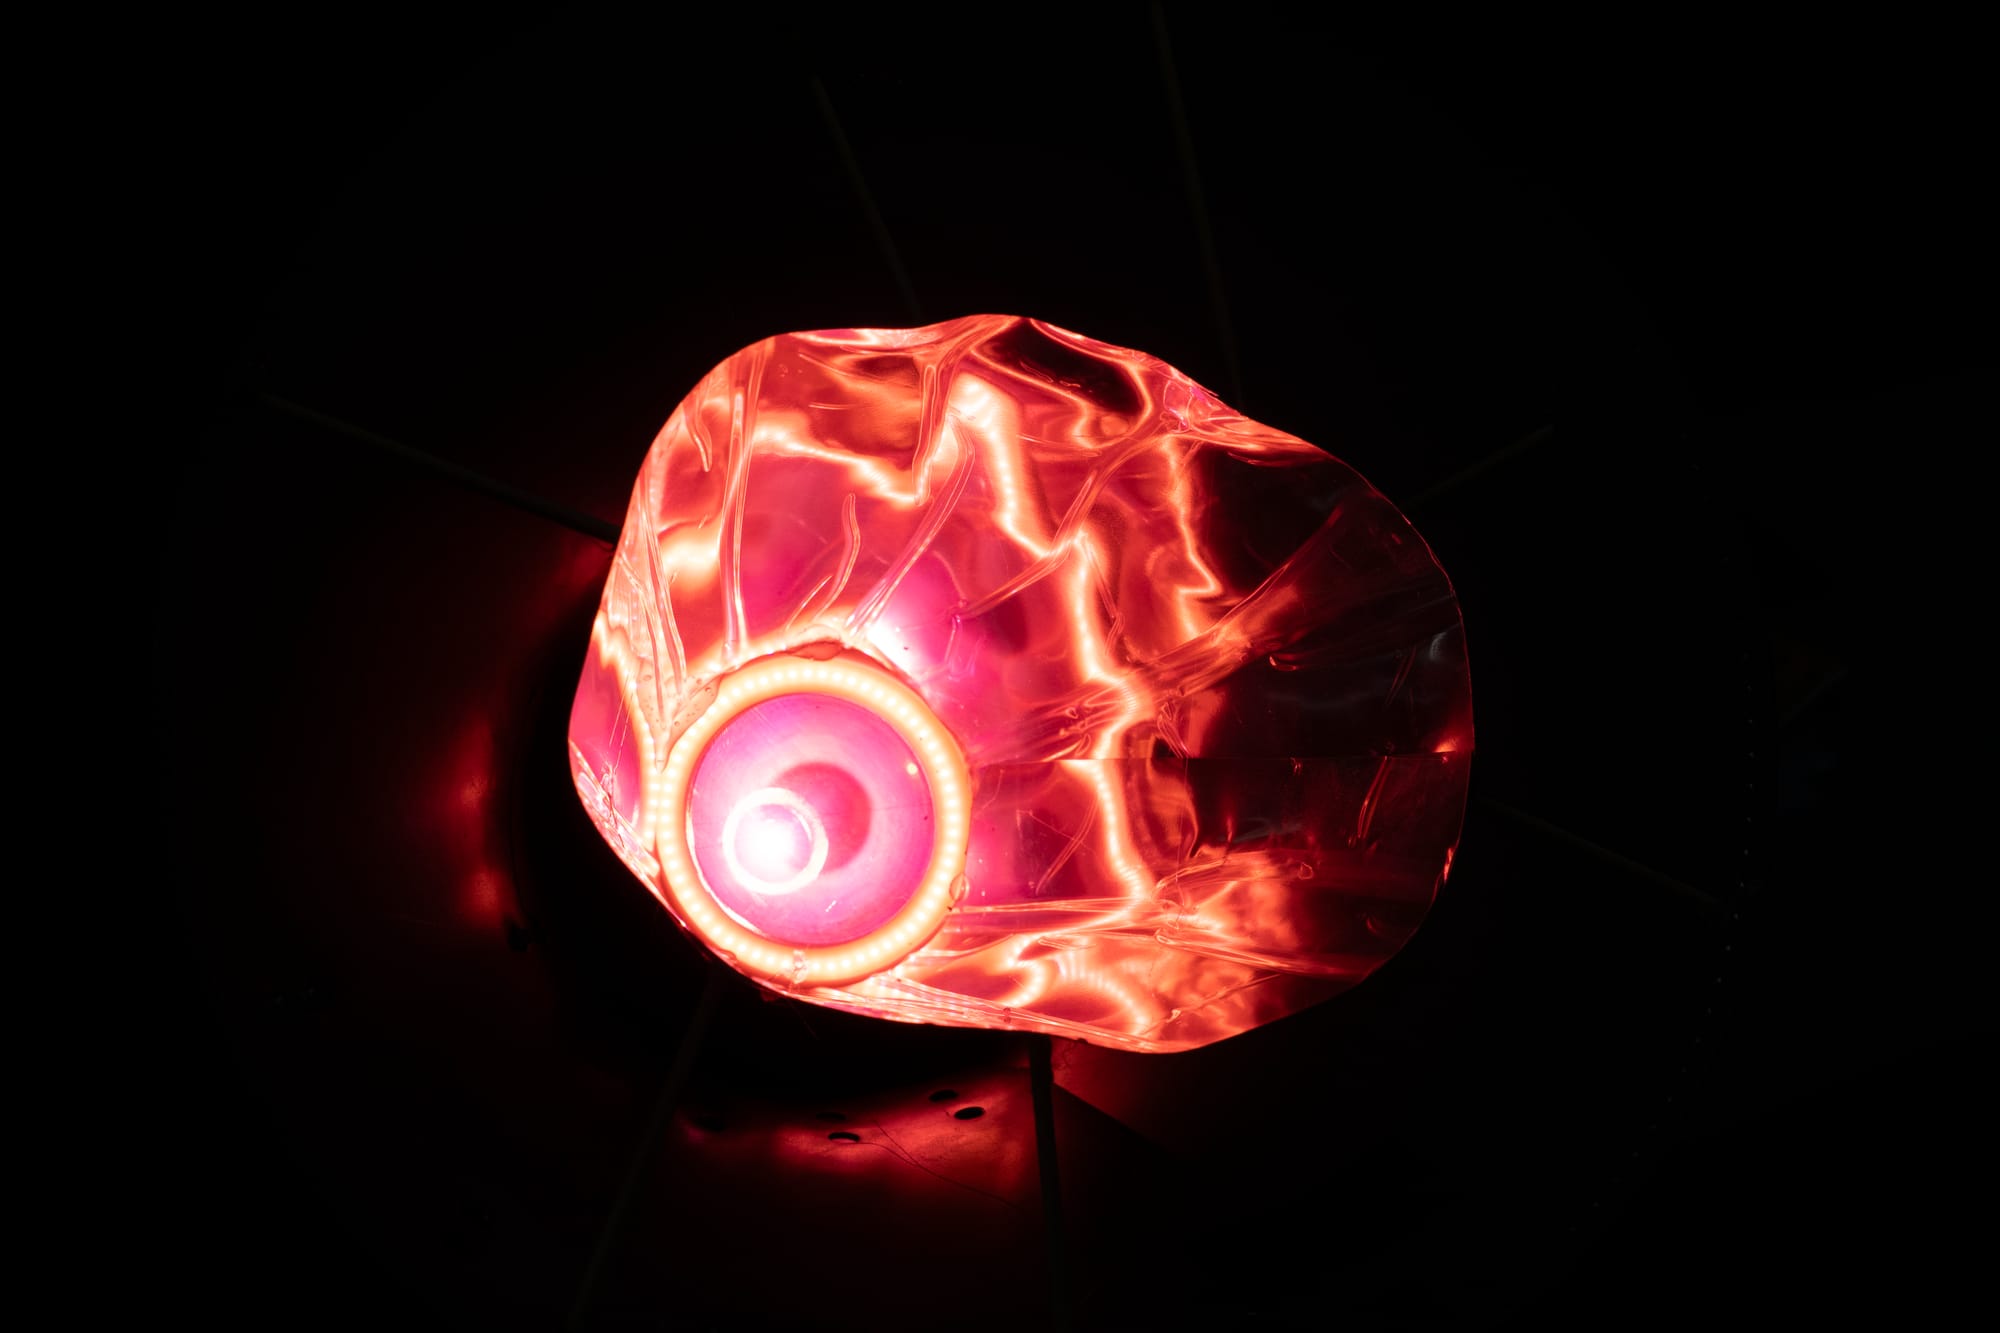
Real World Test.
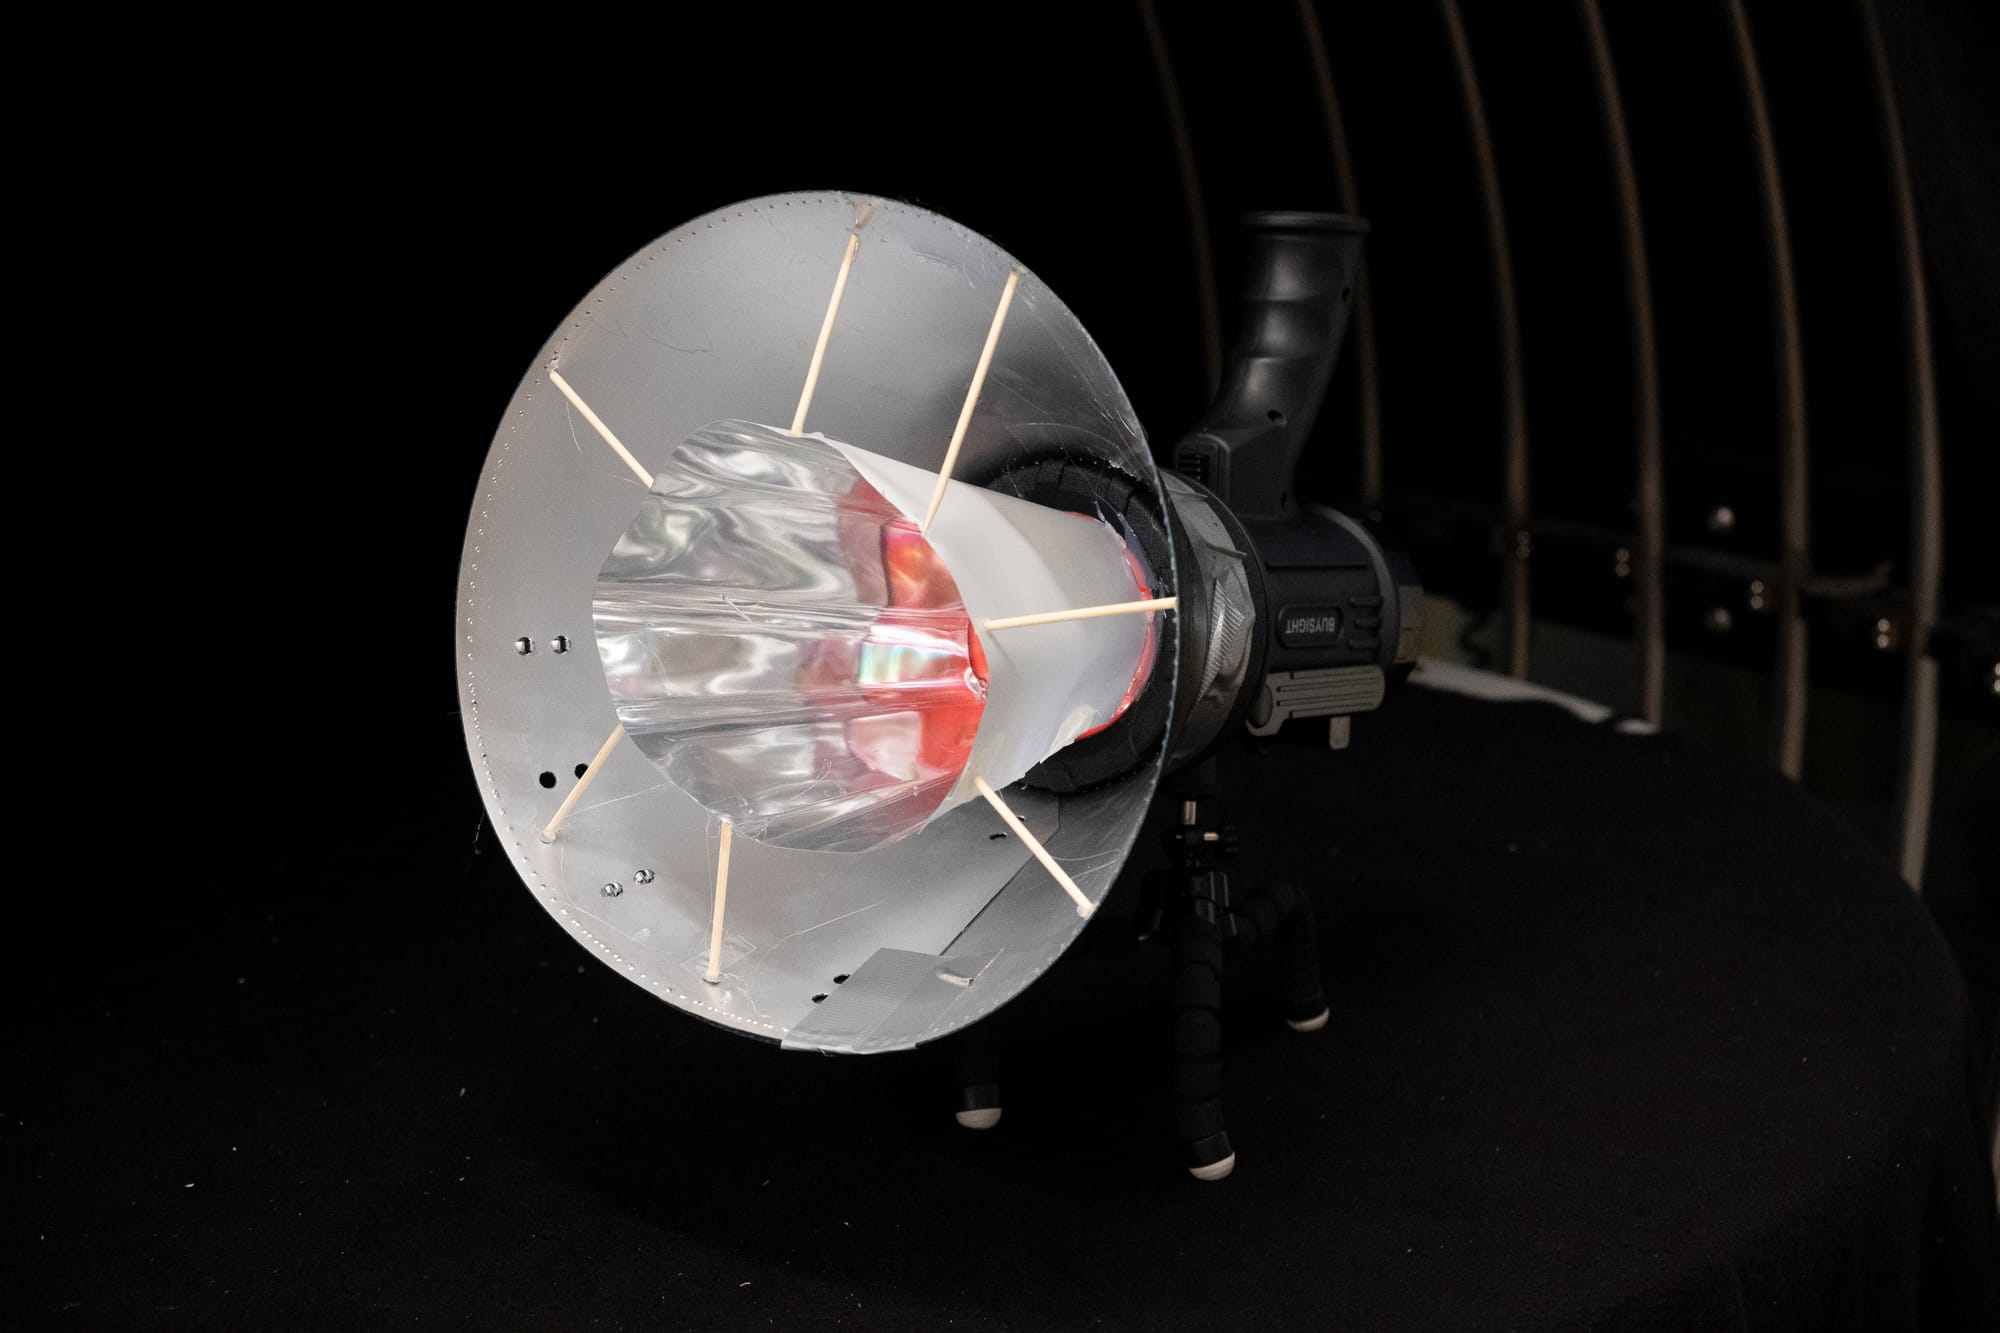

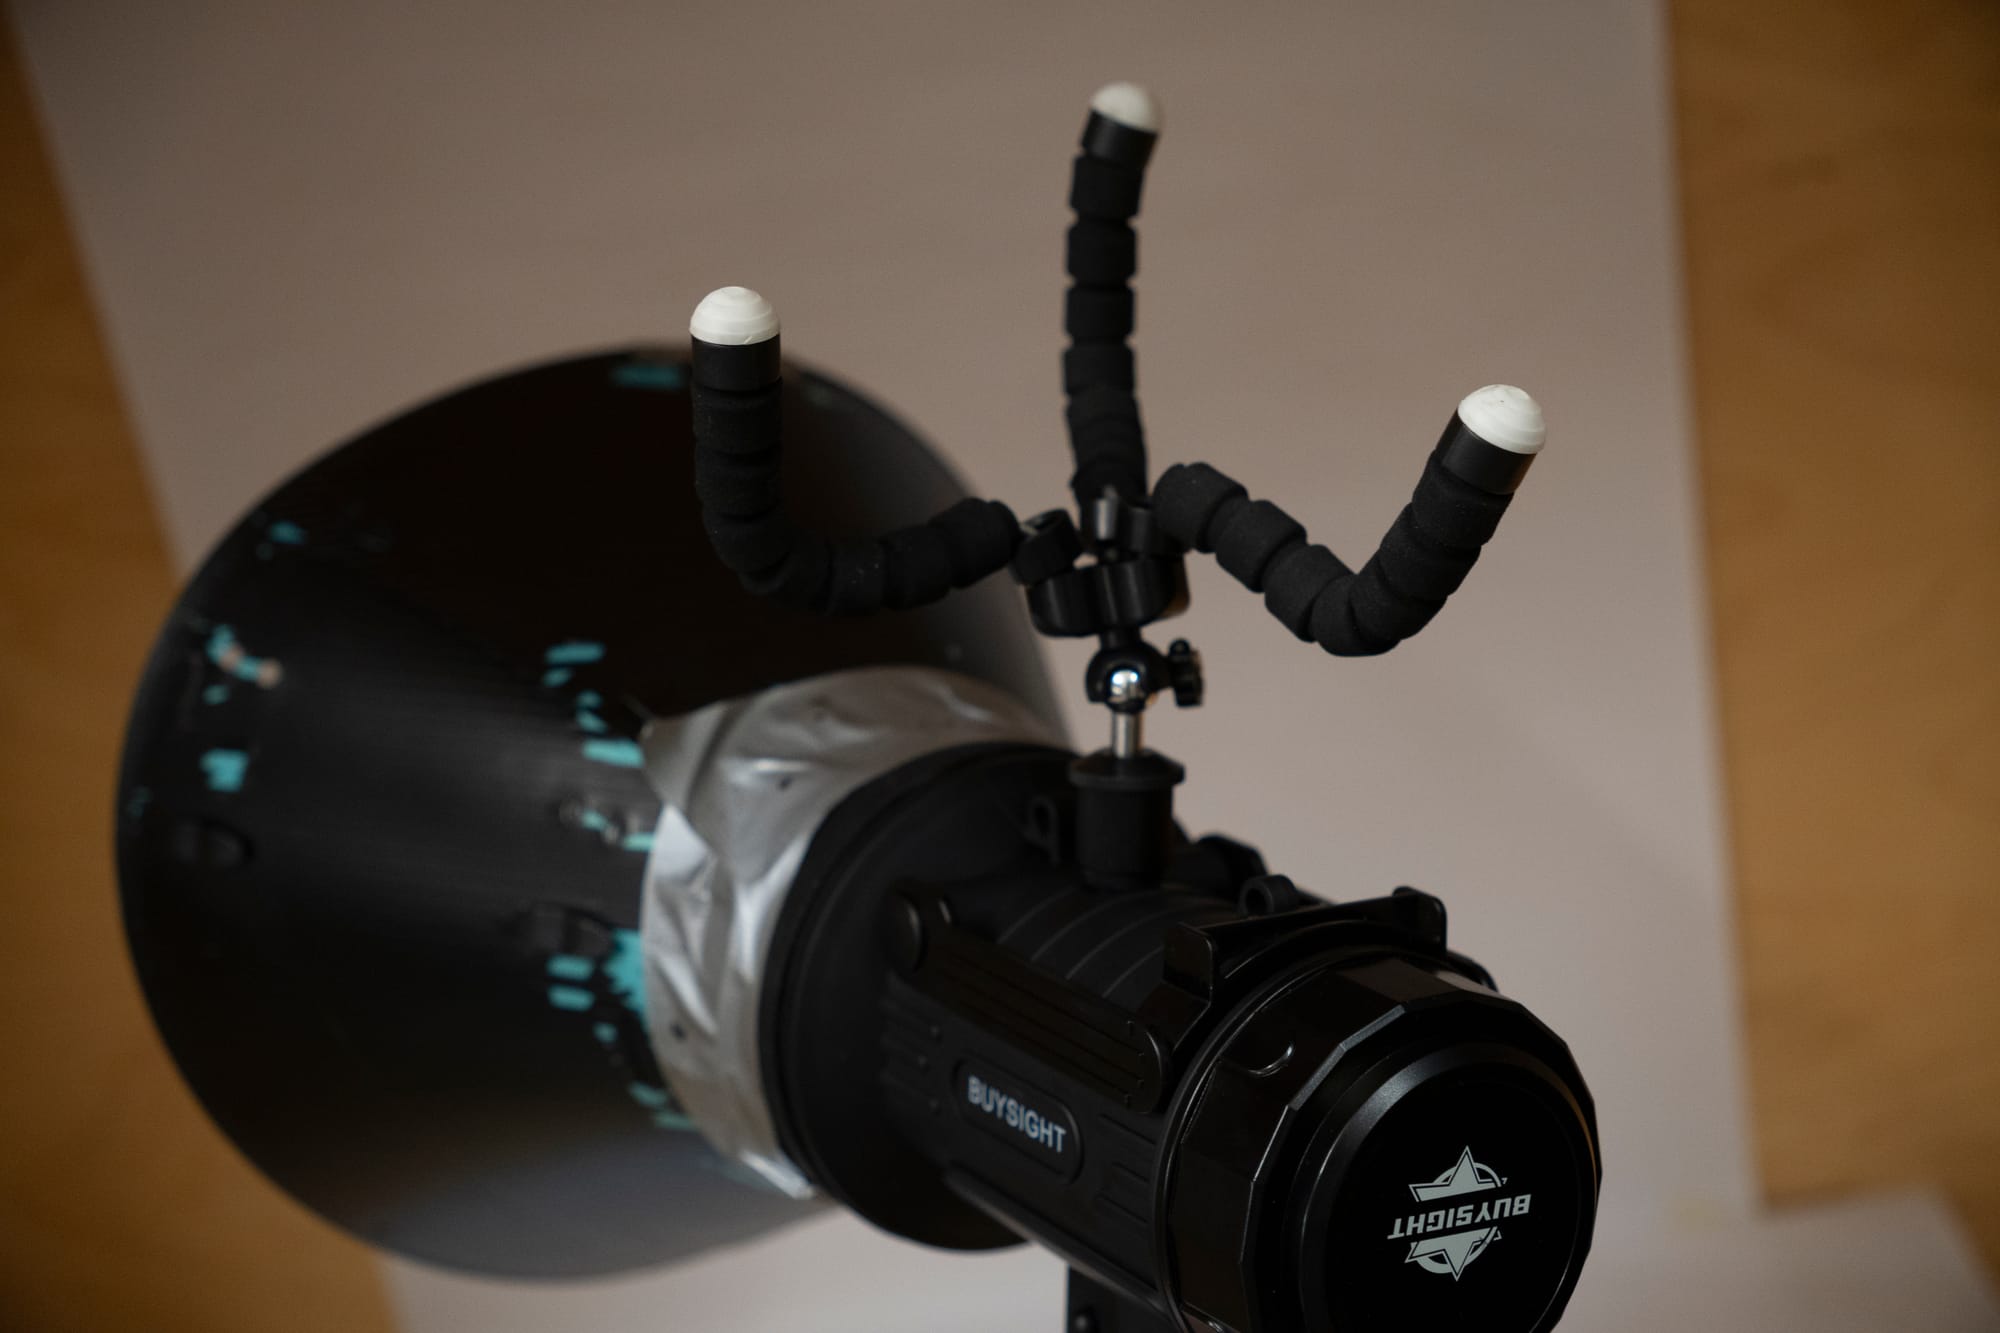
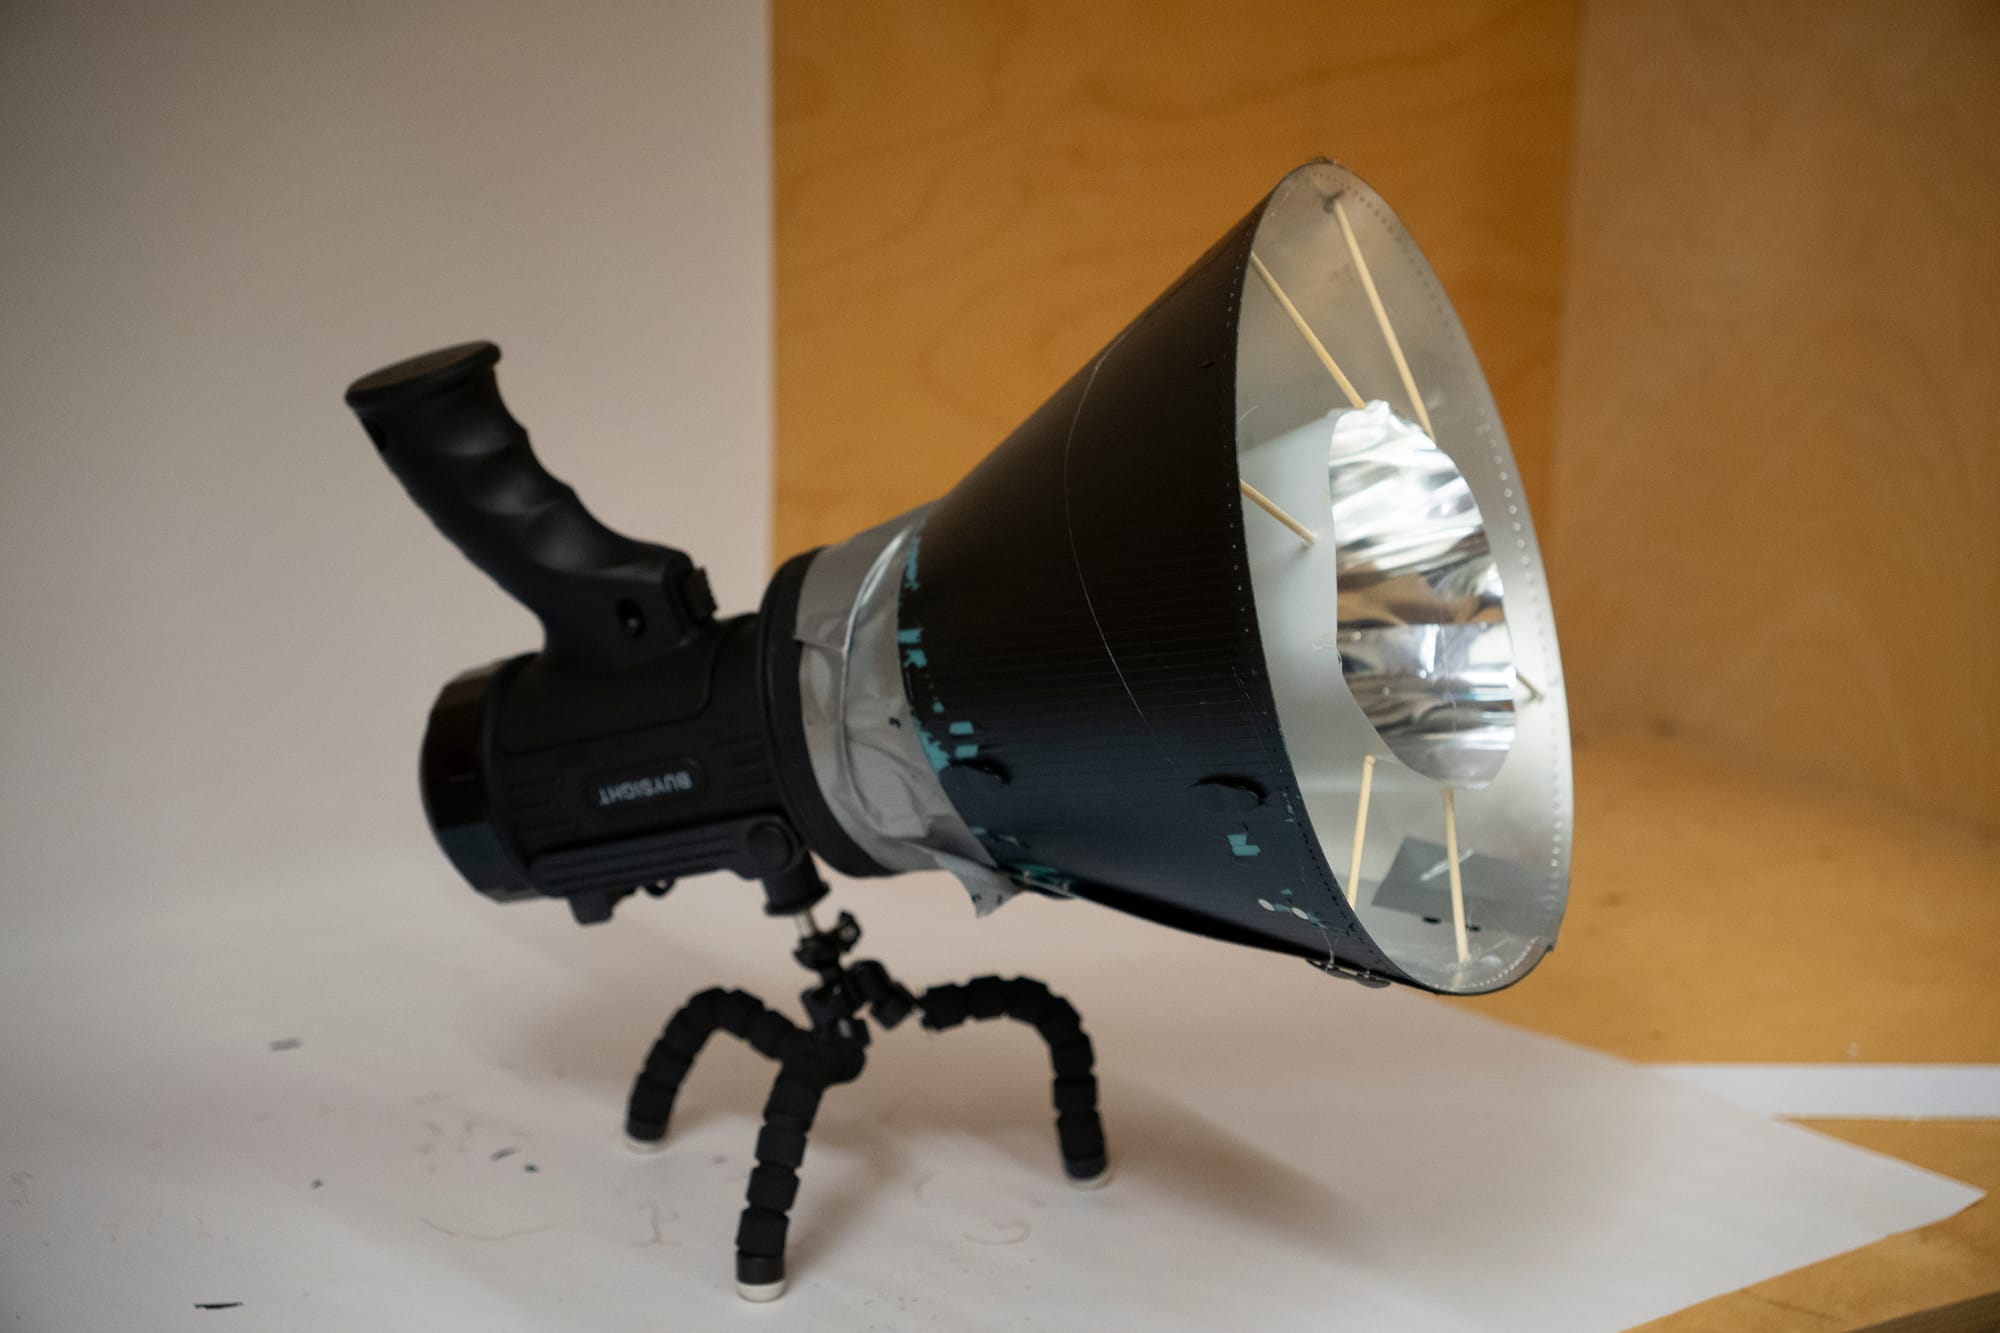
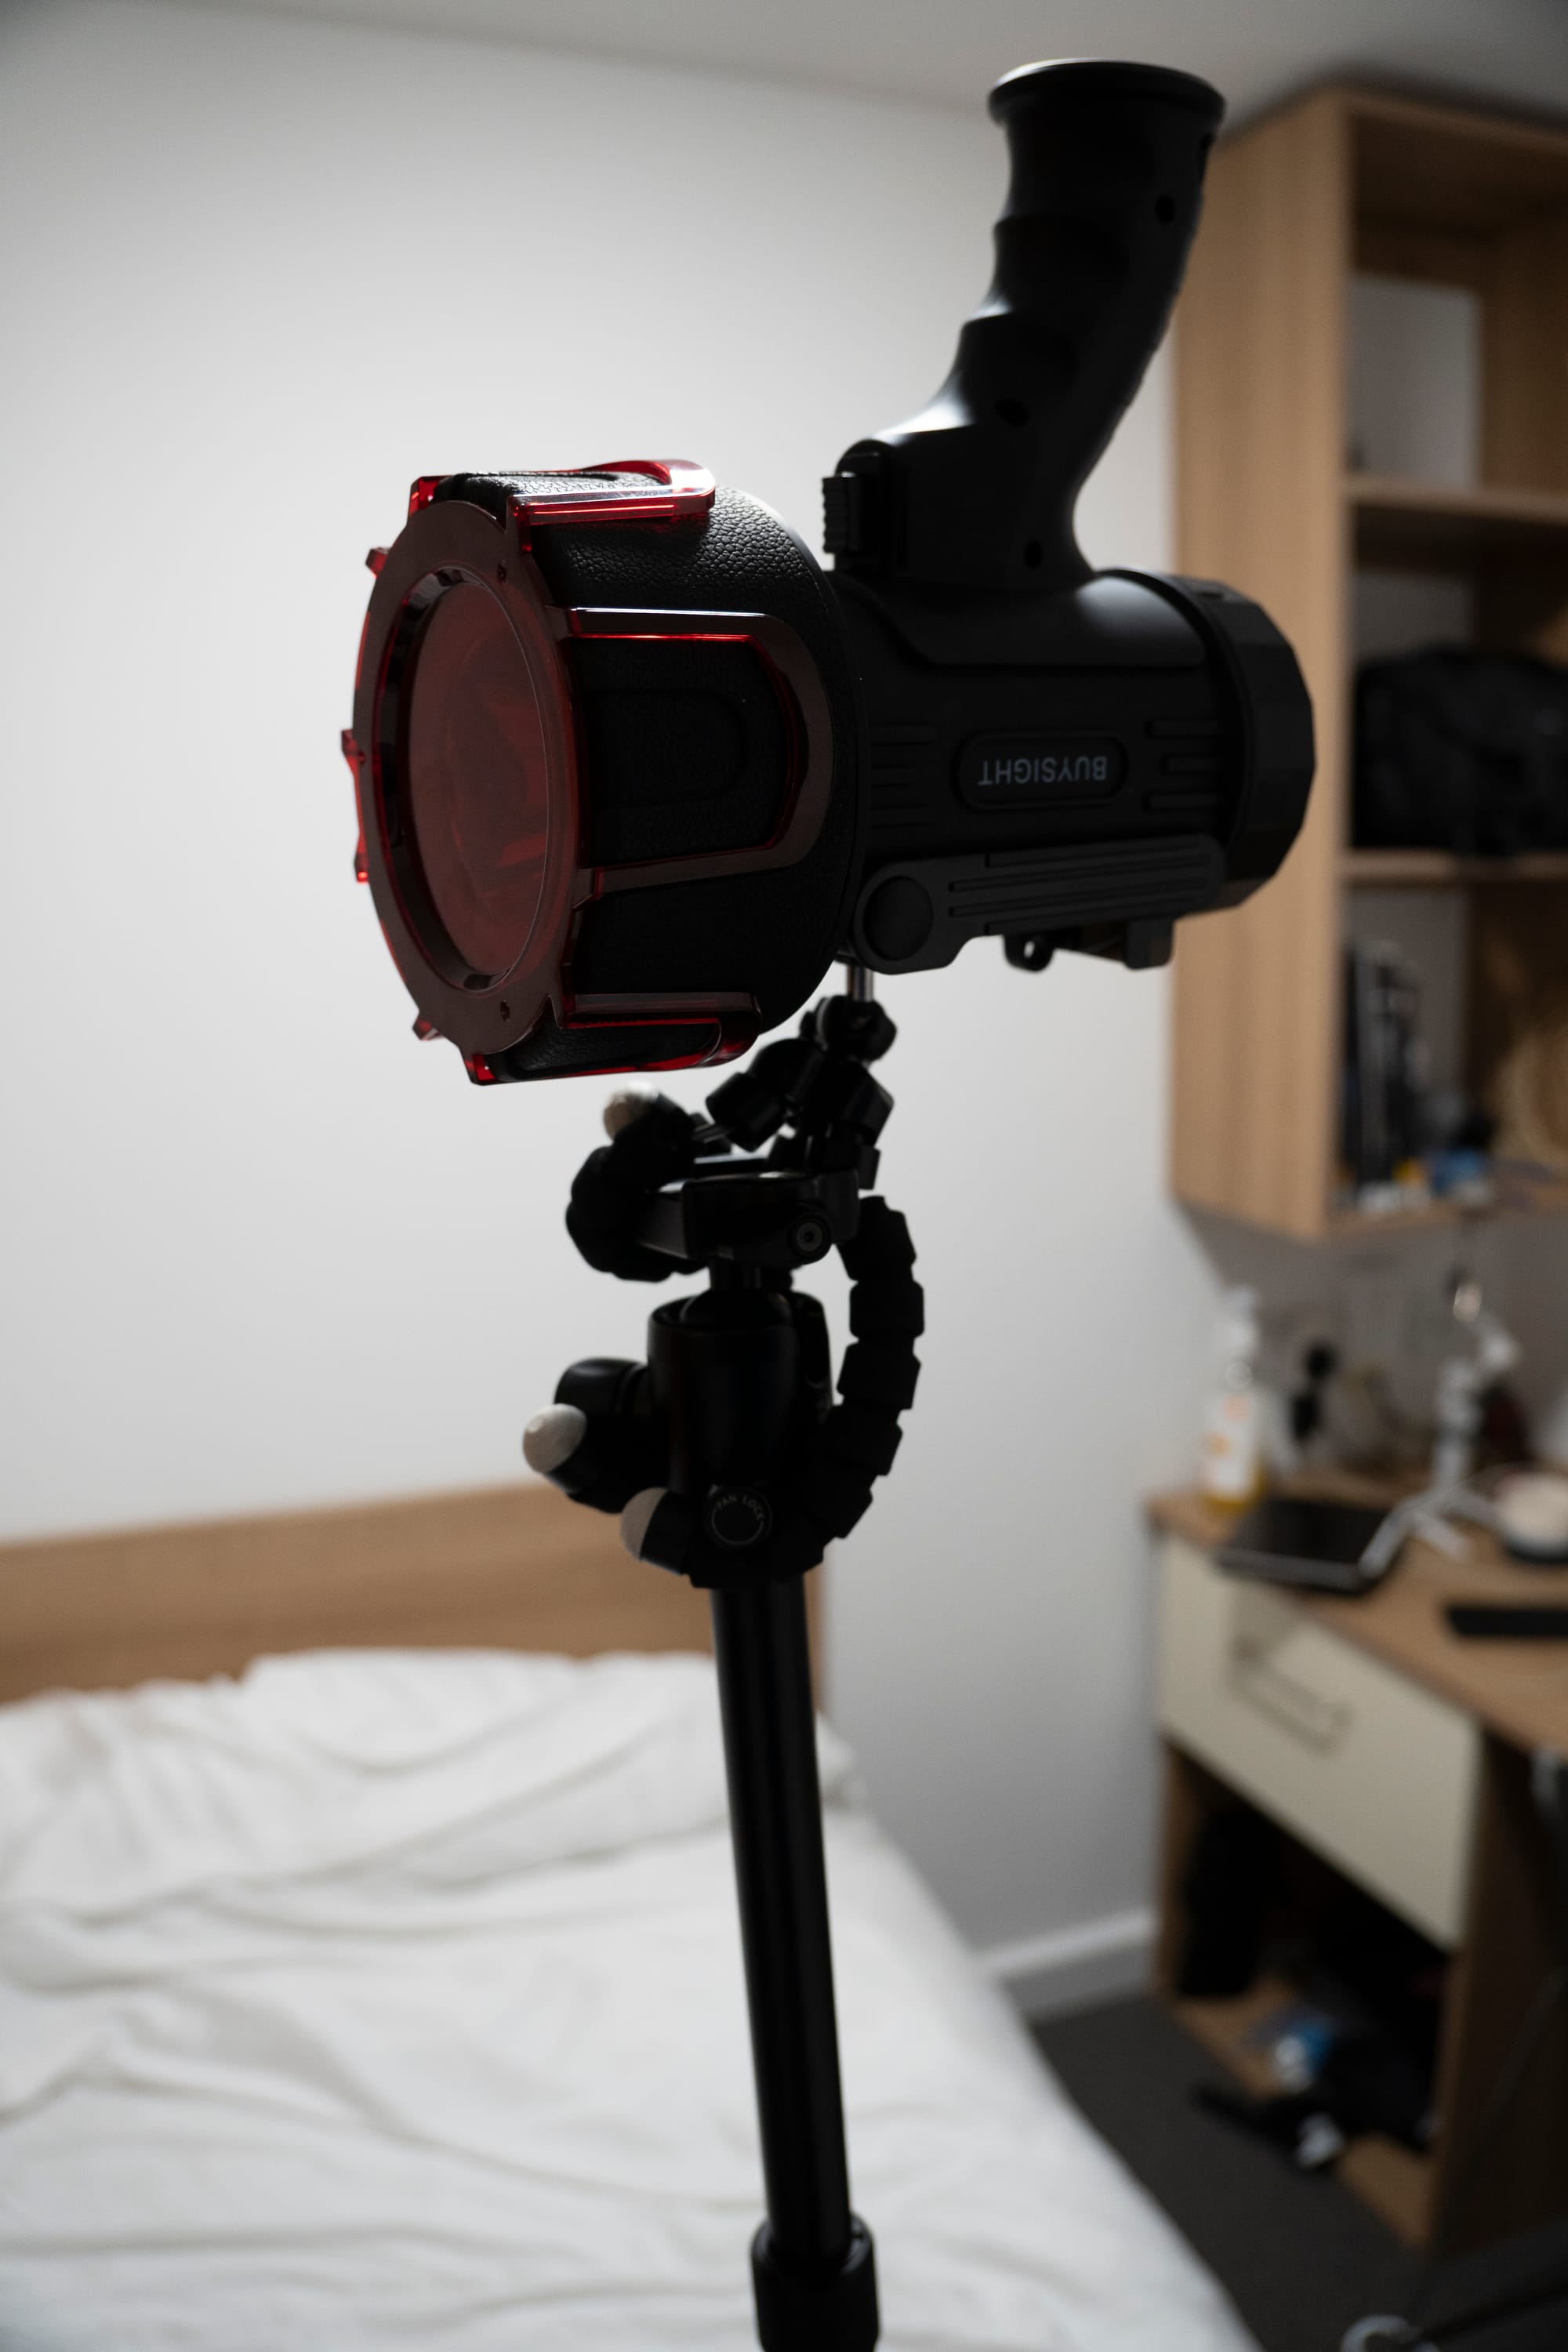
The Final Device
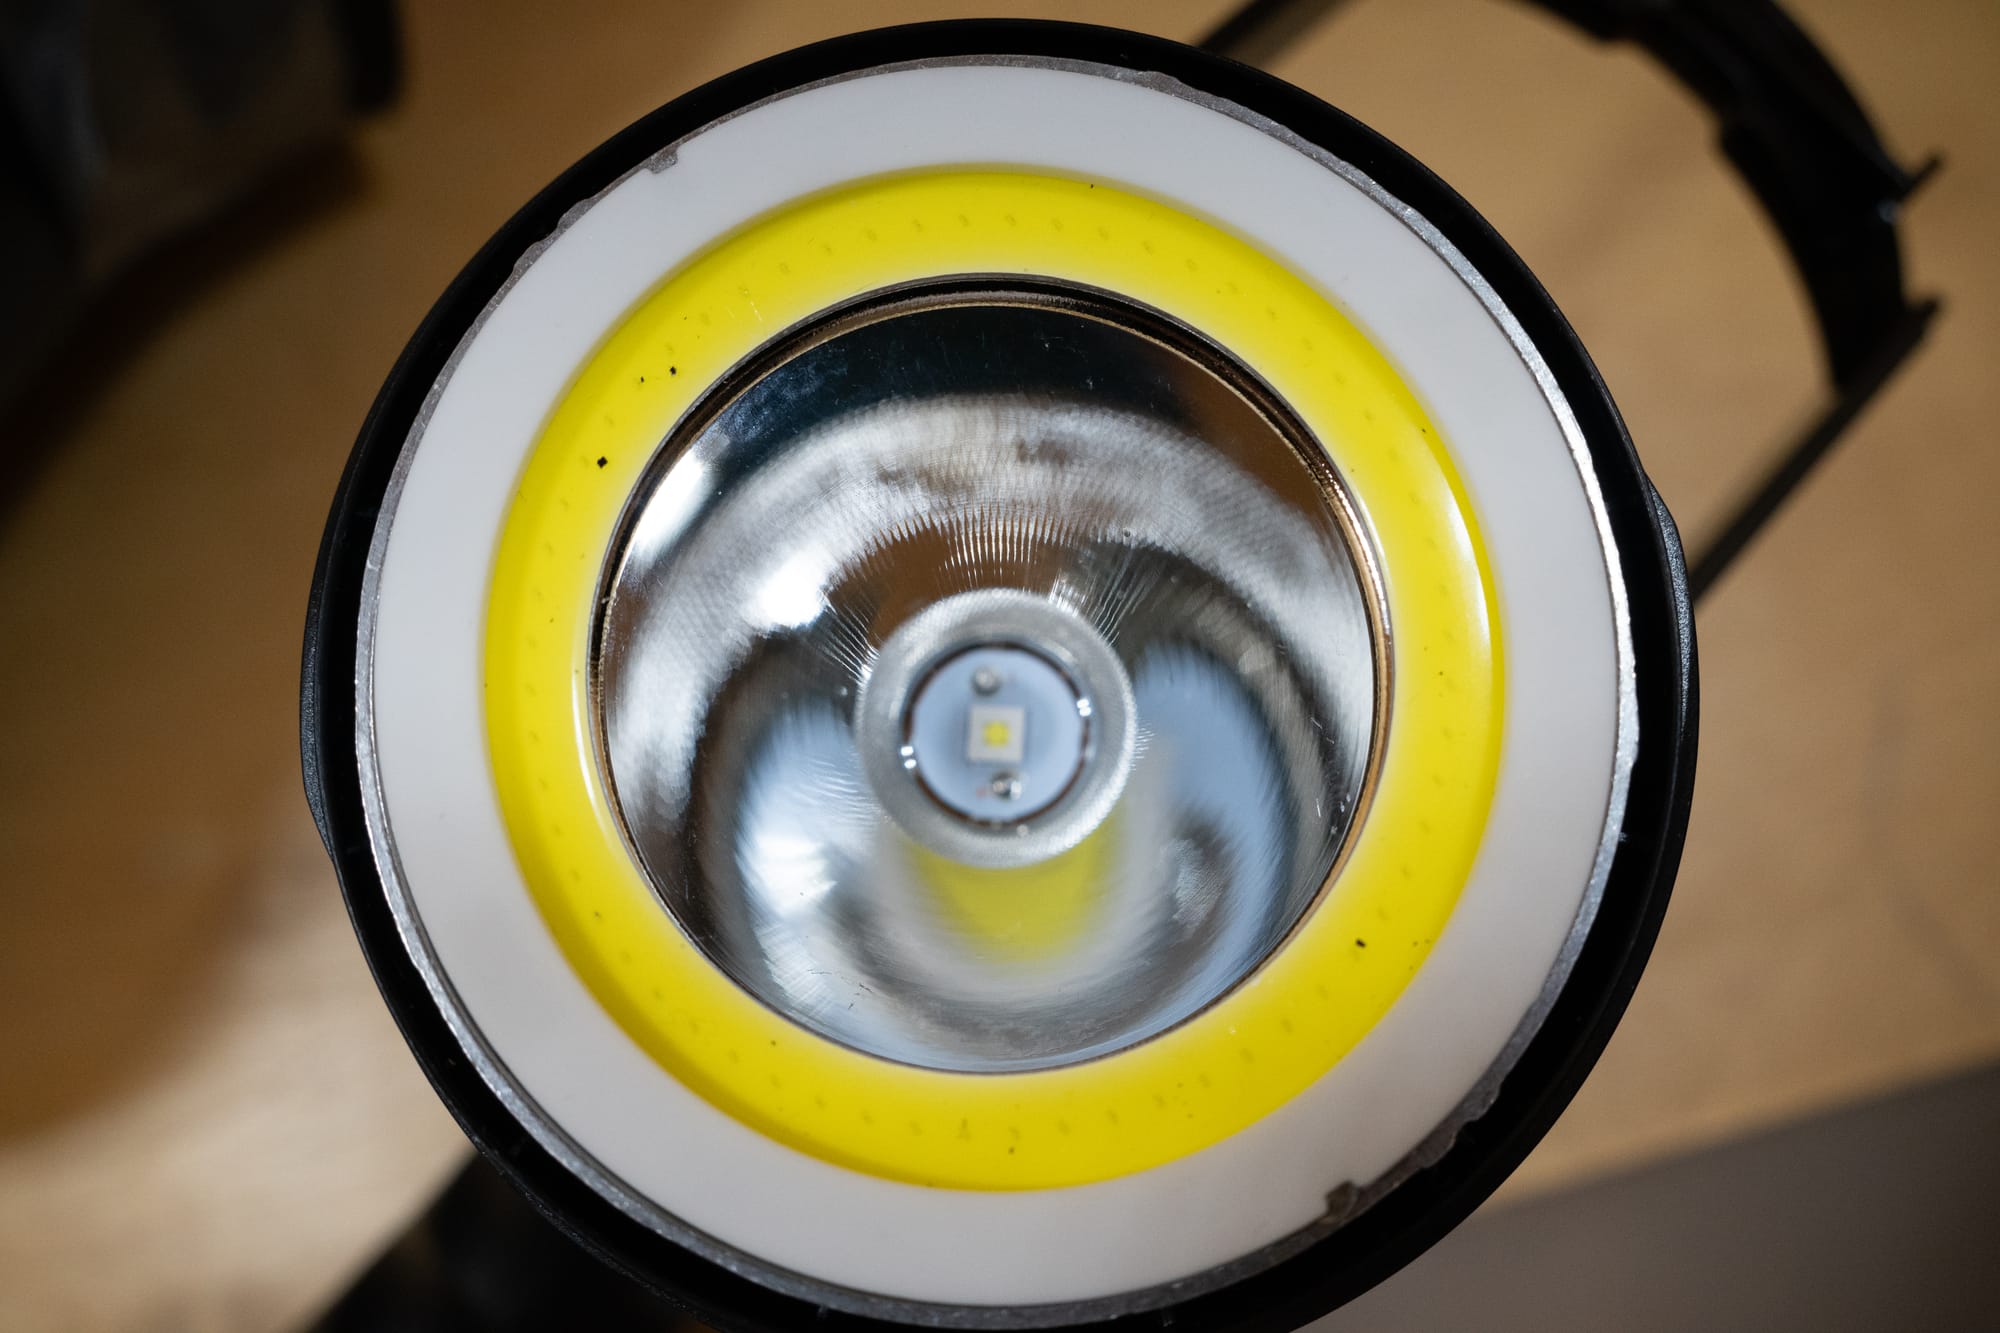
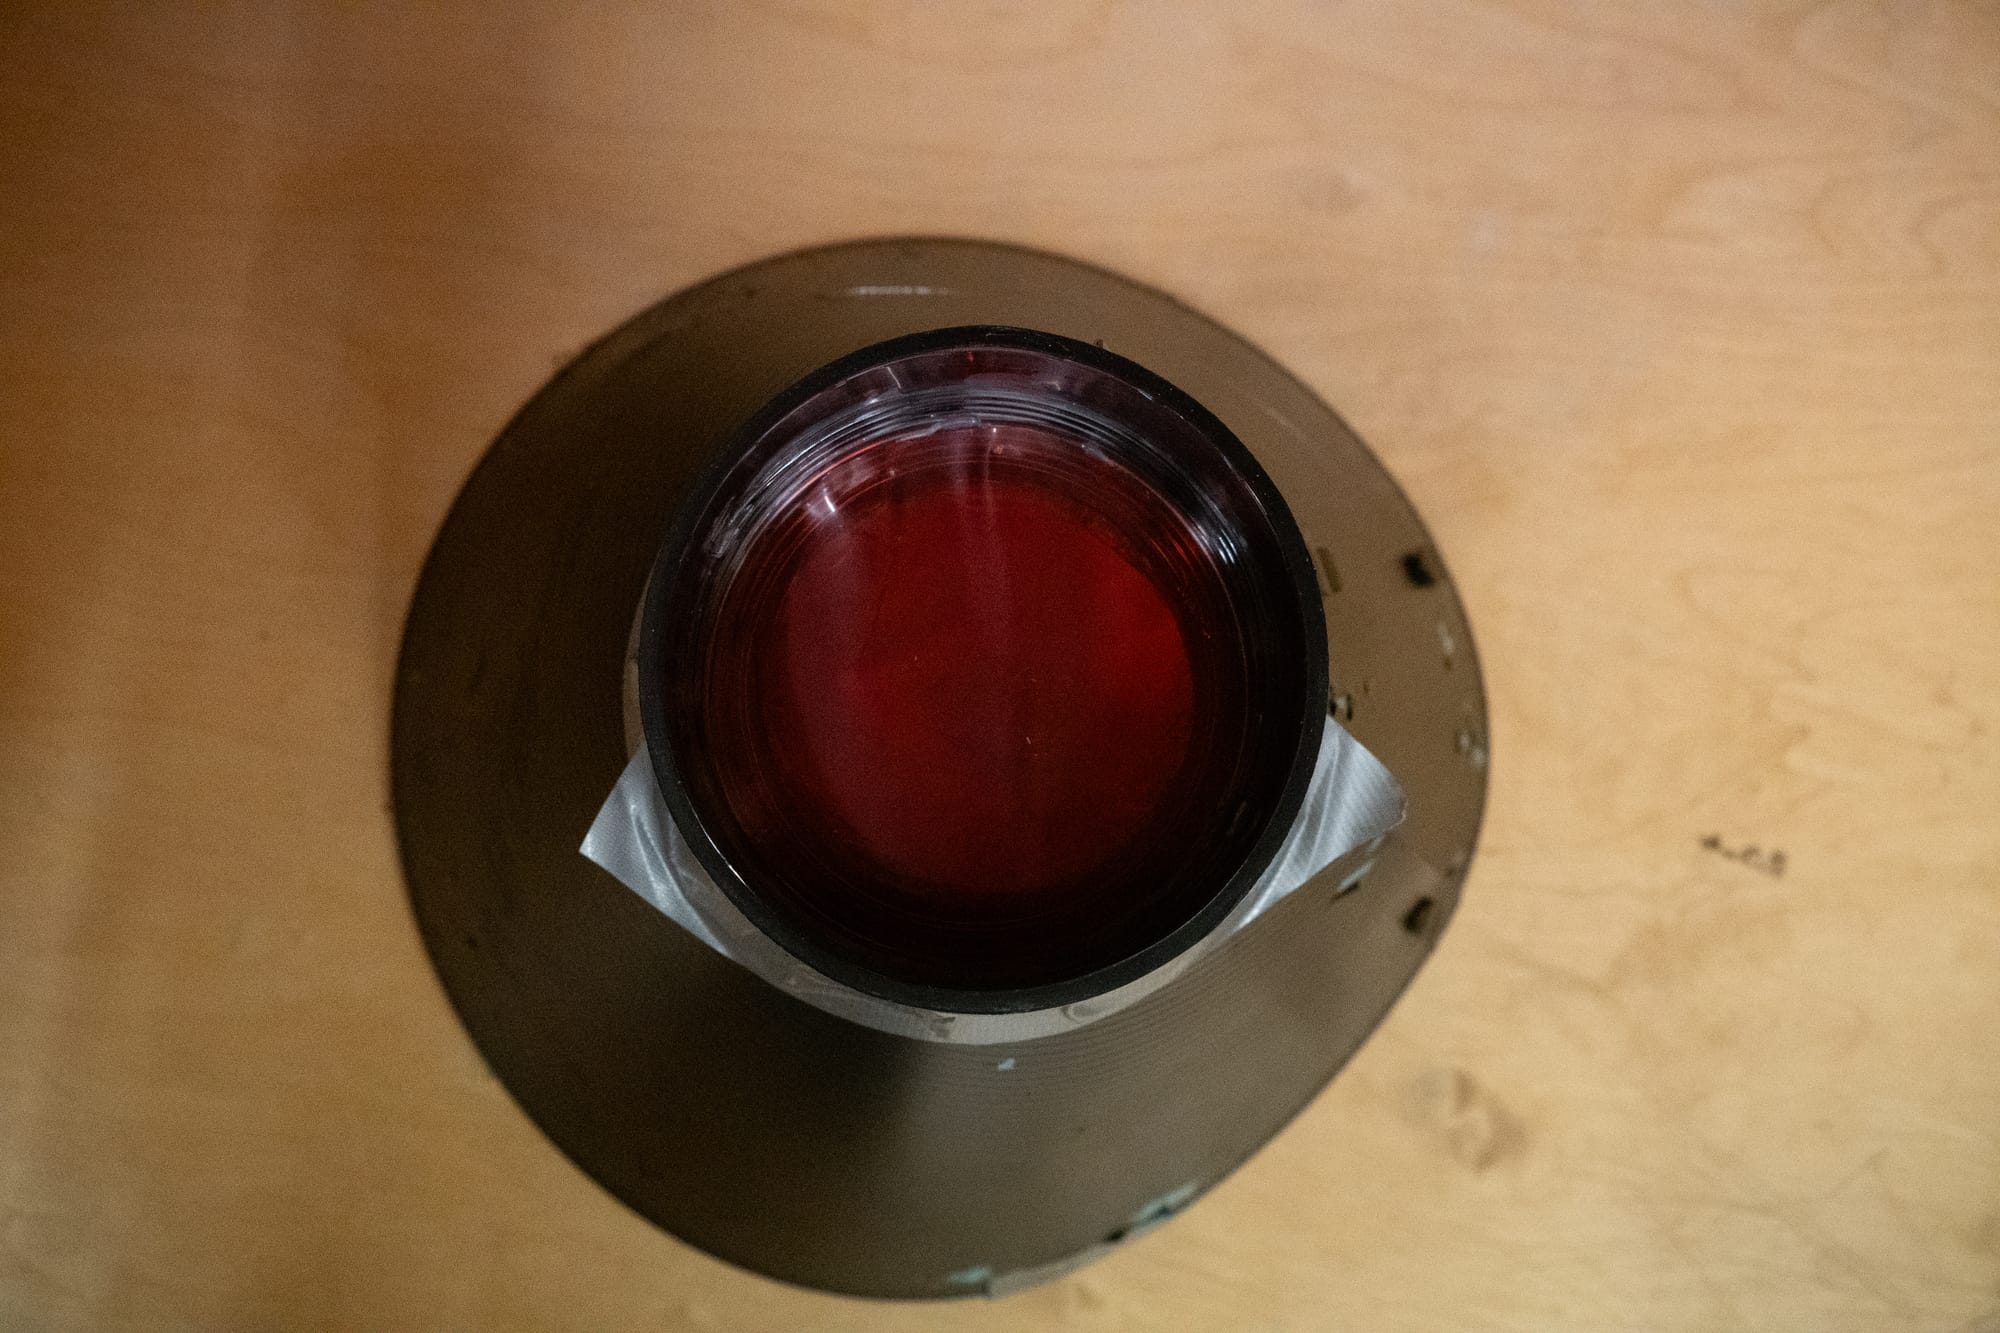

Device Close Up
1. Component Rationale (The "Why")
Light Source (Amaran 60xs COB Light):
- A professional continuous video light was chosen for its high-intensity, daylight-balanced output, which was necessary to overpower ambient light on-site and provide consistent results. Its compact, lightweight body was essential for portability.
Power Source (Dual Sony NPF-970 Batteries):
- To ensure the device was fully portable and could be used on the Jericho Canal site far from any mains power, a battery-powered solution was required. The dual NPF-970 setup was selected to provide the longest possible runtime for the 60-watt light during extended testing sessions.
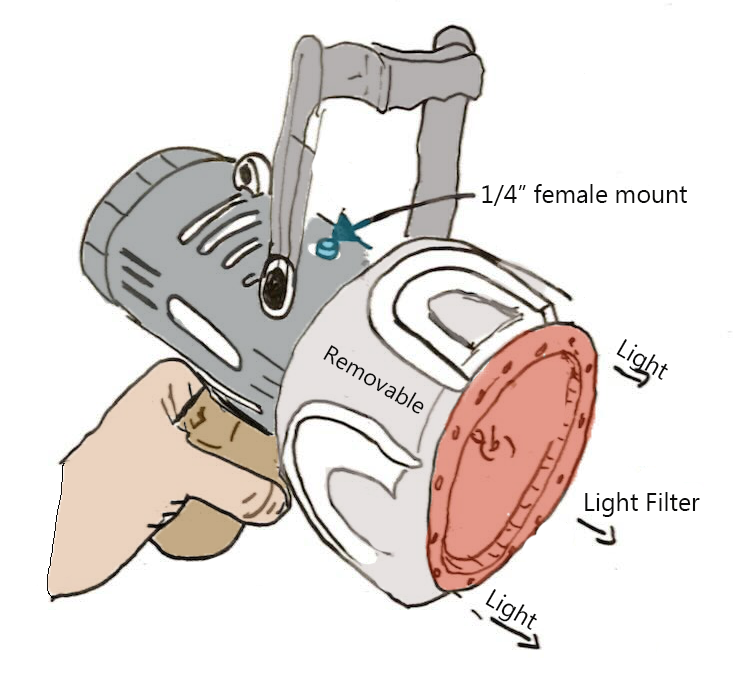
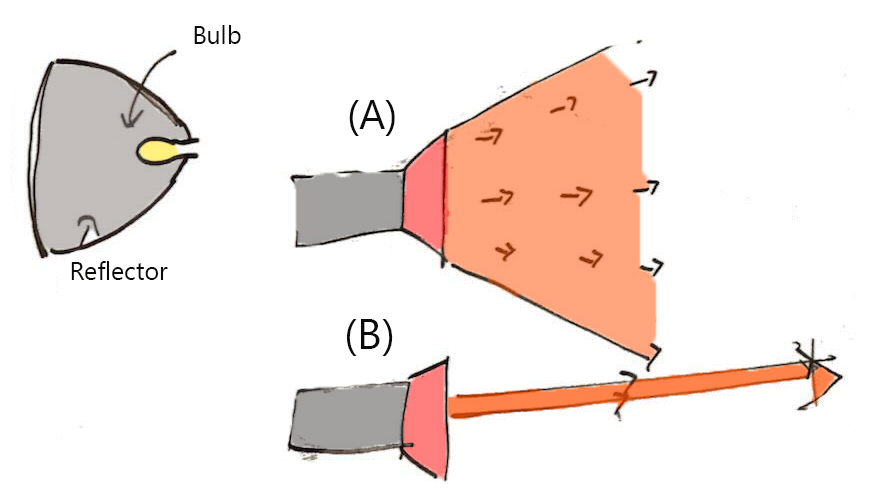
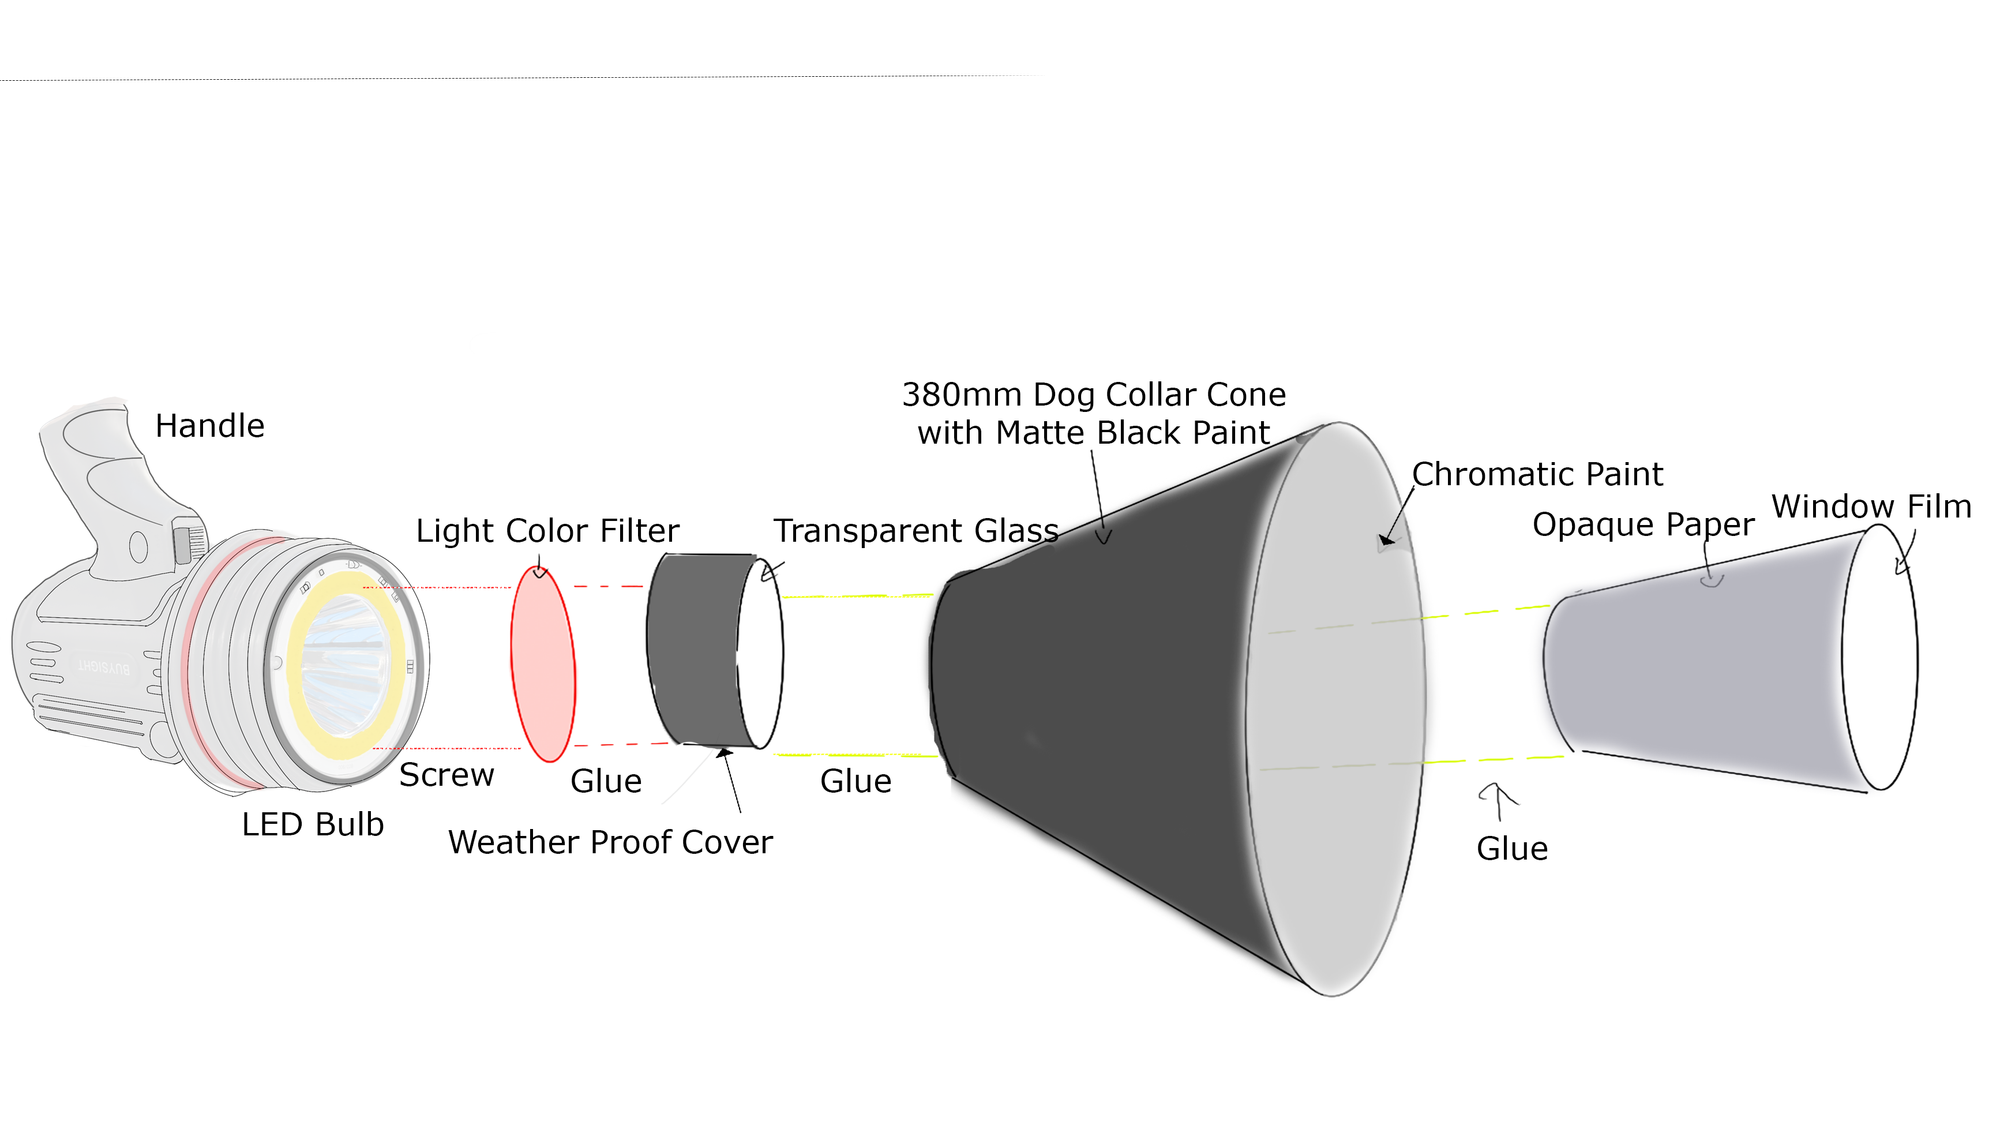
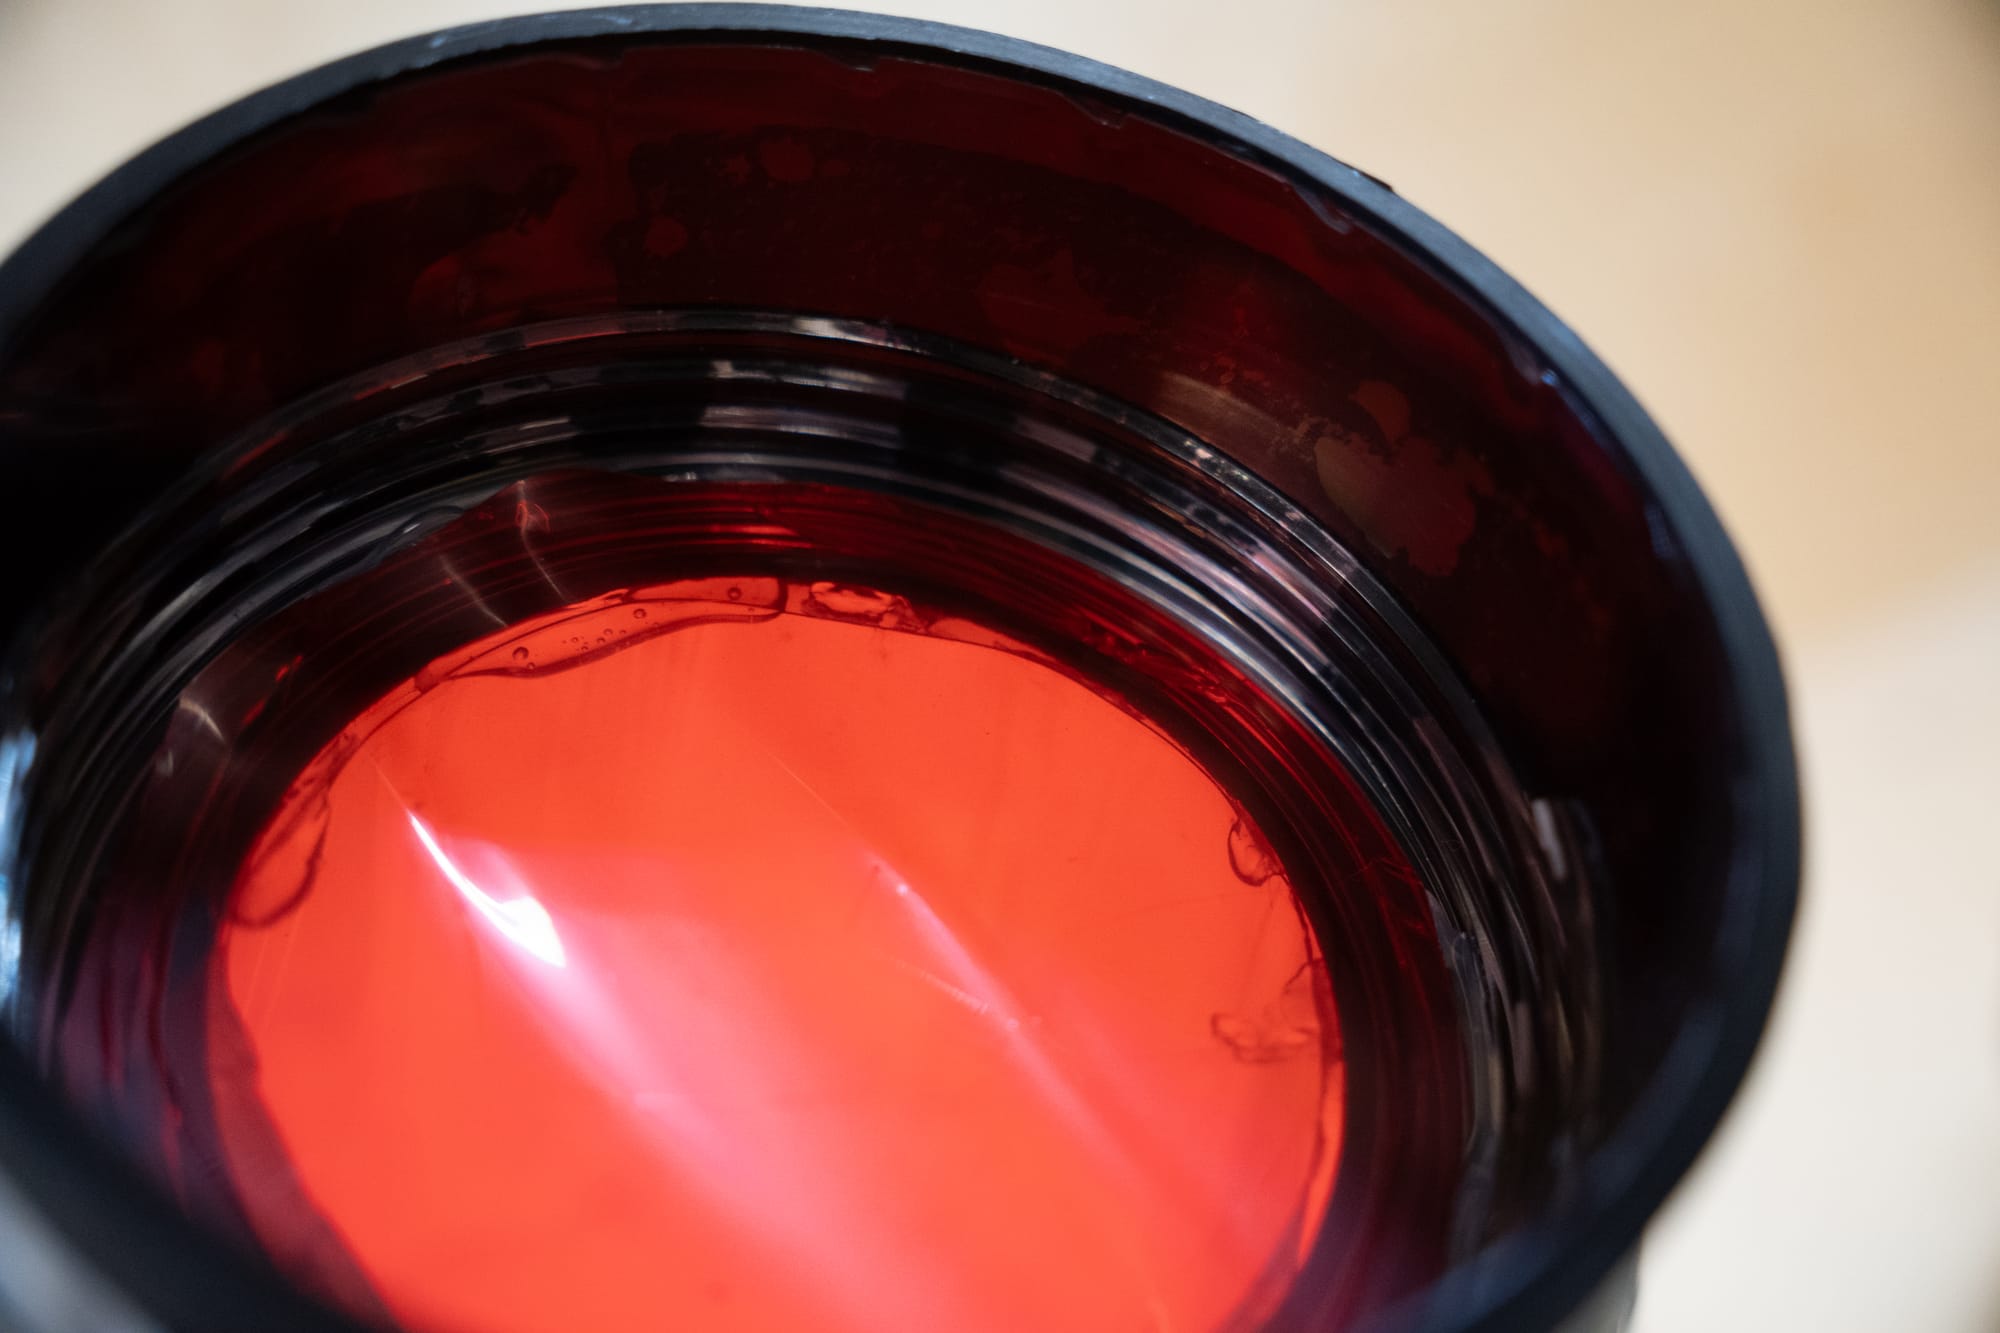
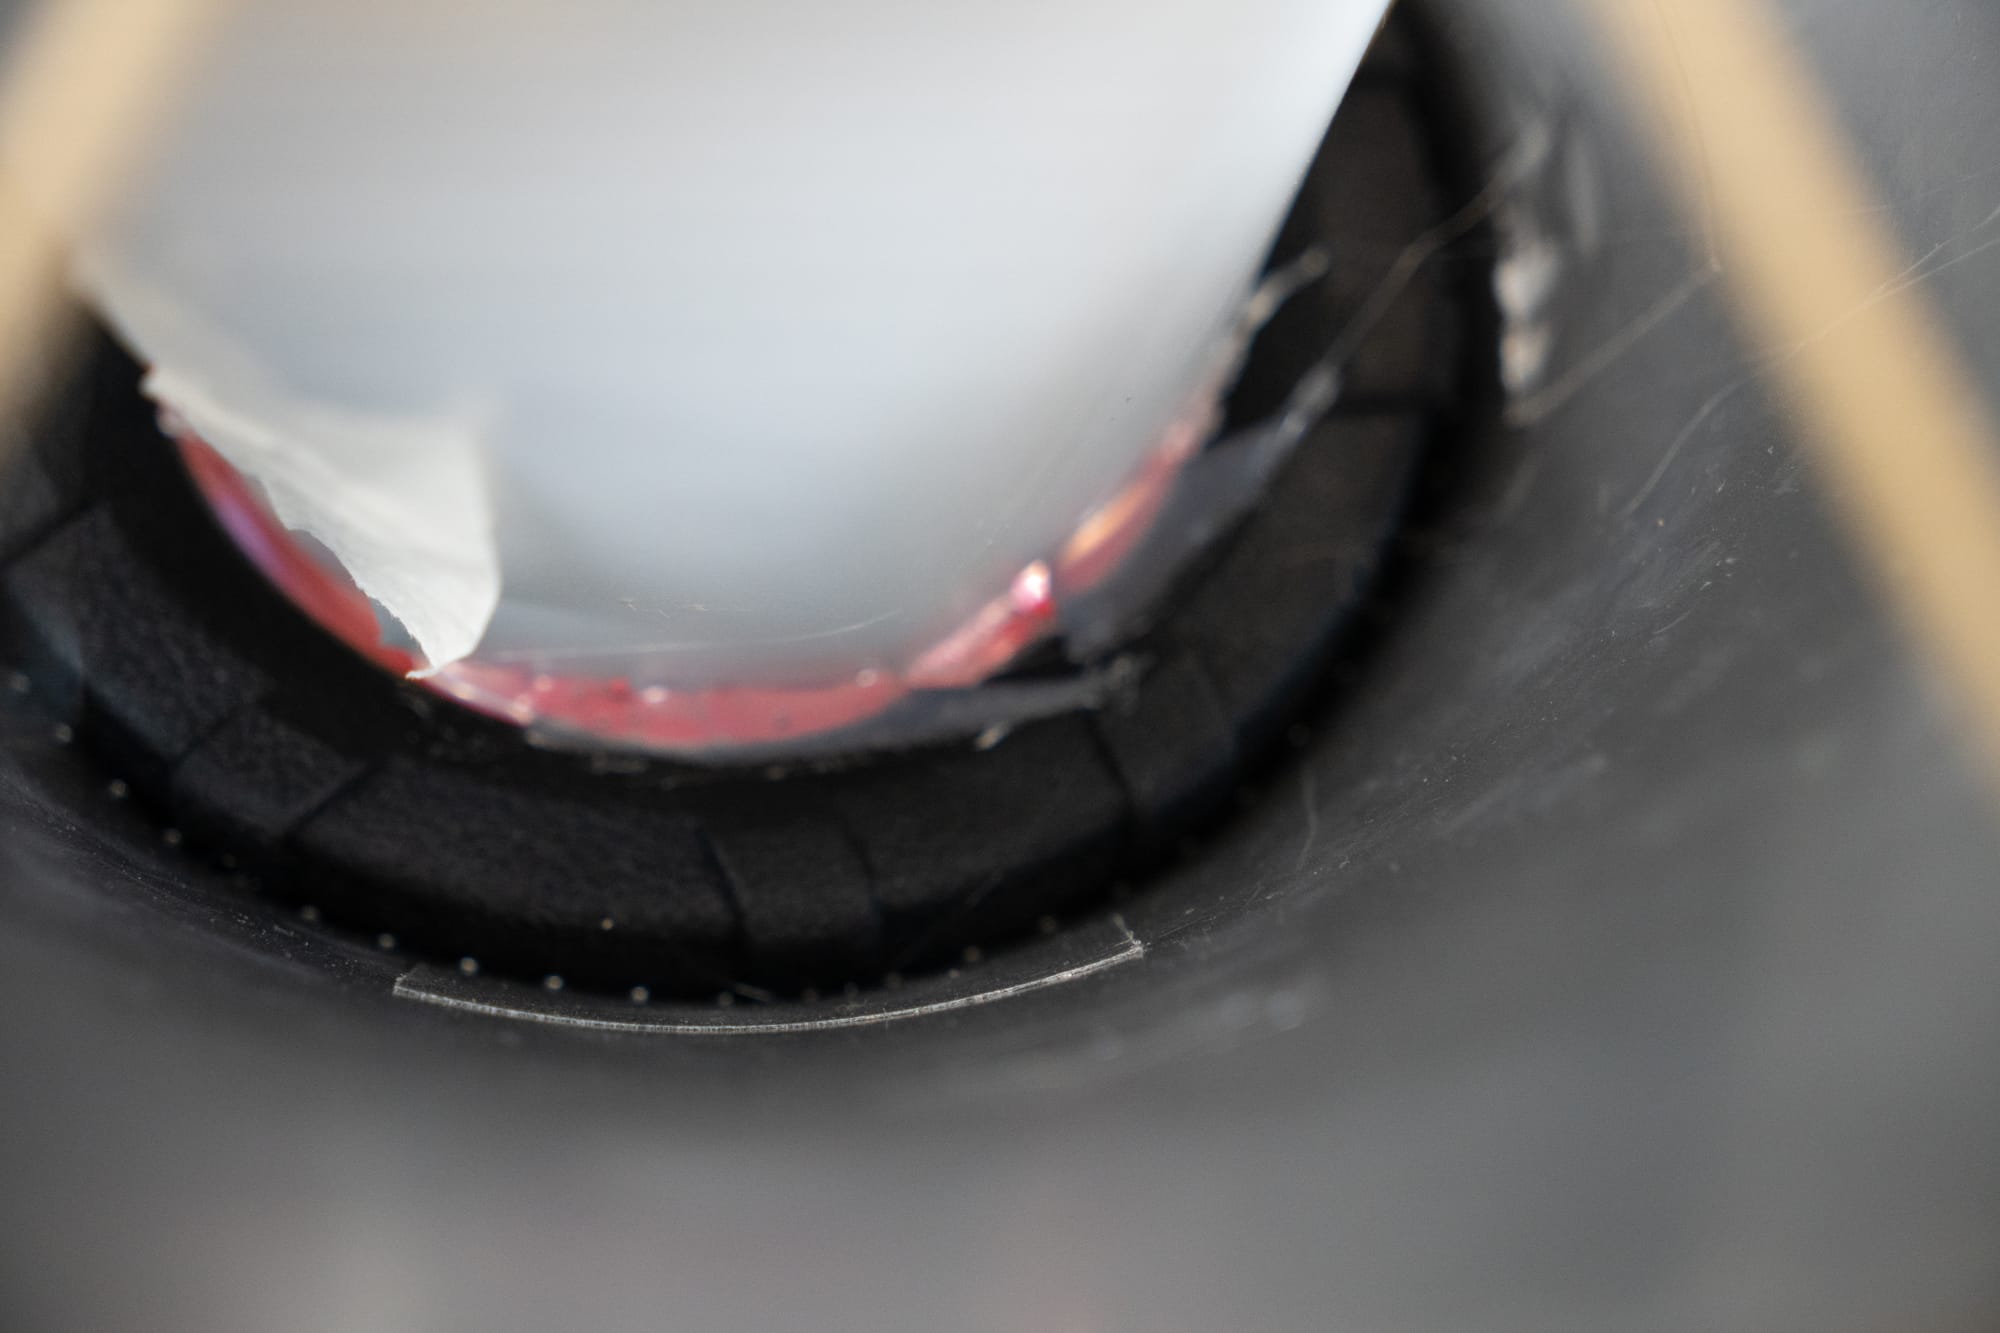
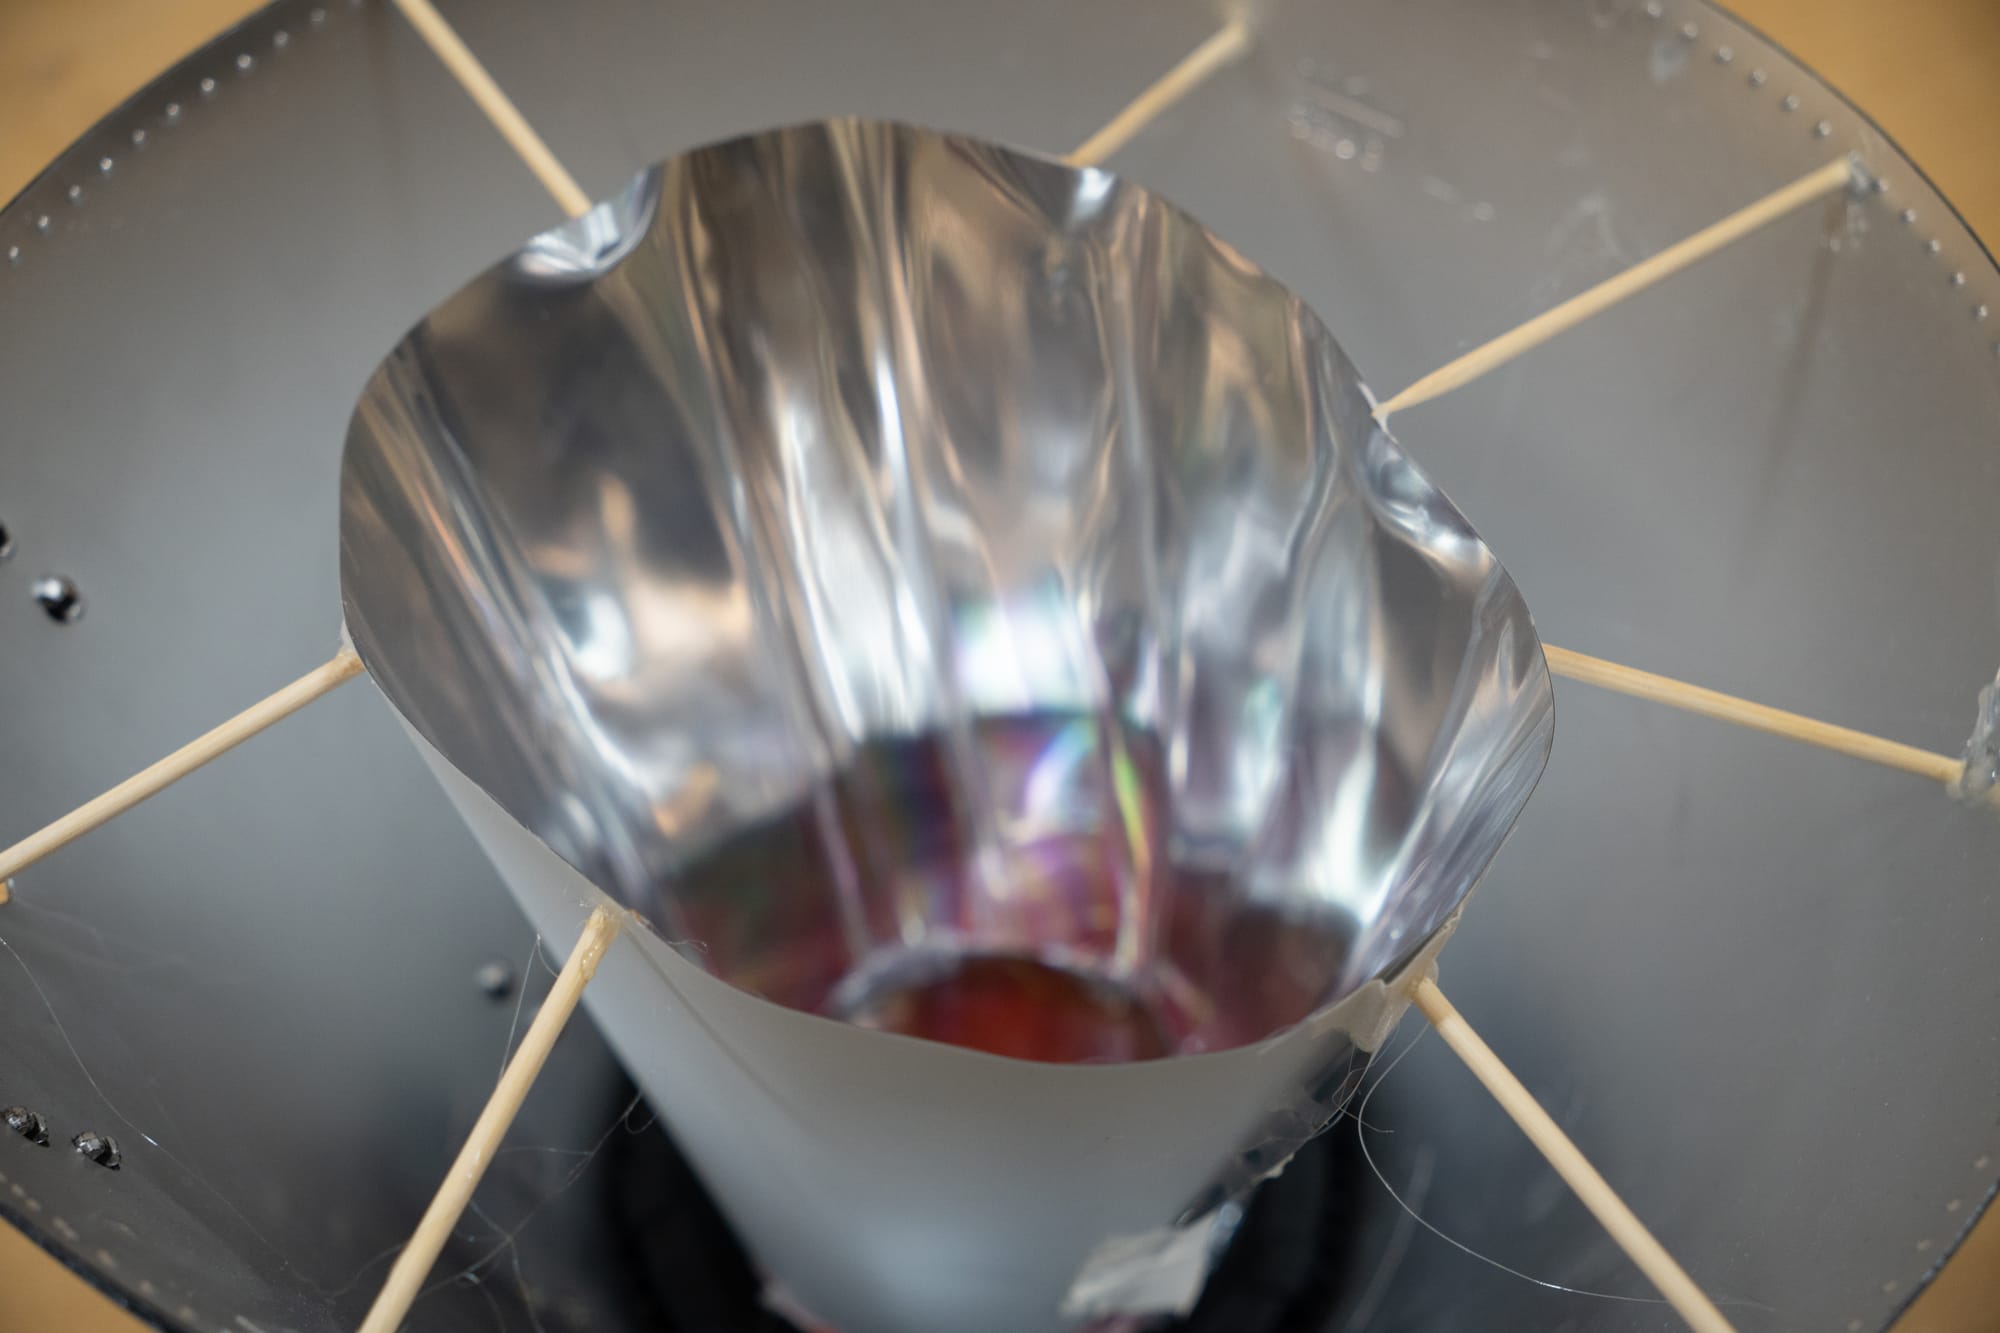
Light Modifier (Custom-Fabricated Reflector Cone):
- The standard reflector on the Amaran light produced a beam that was too narrow for a wide, analytical scan of a surface. A custom cone was designed and fabricated to widen the beam angle significantly, creating a broad "wash" of light. The interior was lined with chromatic, reflective material to maximize light output, while the exterior was coated in matte black paint to prevent light spill and unwanted reflections.
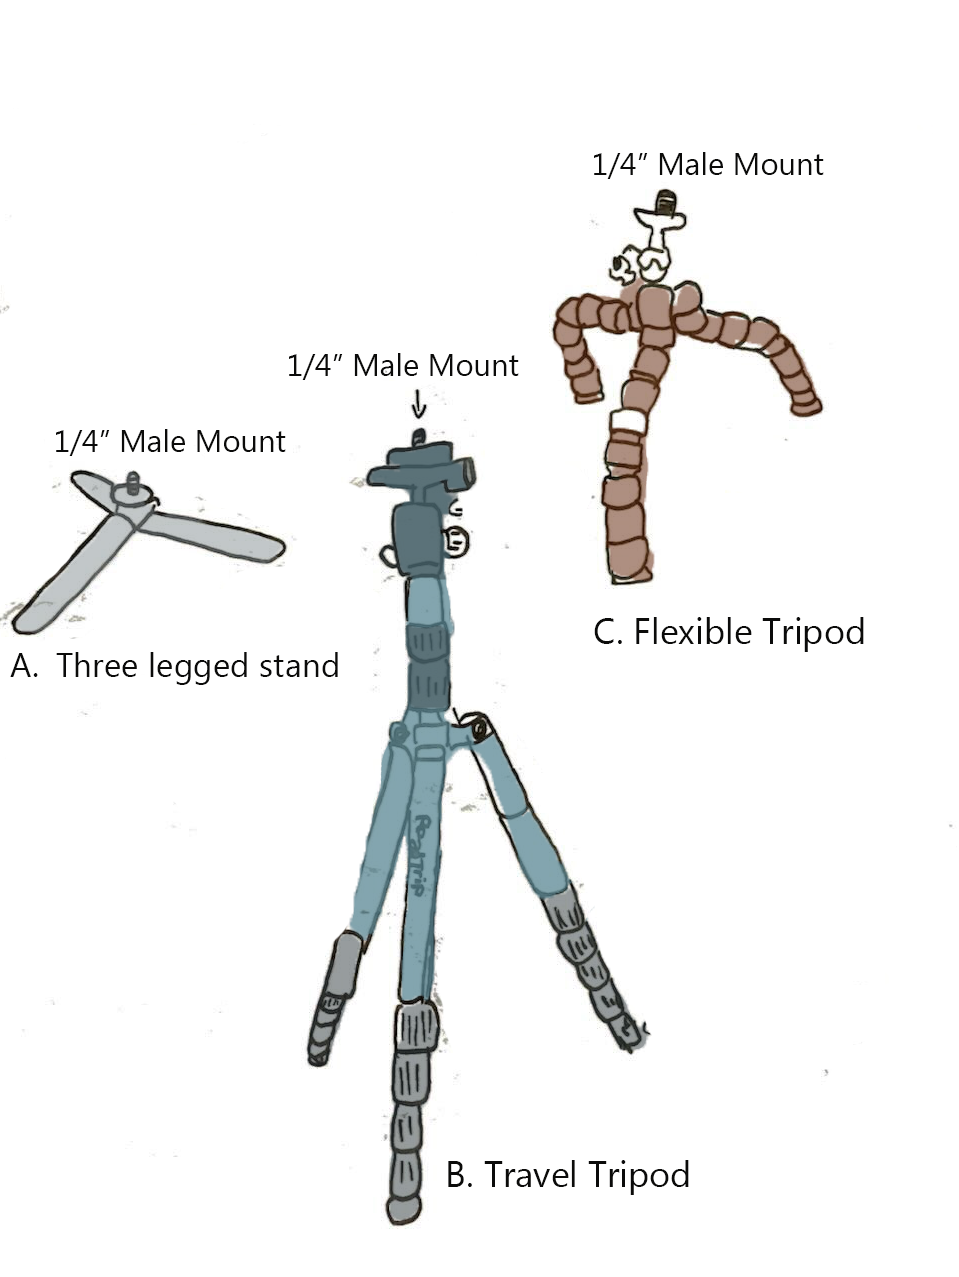
Mounting System (Manfrotto Travel Tripod):
- Stability and adaptability were critical for achieving repeatable results on uneven canal-side terrain. A lightweight but sturdy travel tripod was used to ensure the device could be positioned securely at various heights and angles, allowing for precise and consistent analysis of different site elements.
Final Device Specifications (The "What")
- Light Source - Aputure Amaran 60xs Bi-Colour LED
- Lumen Output - 5,660 lumens (at 1m, 5600K)
- Power Source - 2x Sony NPF-970 Rechargeable Li-ion Batteries
- Battery Life - 75-90 minutes (estimated, at max output)
- Total Weight - 3.2 kg (estimated, including light, batteries, cone, and tripod)
- Key Dimensions - Total Length: 410mm; Max Cone Diameter: 380mm
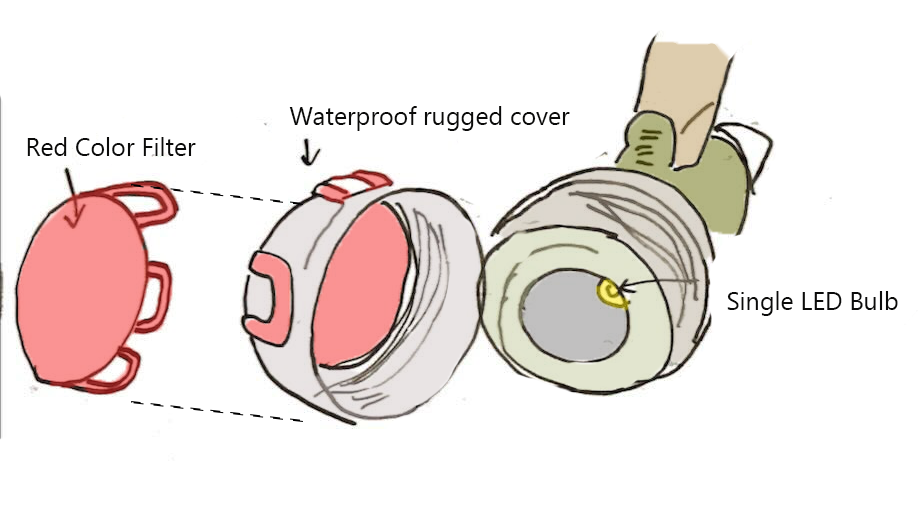
- Core Materials - Aluminum (Light Body, Tripod), Polymer (Hou8sing), Opaque Paper, Chromatic Paint(Custom Cone), Gel/Plastic (Colour Filter)
This tool bridged the gap between quantitative and qualitative analysis, allowing for a precise understanding of a site's interaction with light, independent of weather or time of day.
The final device was more than just a collection of parts; it was a new lens designed to see the unseen character of a place. In the next project, I take this new lens to the Jericho Canal, using it to uncover the stories hidden within its light and shadows, and begin to imagine a new architecture for the site.
Tutor Feedback & Self-Reflection
Tutor Assessment (Critical Context 1): The initial stage of the project was praised for its clear and personal narrative. Key strengths and areas for development included:
- Strengths: A "very personal and convincing narrative," a good balance between experience and investigation, and the "interesting and ambitious" idea to build a bespoke device.
- Areas for Development: The feedback suggested the initial "bespoke survey" could have been pushed further to capture more qualitative aspects before moving to standardized methods.
Personal Reflection: To be honest, this feedback was a huge relief. It confirmed that my core idea—making my own tool because the standard ones weren't enough—wasn't crazy. It taught me something important: a technical project feels more real when it starts from a personal, relatable story. The tutors were right, though. Looking back, I probably jumped to the technical solution a bit too quickly. I should have spent more time just feeling the space and trying to capture its character before trying to measure it. This whole experience taught me to trust my gut instincts in design and to see the act of making a tool not just as a means to an end, but as a valid design process itself.